
Installation Instructions
Shelf Risers for Rise Garden Gen 3
Required Tools
1/8in or 3mm hex drive (allen wrench) the same one that came with your Rise Garden
Before You Begin
If you plan to install risers for the middle shelf of a 3 tier garden you will need to order 2 long drain pipes from Rise before you begin.
It is also recommend to a second person help when installing risers on the middle shelf as some of the lifting is challenging to do with one person.
Step 1
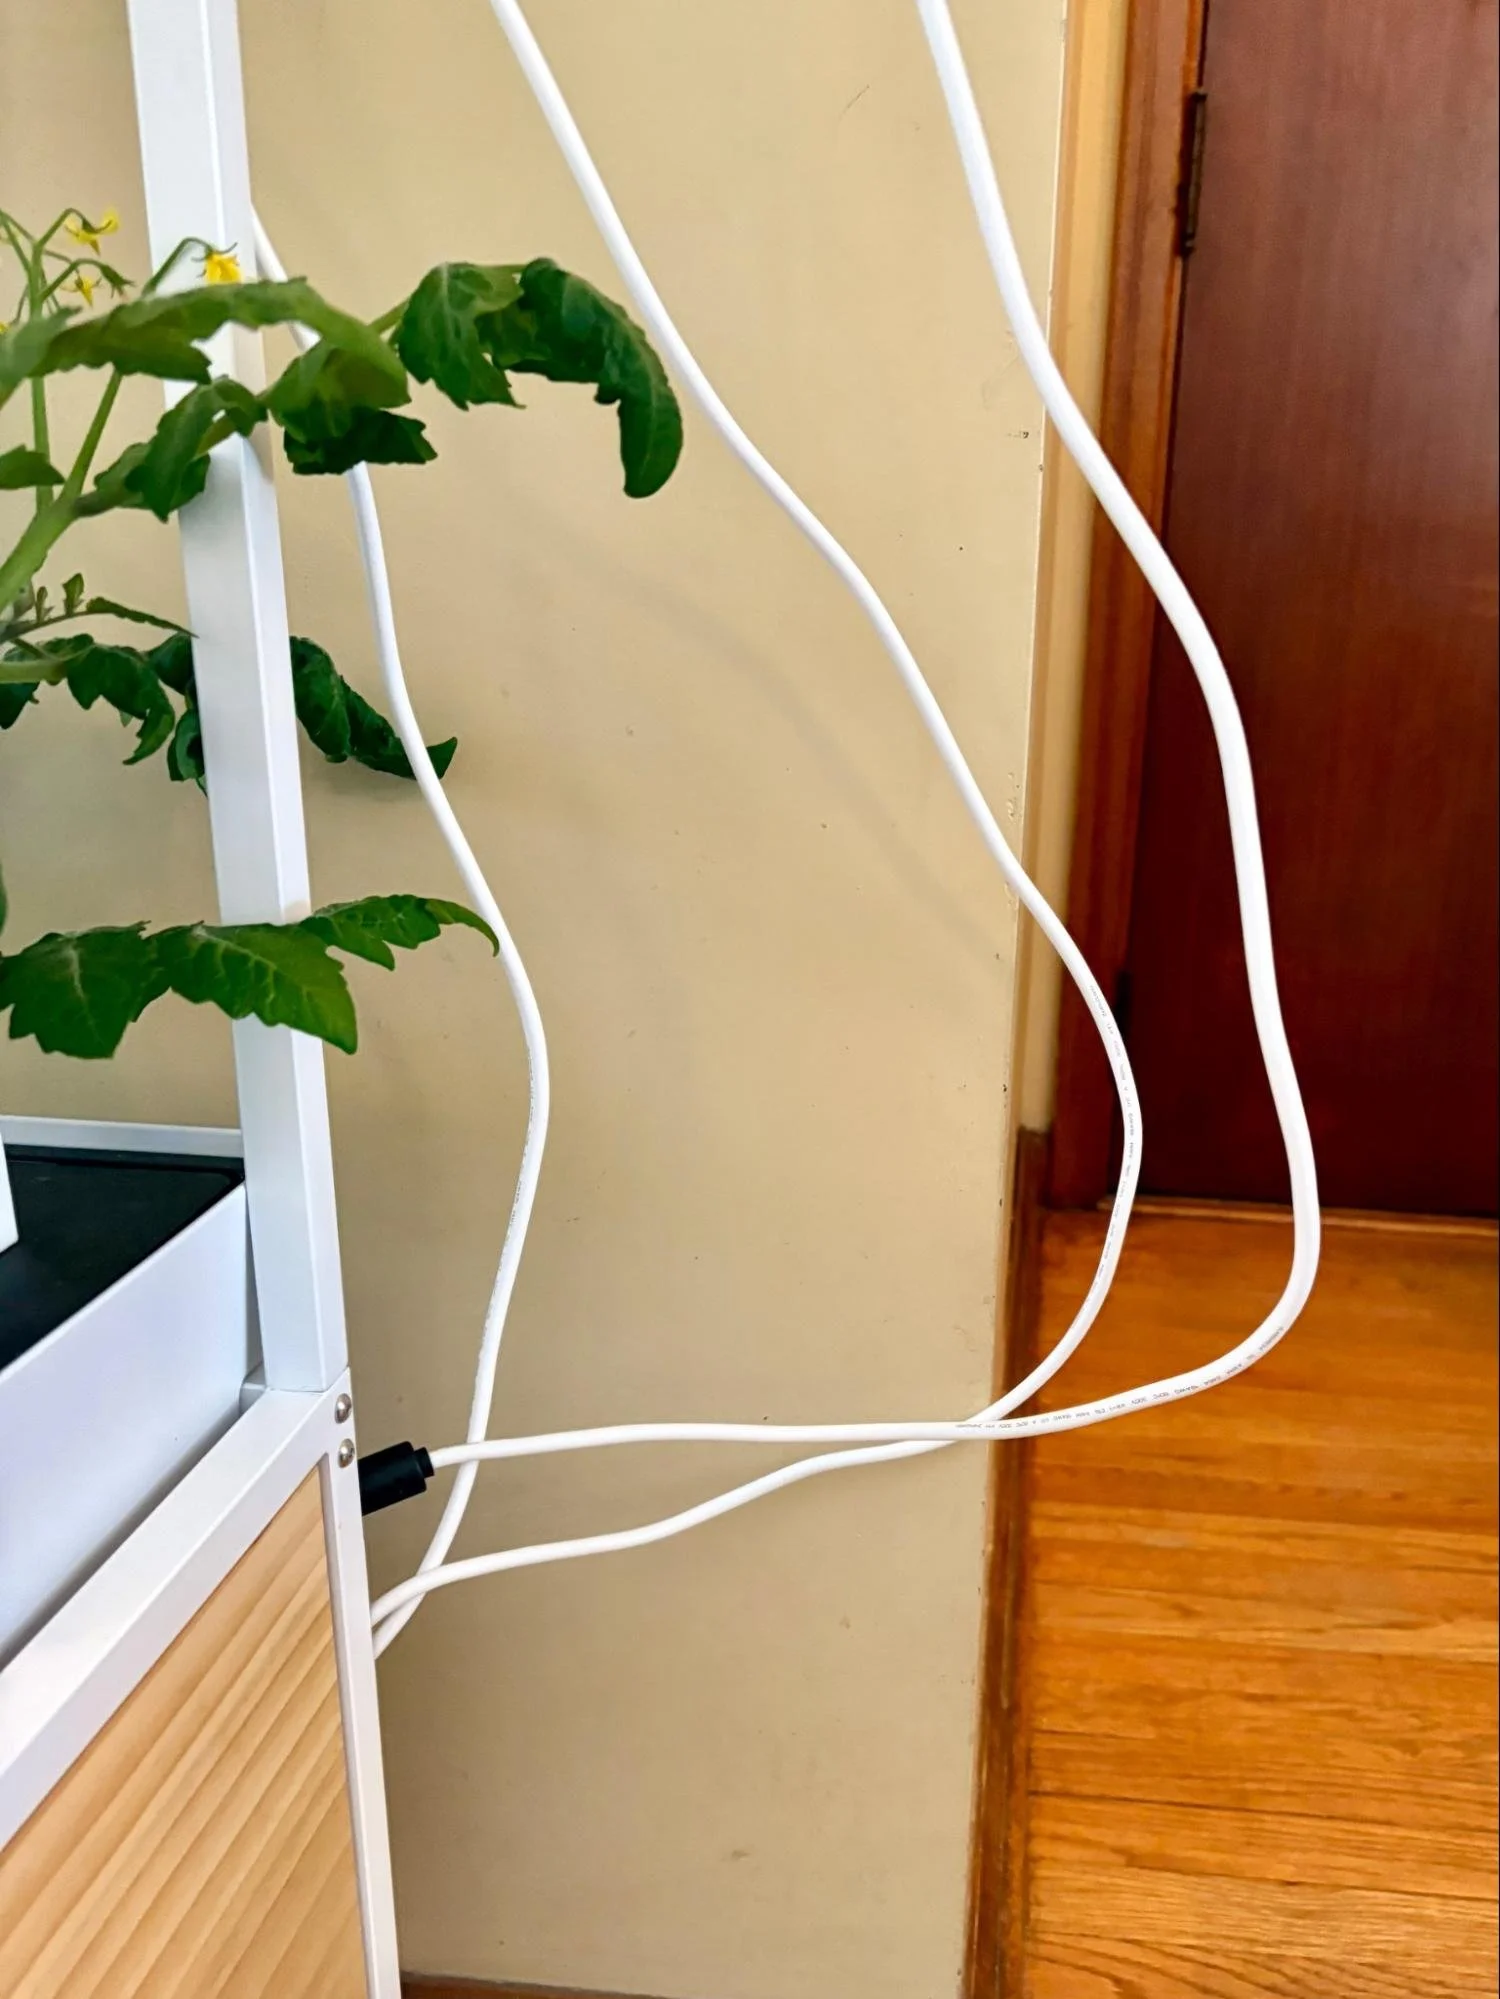
Undo the two velcro ties holding the top shelf light wire to the frame. Then pull about 14 inches of slack from the bottom cabinet.


Step 2 (2-5 top shelf)
Skip to Step 6 if you are only installing risers on the middle shelf of a 3 tier garden.
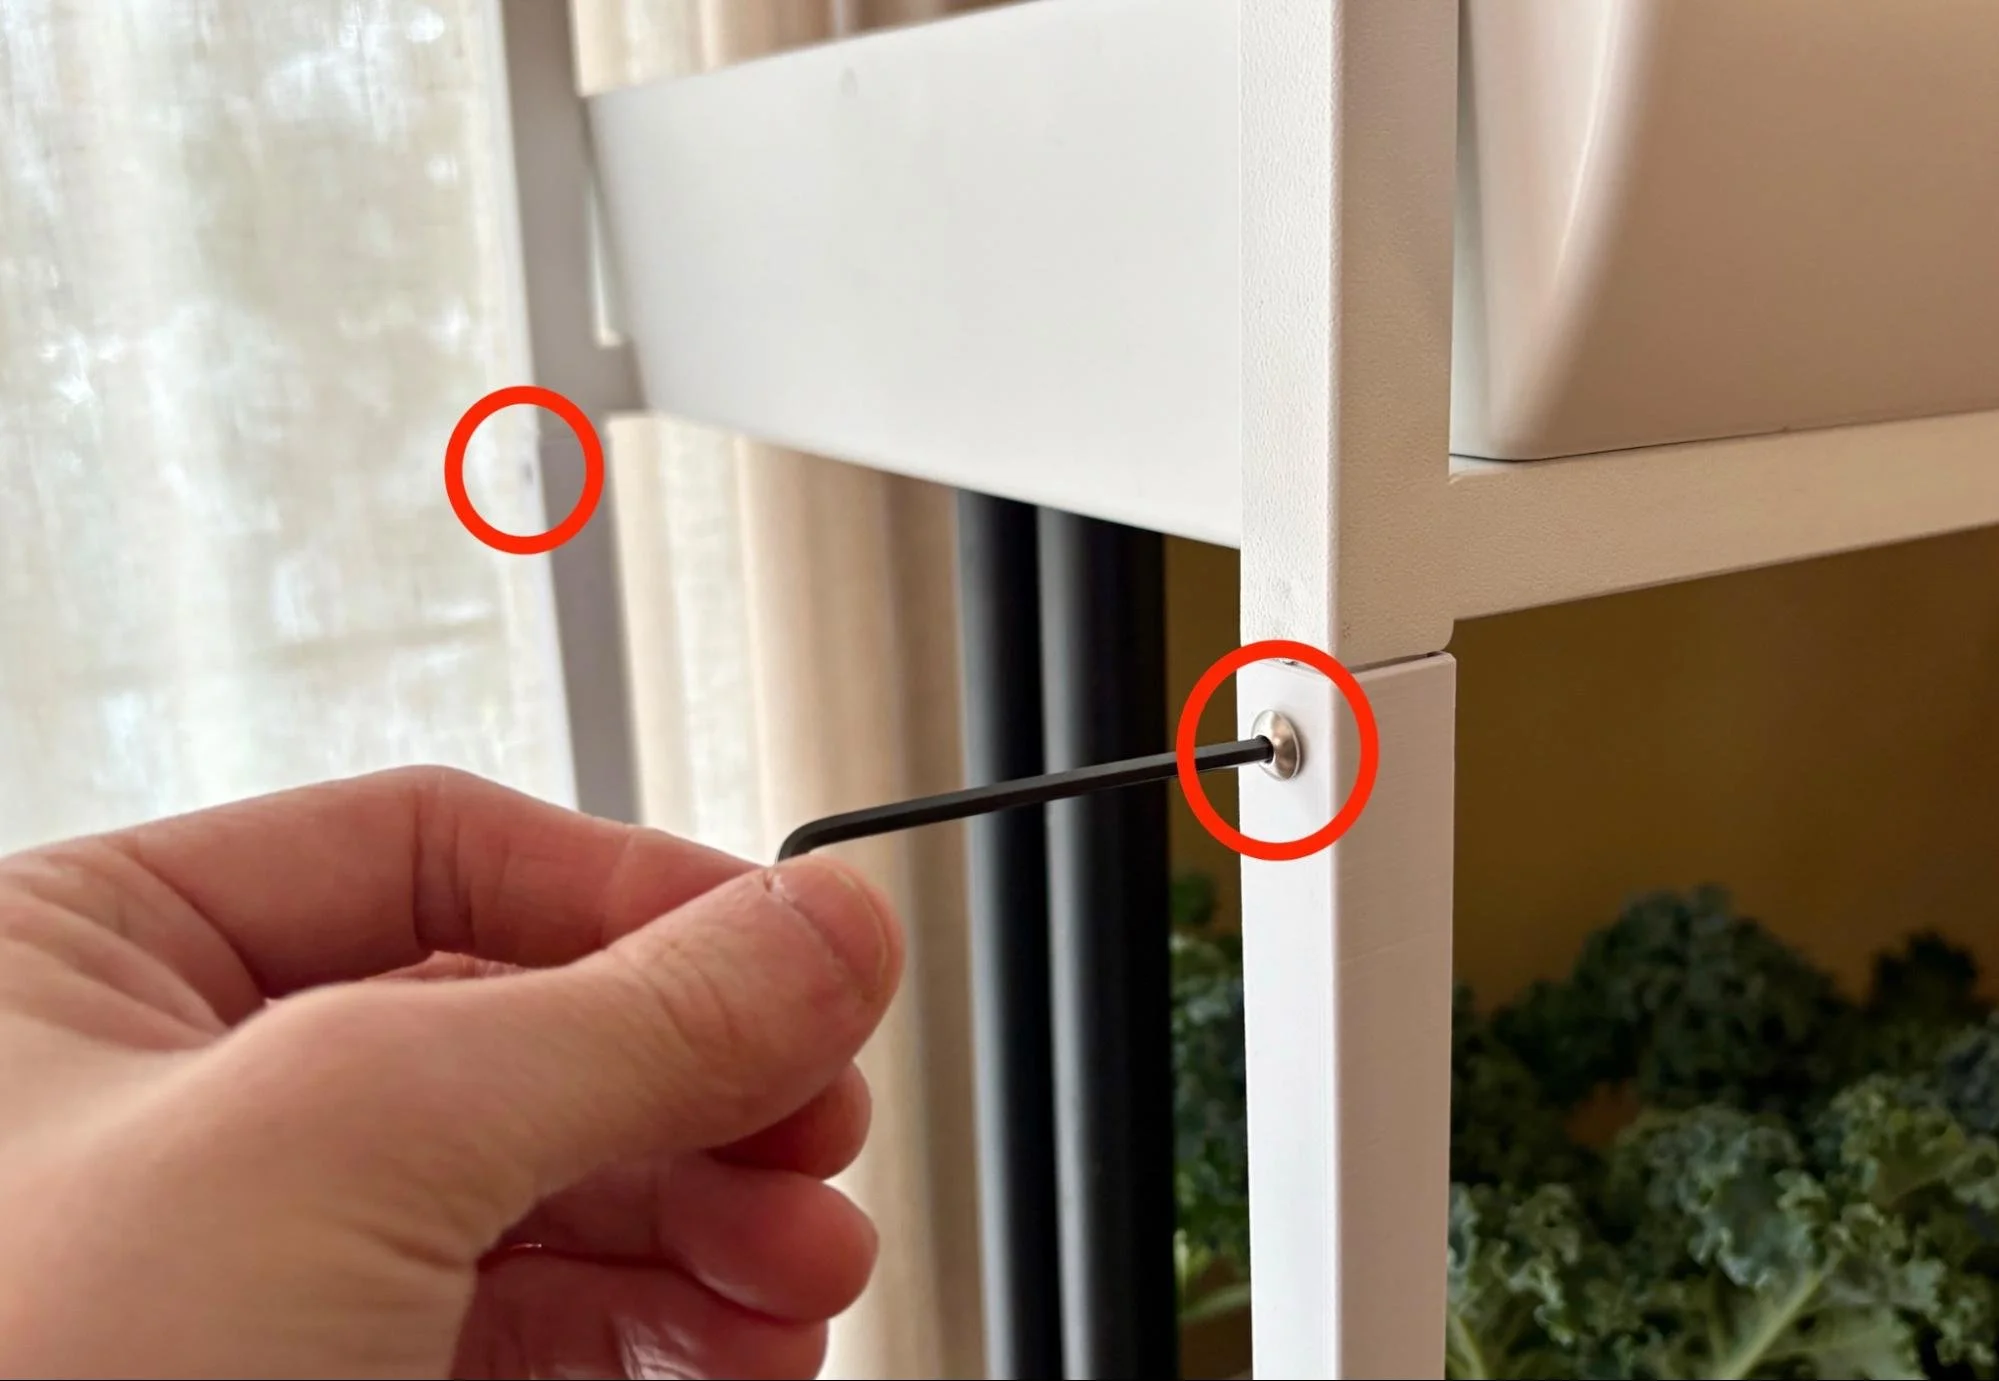
Remove the four screws circled in red in the legs just below the top shelf light.

Step 3
Lift the top shelf lights off the legs and carefully set to the side.
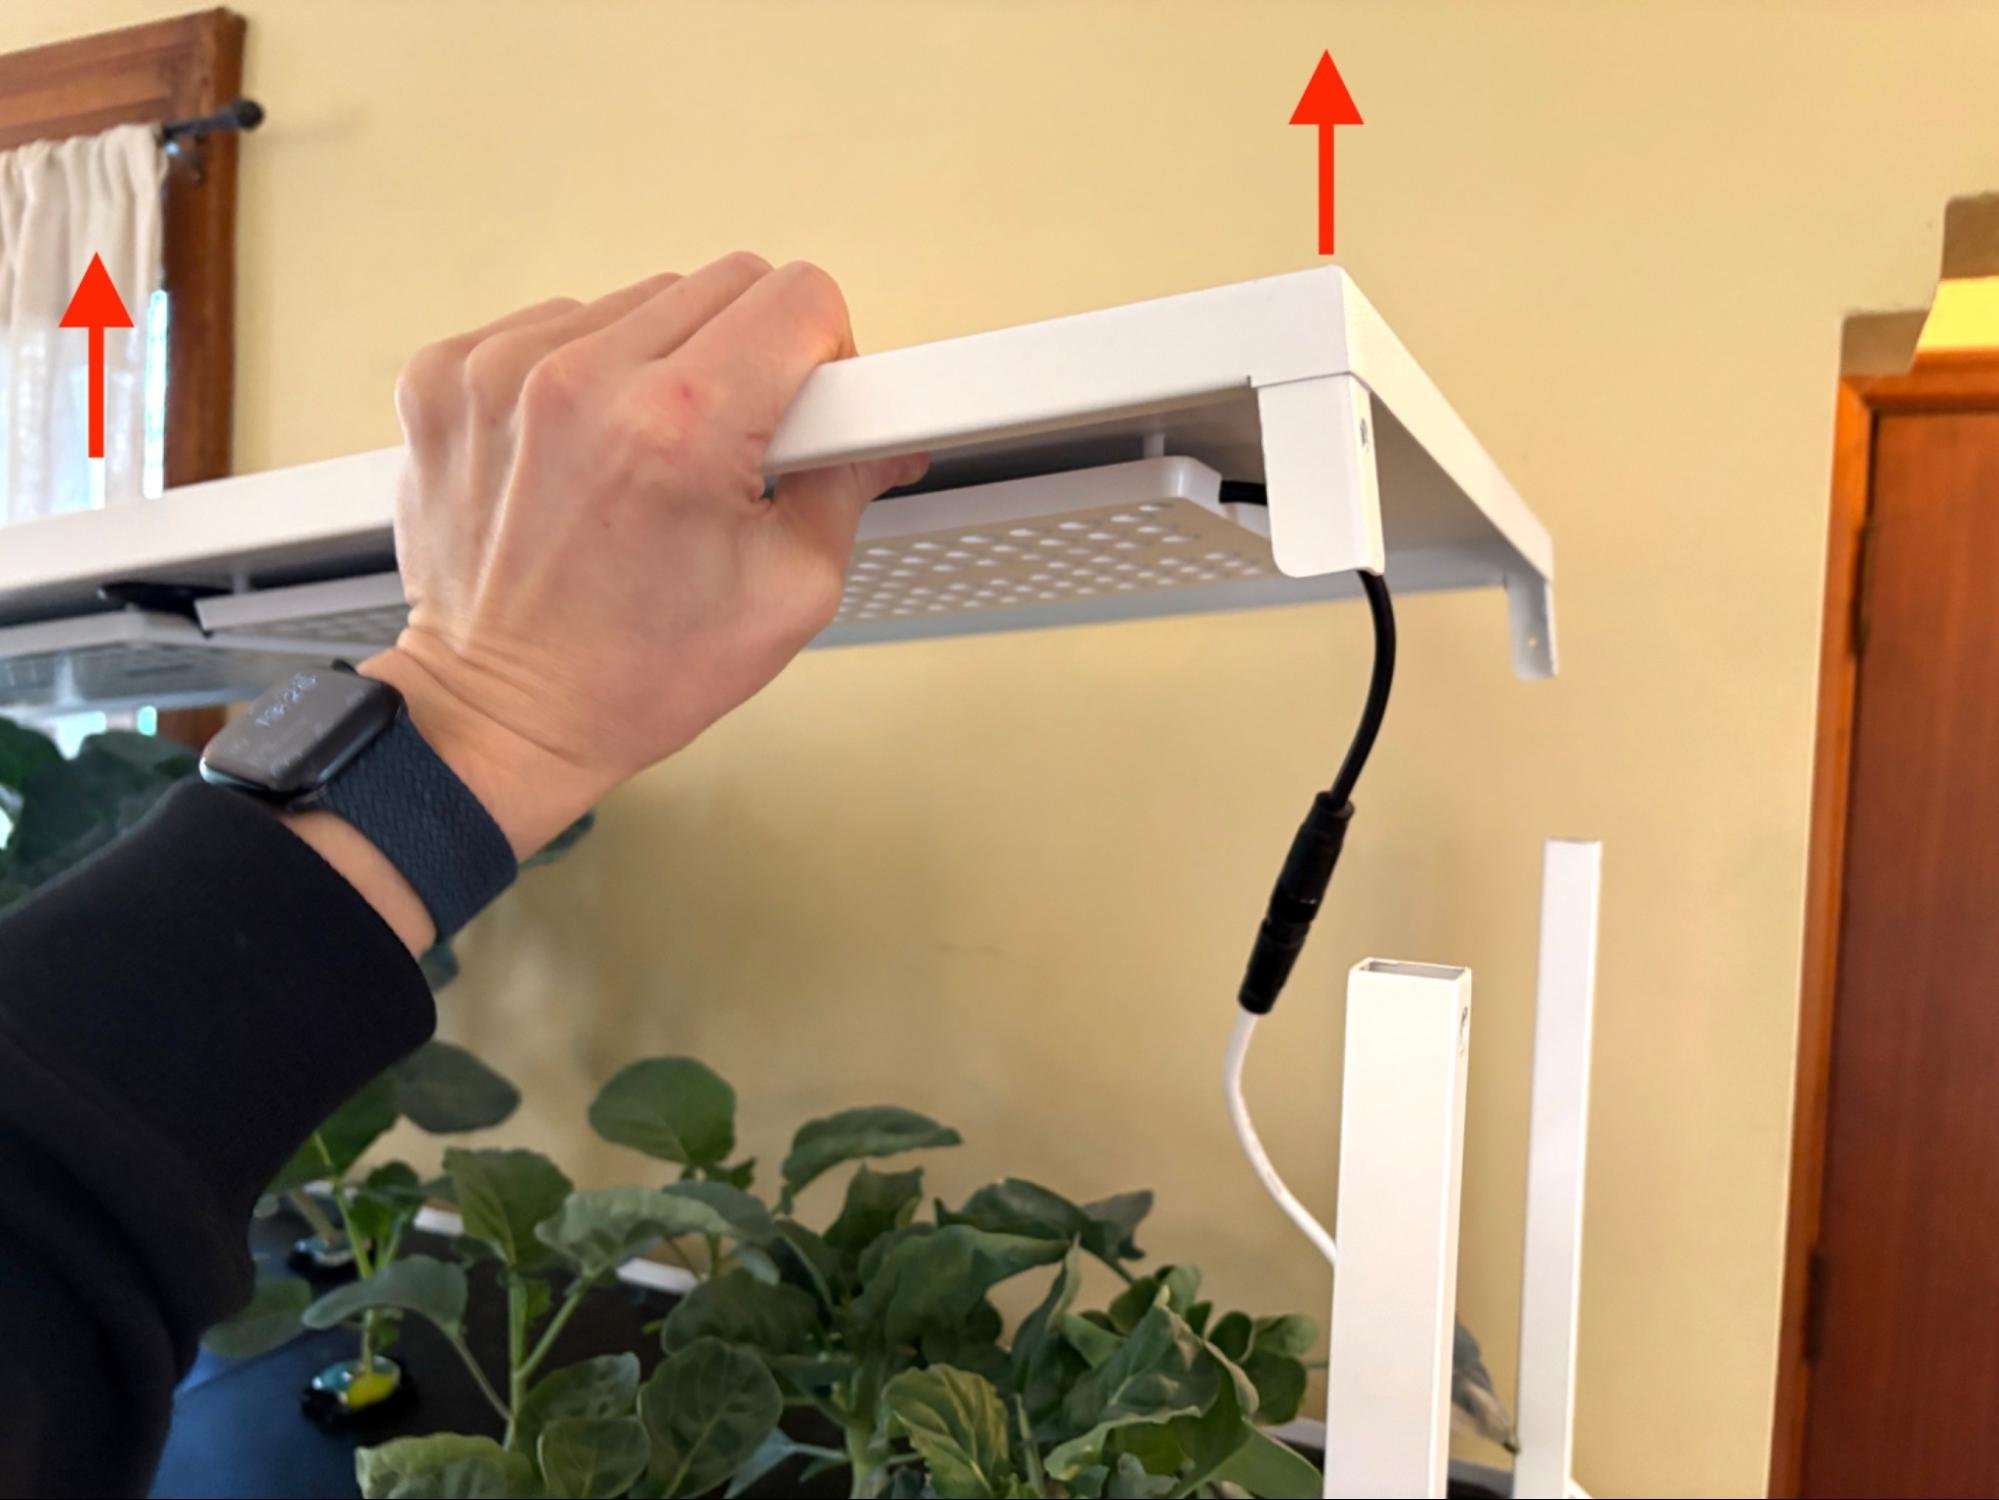
Step 4
Place the four shelf risers on the legs with the brass threaded inserts facing the screw hole in the legs. Using the four screws removed in Step 2, secure the risers to the legs.


Step 5
Place the top shelf lights on top of the shelf risers and secure it to the shelf risers with the four supplied screws (there is one spare).
Skip to Step 12 if you are not installing risers on the middle shelf of a 3 tier garden.


Step 6 (6-11 middle shelf)
Undo the velcro ties holding the middle shelf light wire to the frame. Then pull about 7 inches of slack from the bottom cabinet

Step 7
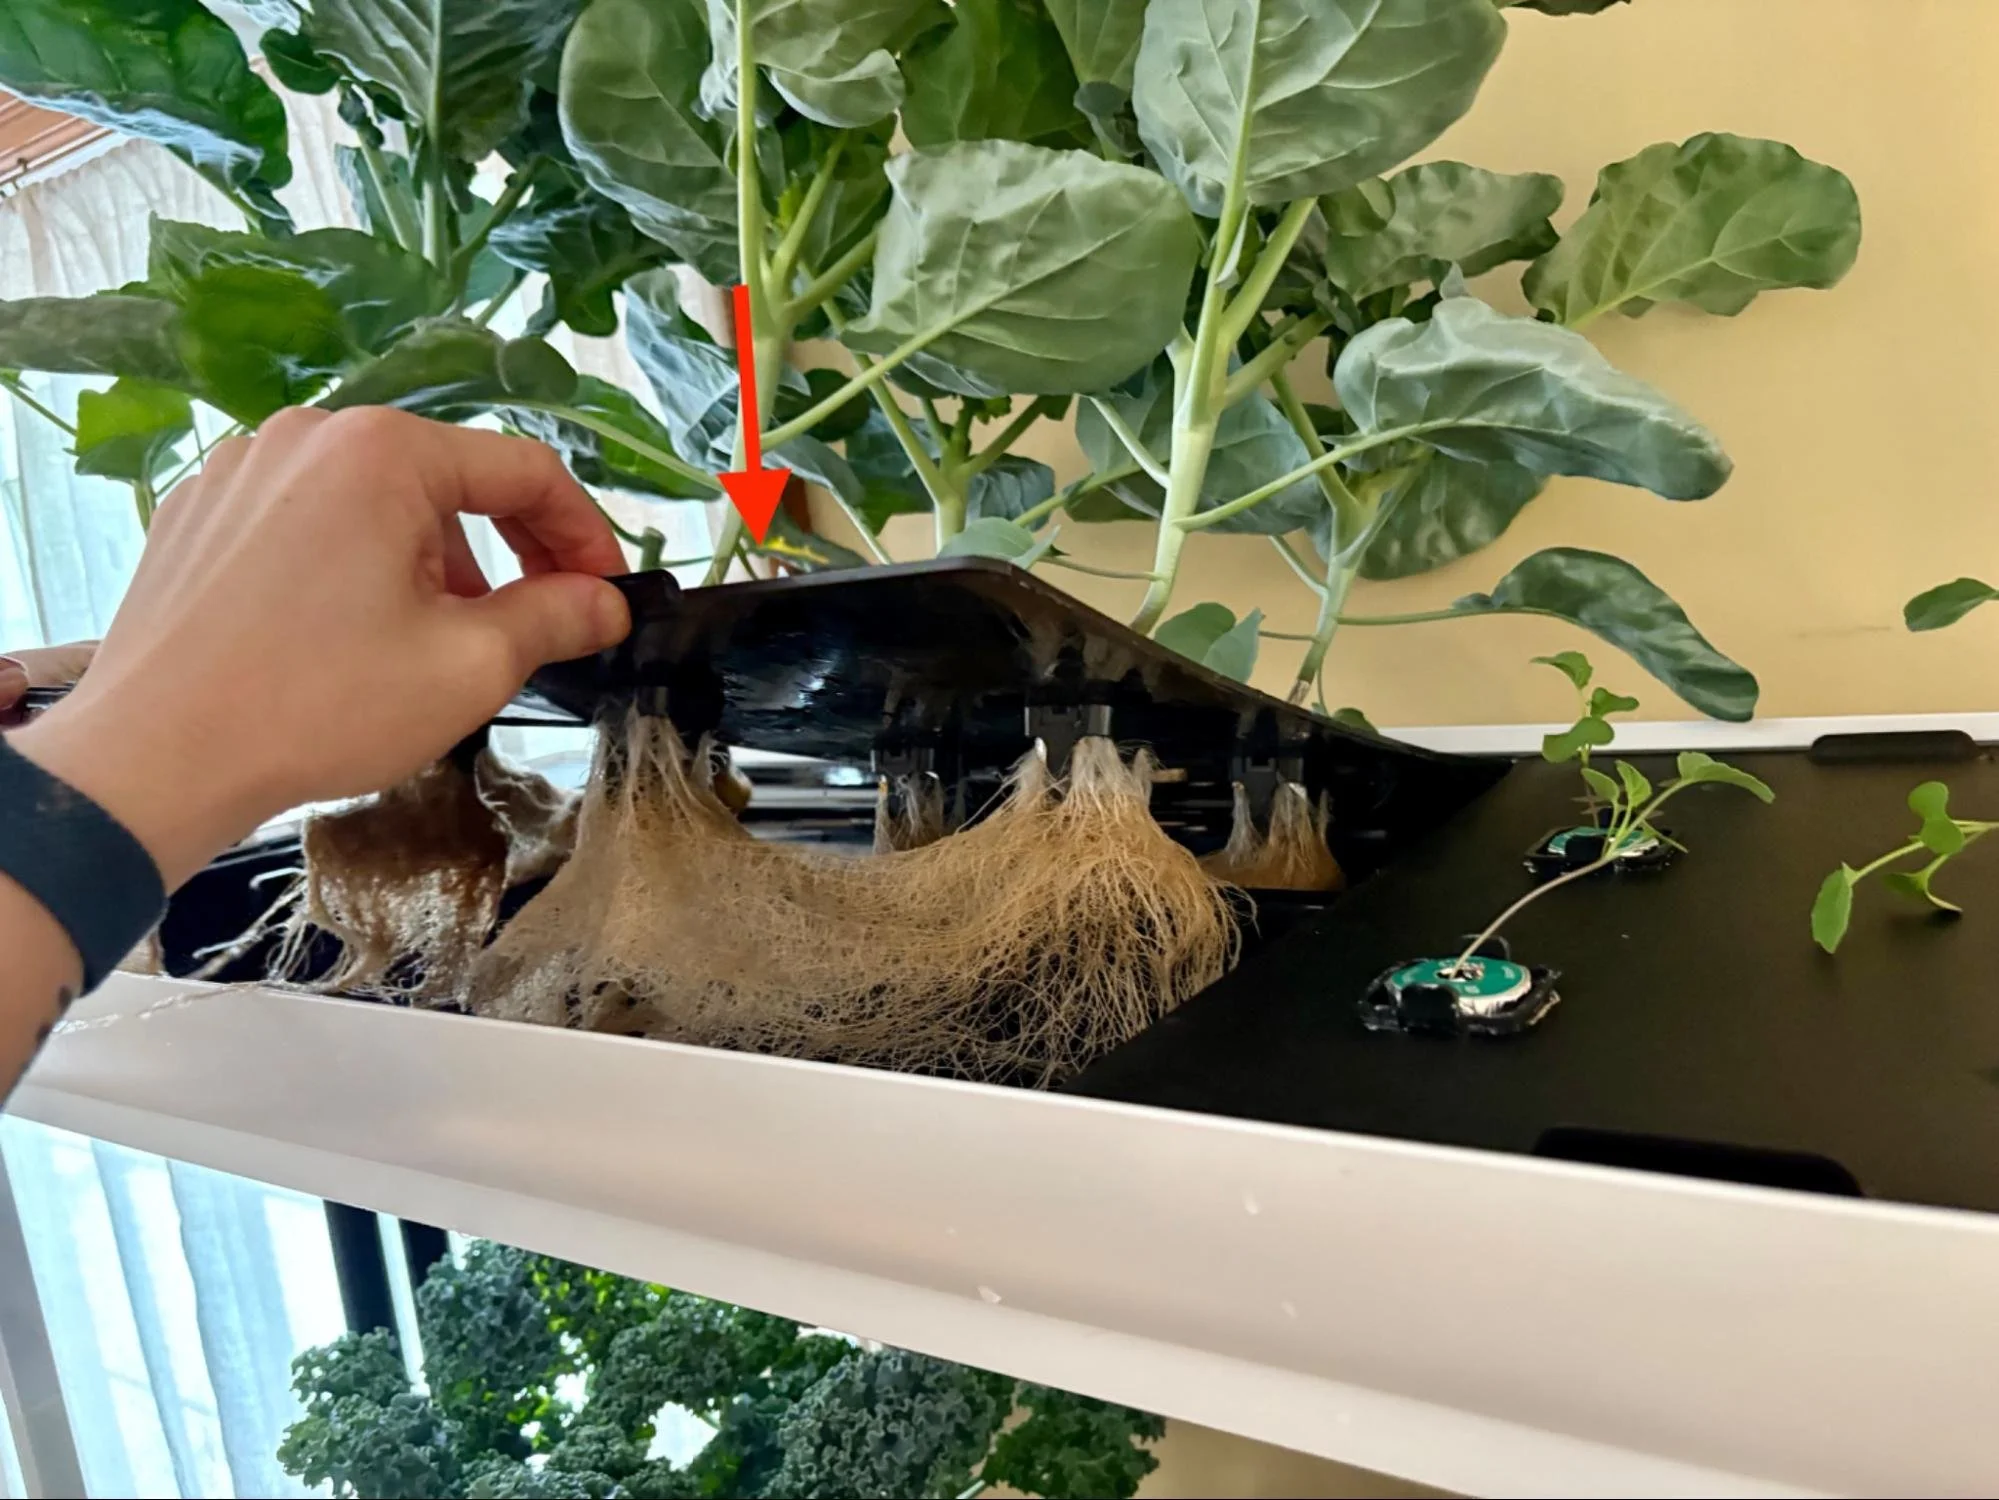
Power off your garden and let the water drain out of the trays. While it is draining, remove all the plant trays from the top shelf.
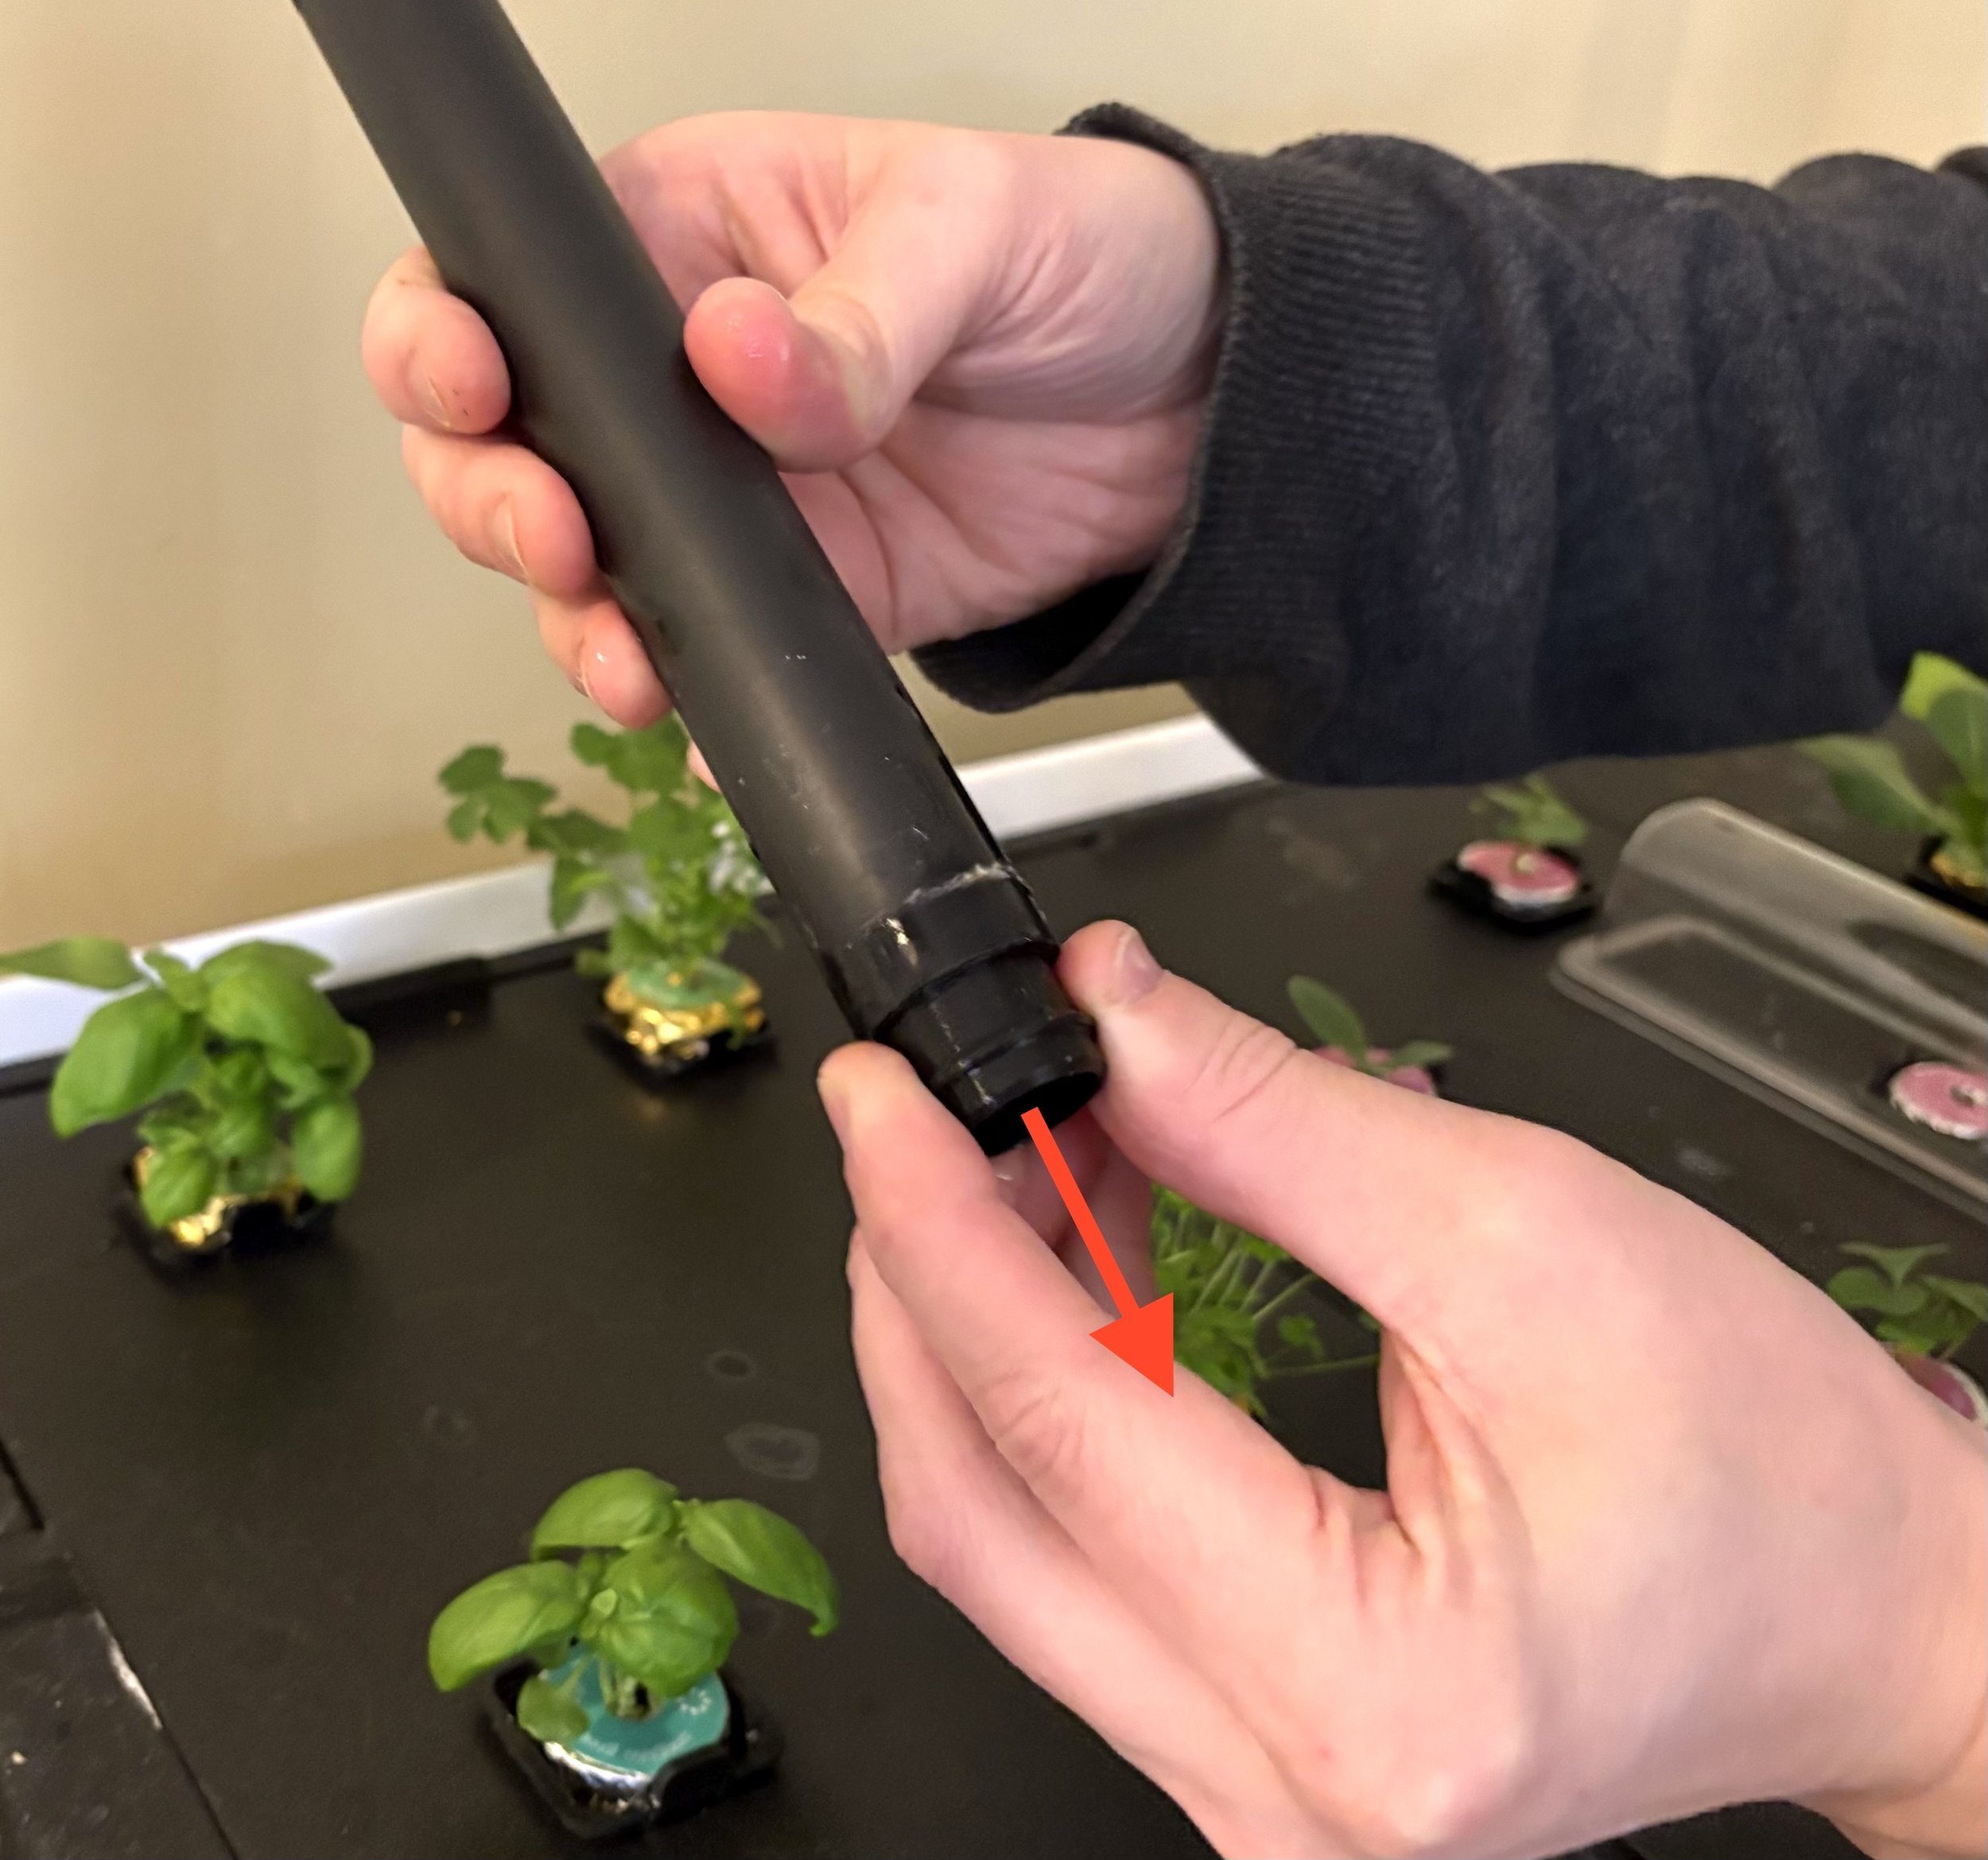
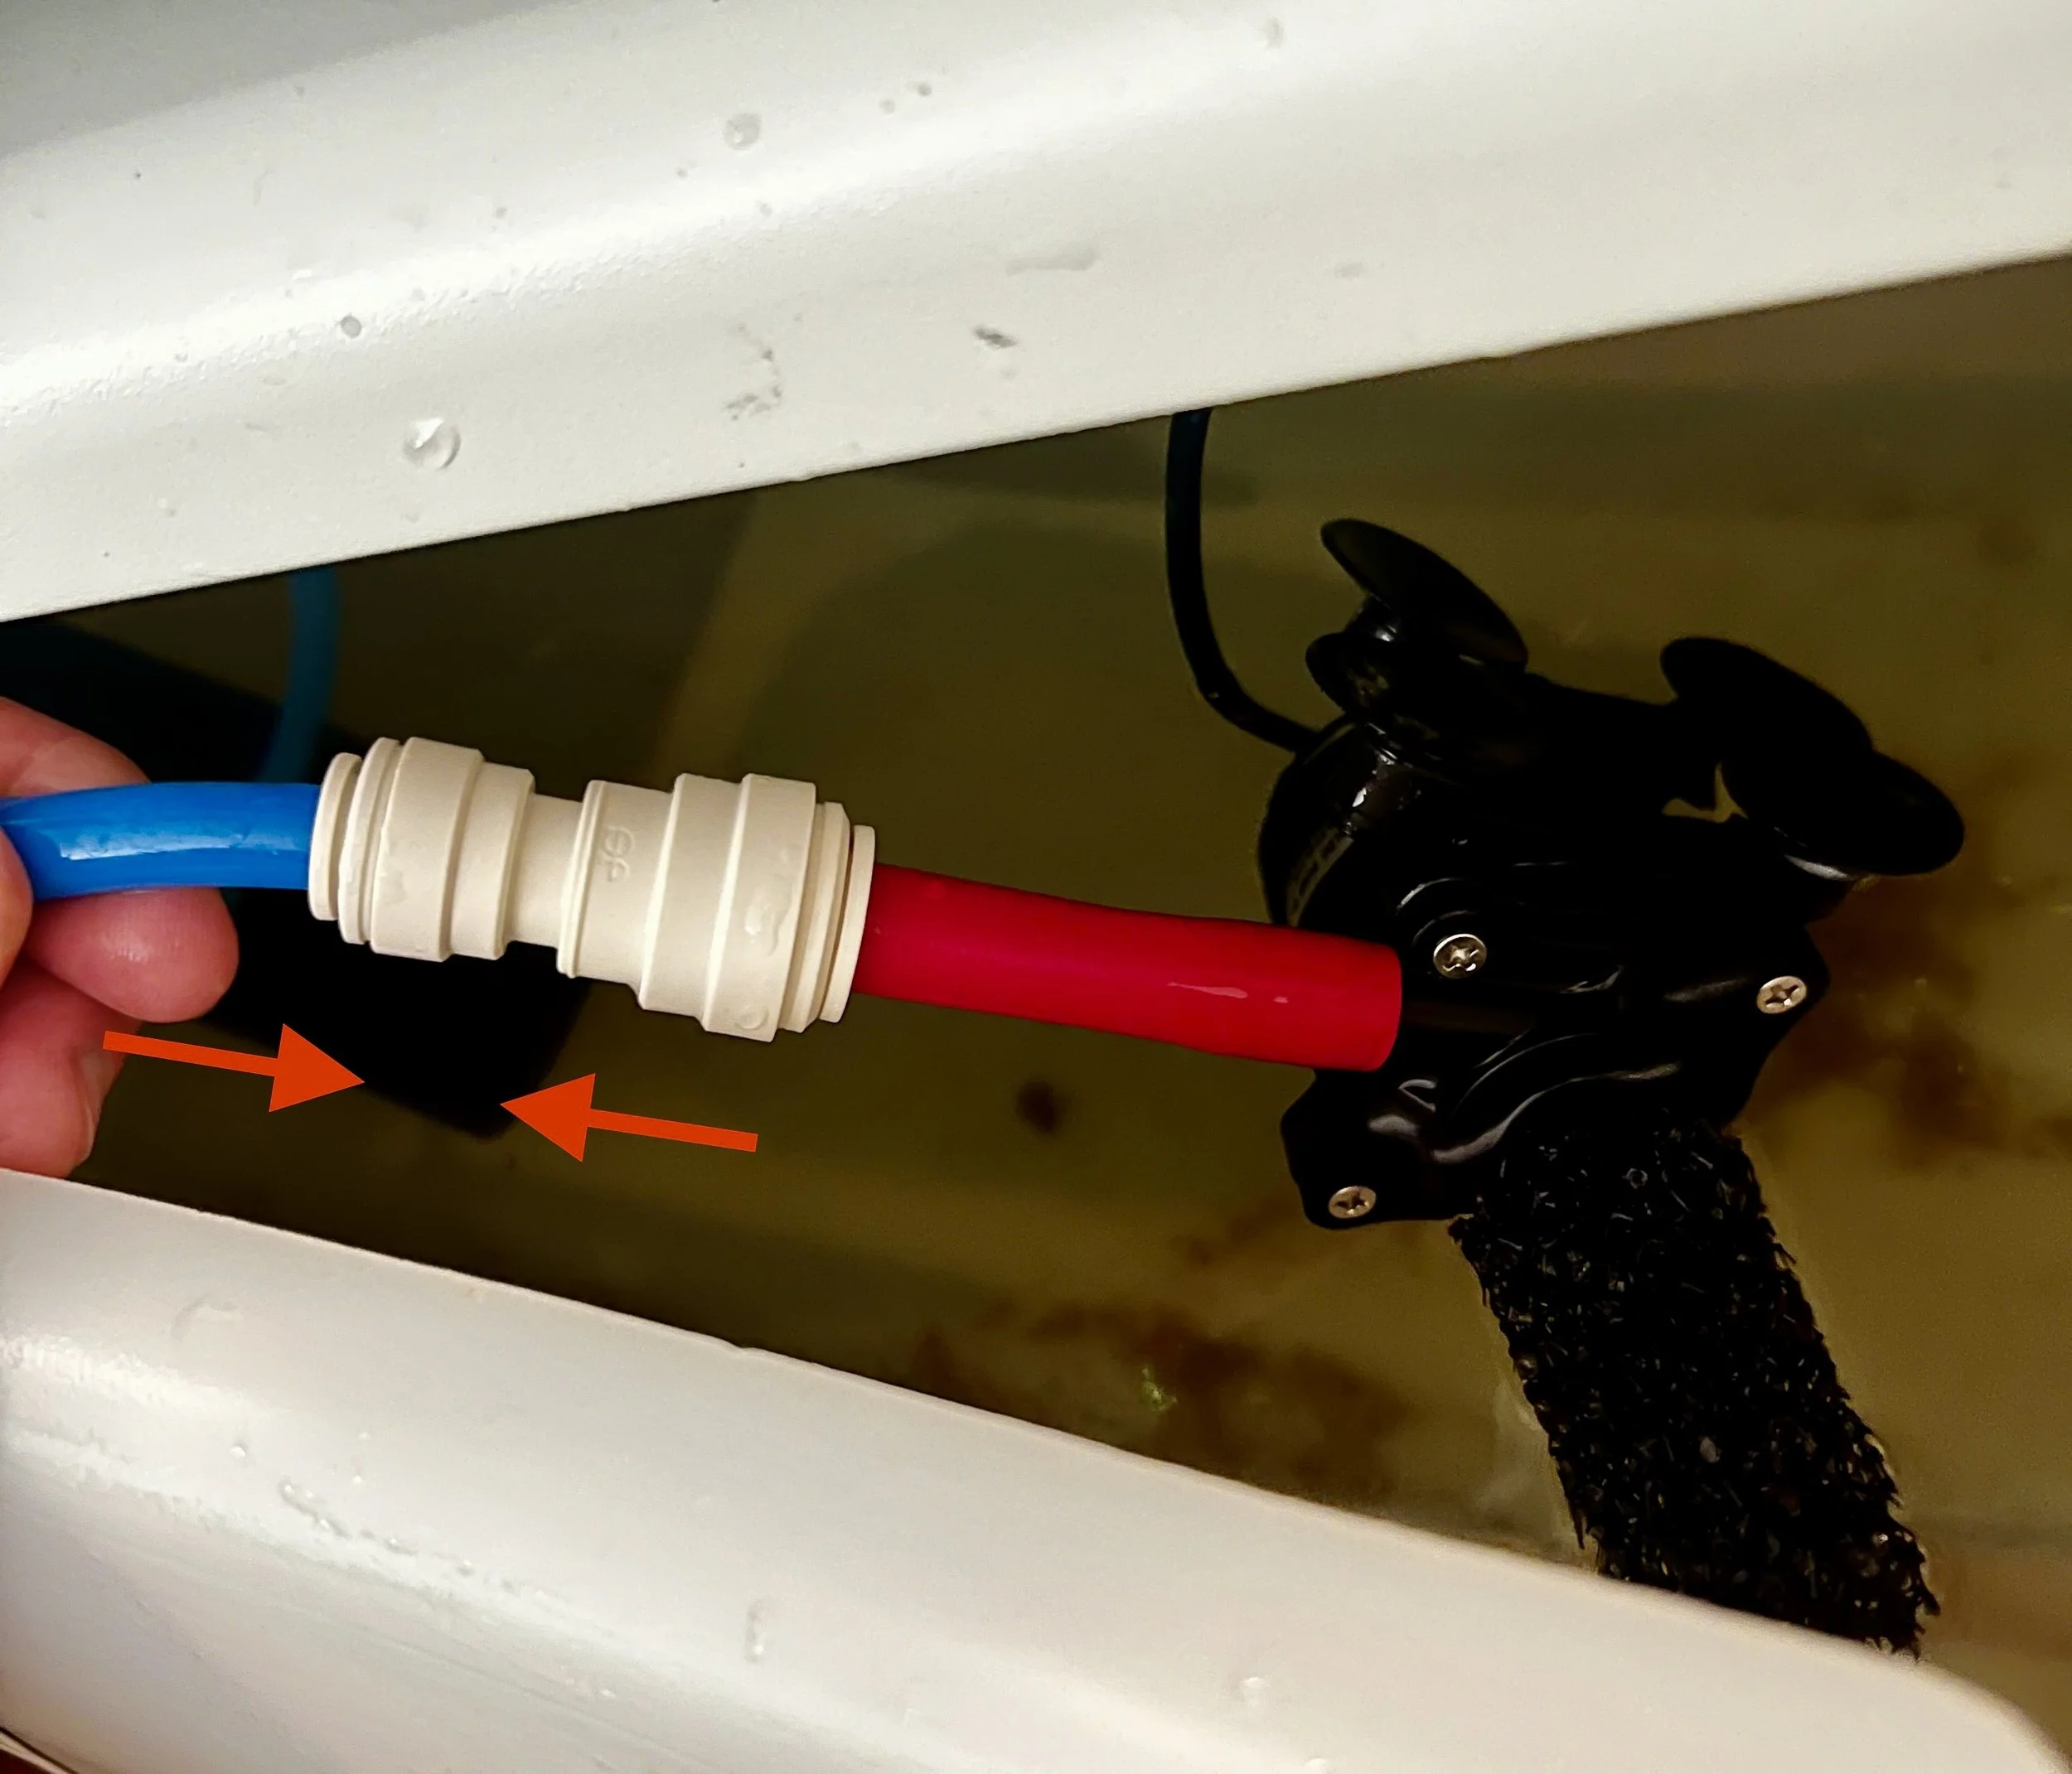
Next lift the top water tray from the right side to drain the water from it. Once all the water has drained, unplug the water hose from the water pump in the water tank. Then pull the hose all the way out from the top shelf.


Step 8
Remove the four screws on the legs just below the top shelf. There are two on each side.
Once all four screws are removed you can lift off the top shelf and set aside. This is best done with two people and remember to be careful of the wires.


Step 9
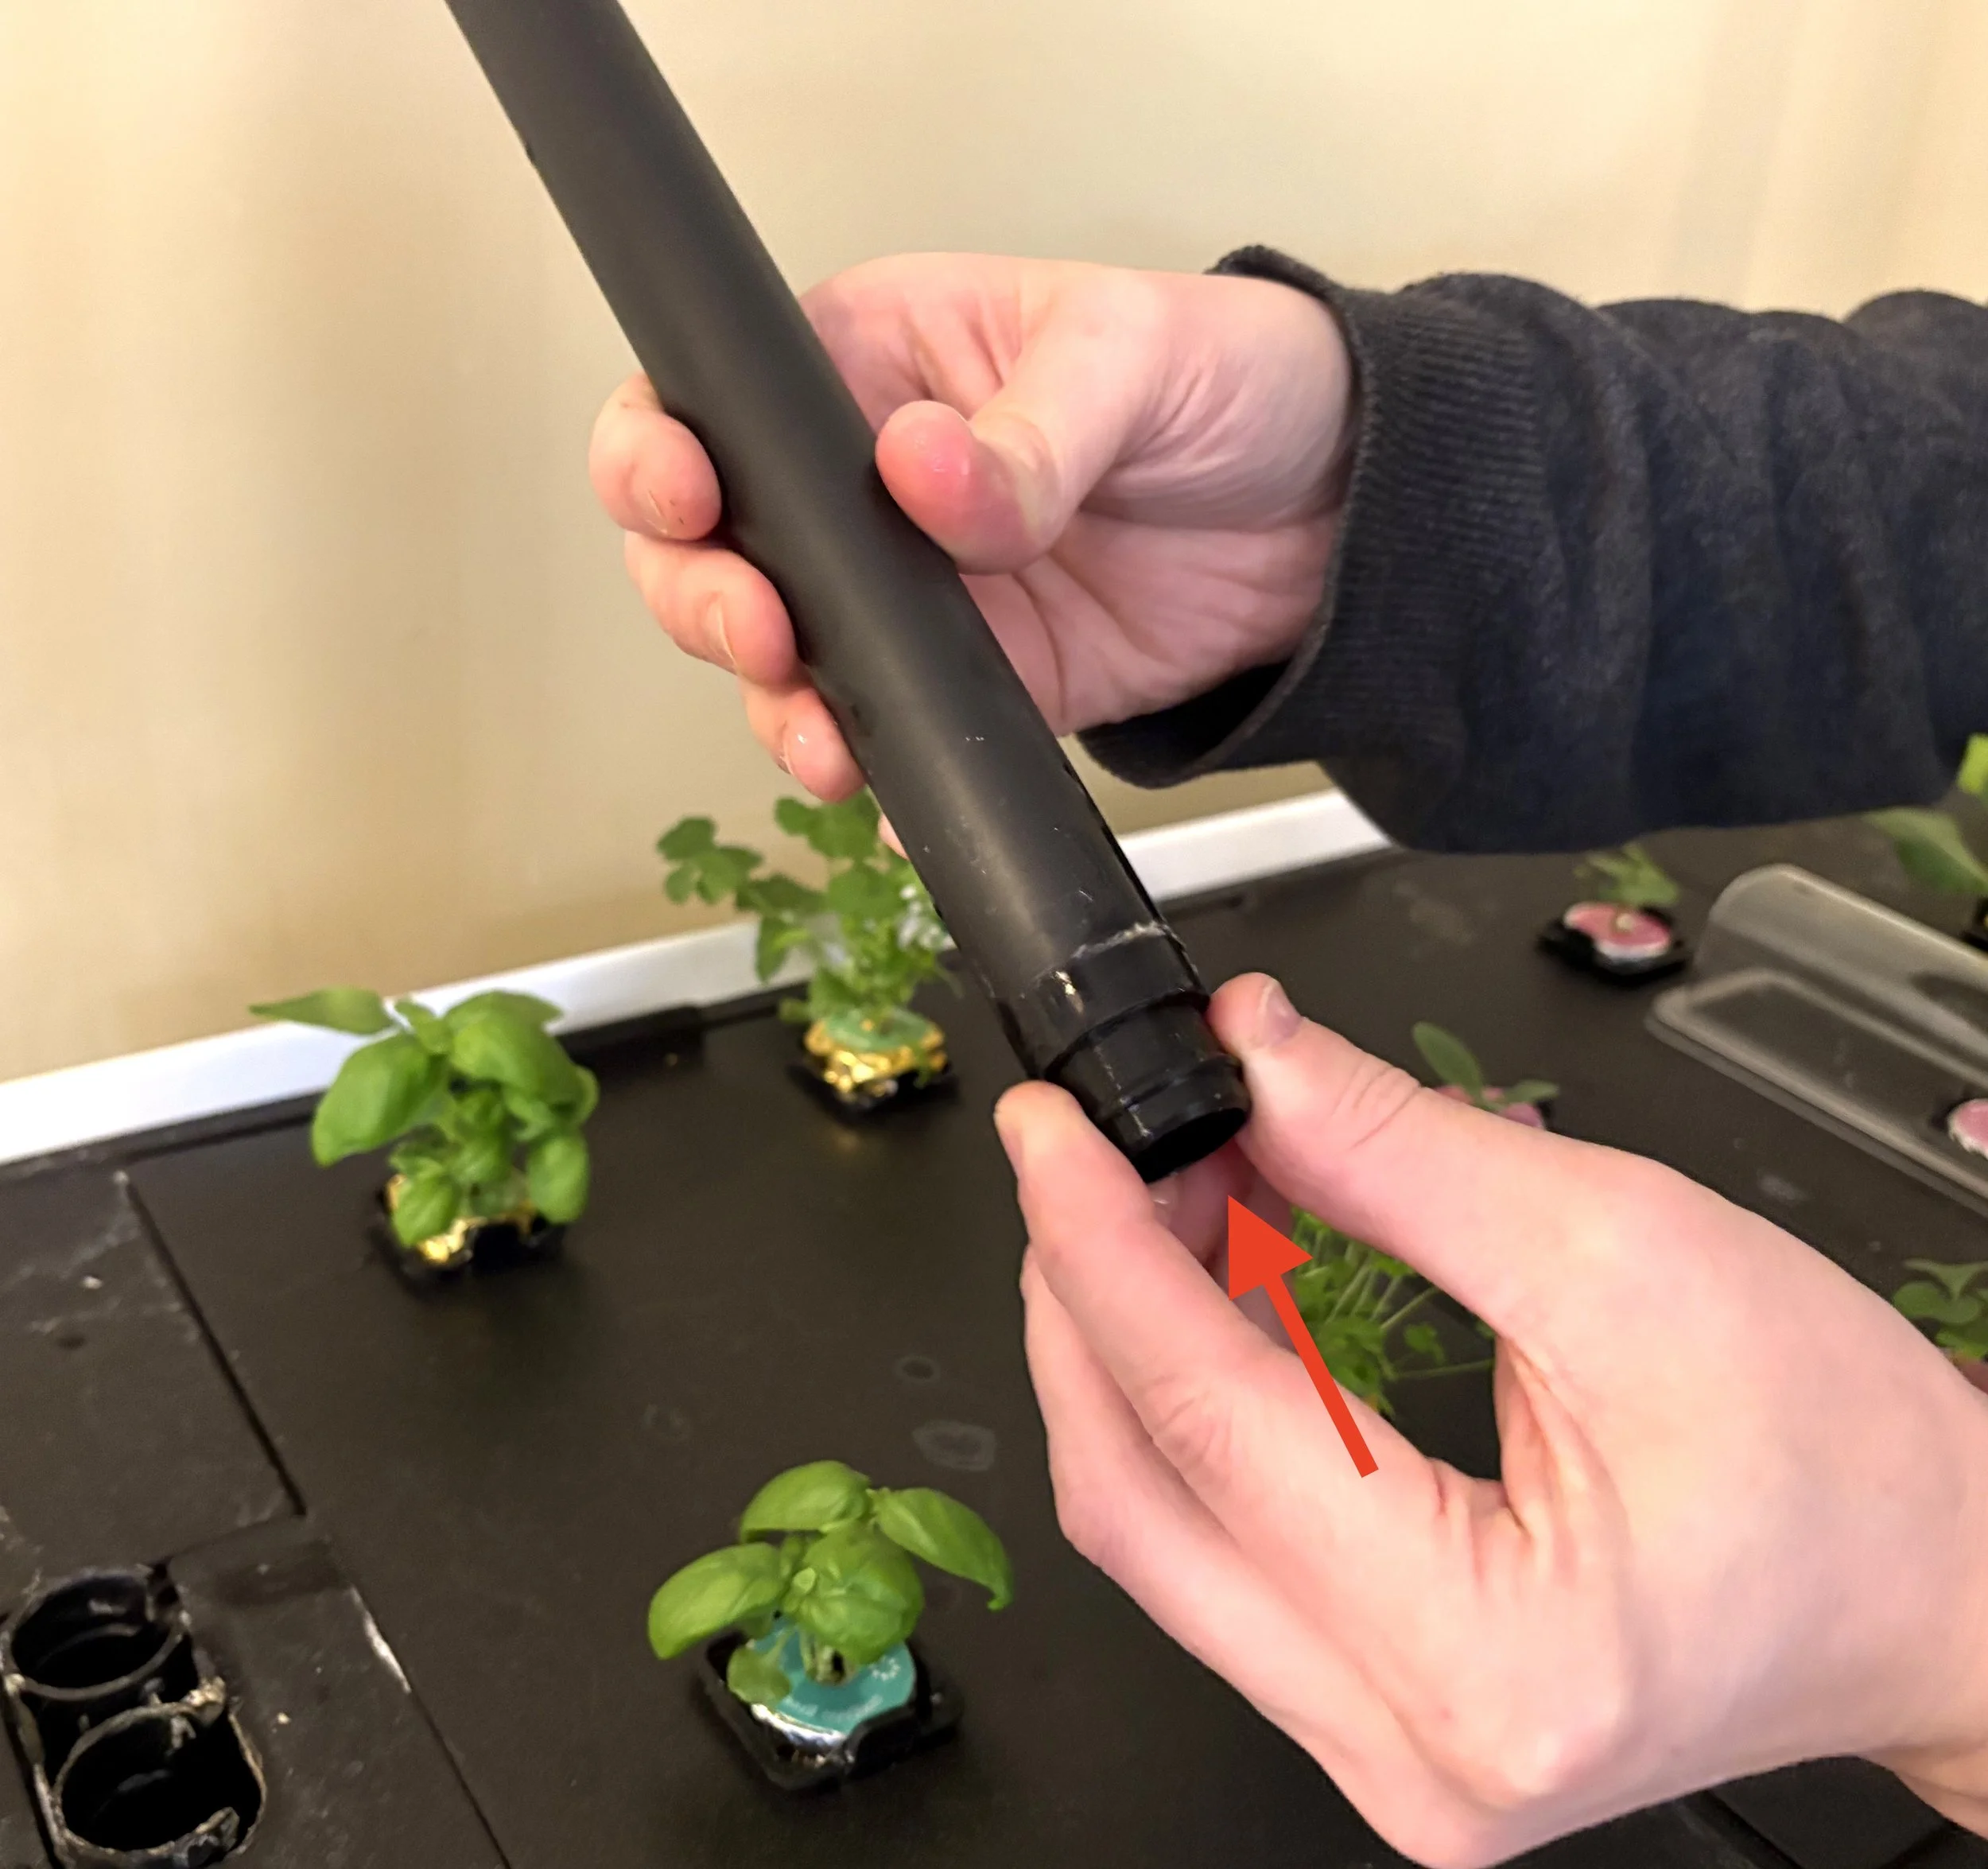
Remove the short drain tubes from the middle shelf. If you have my Sound Reduction Kit, don’t forget to remove the drain tube bottom screen.
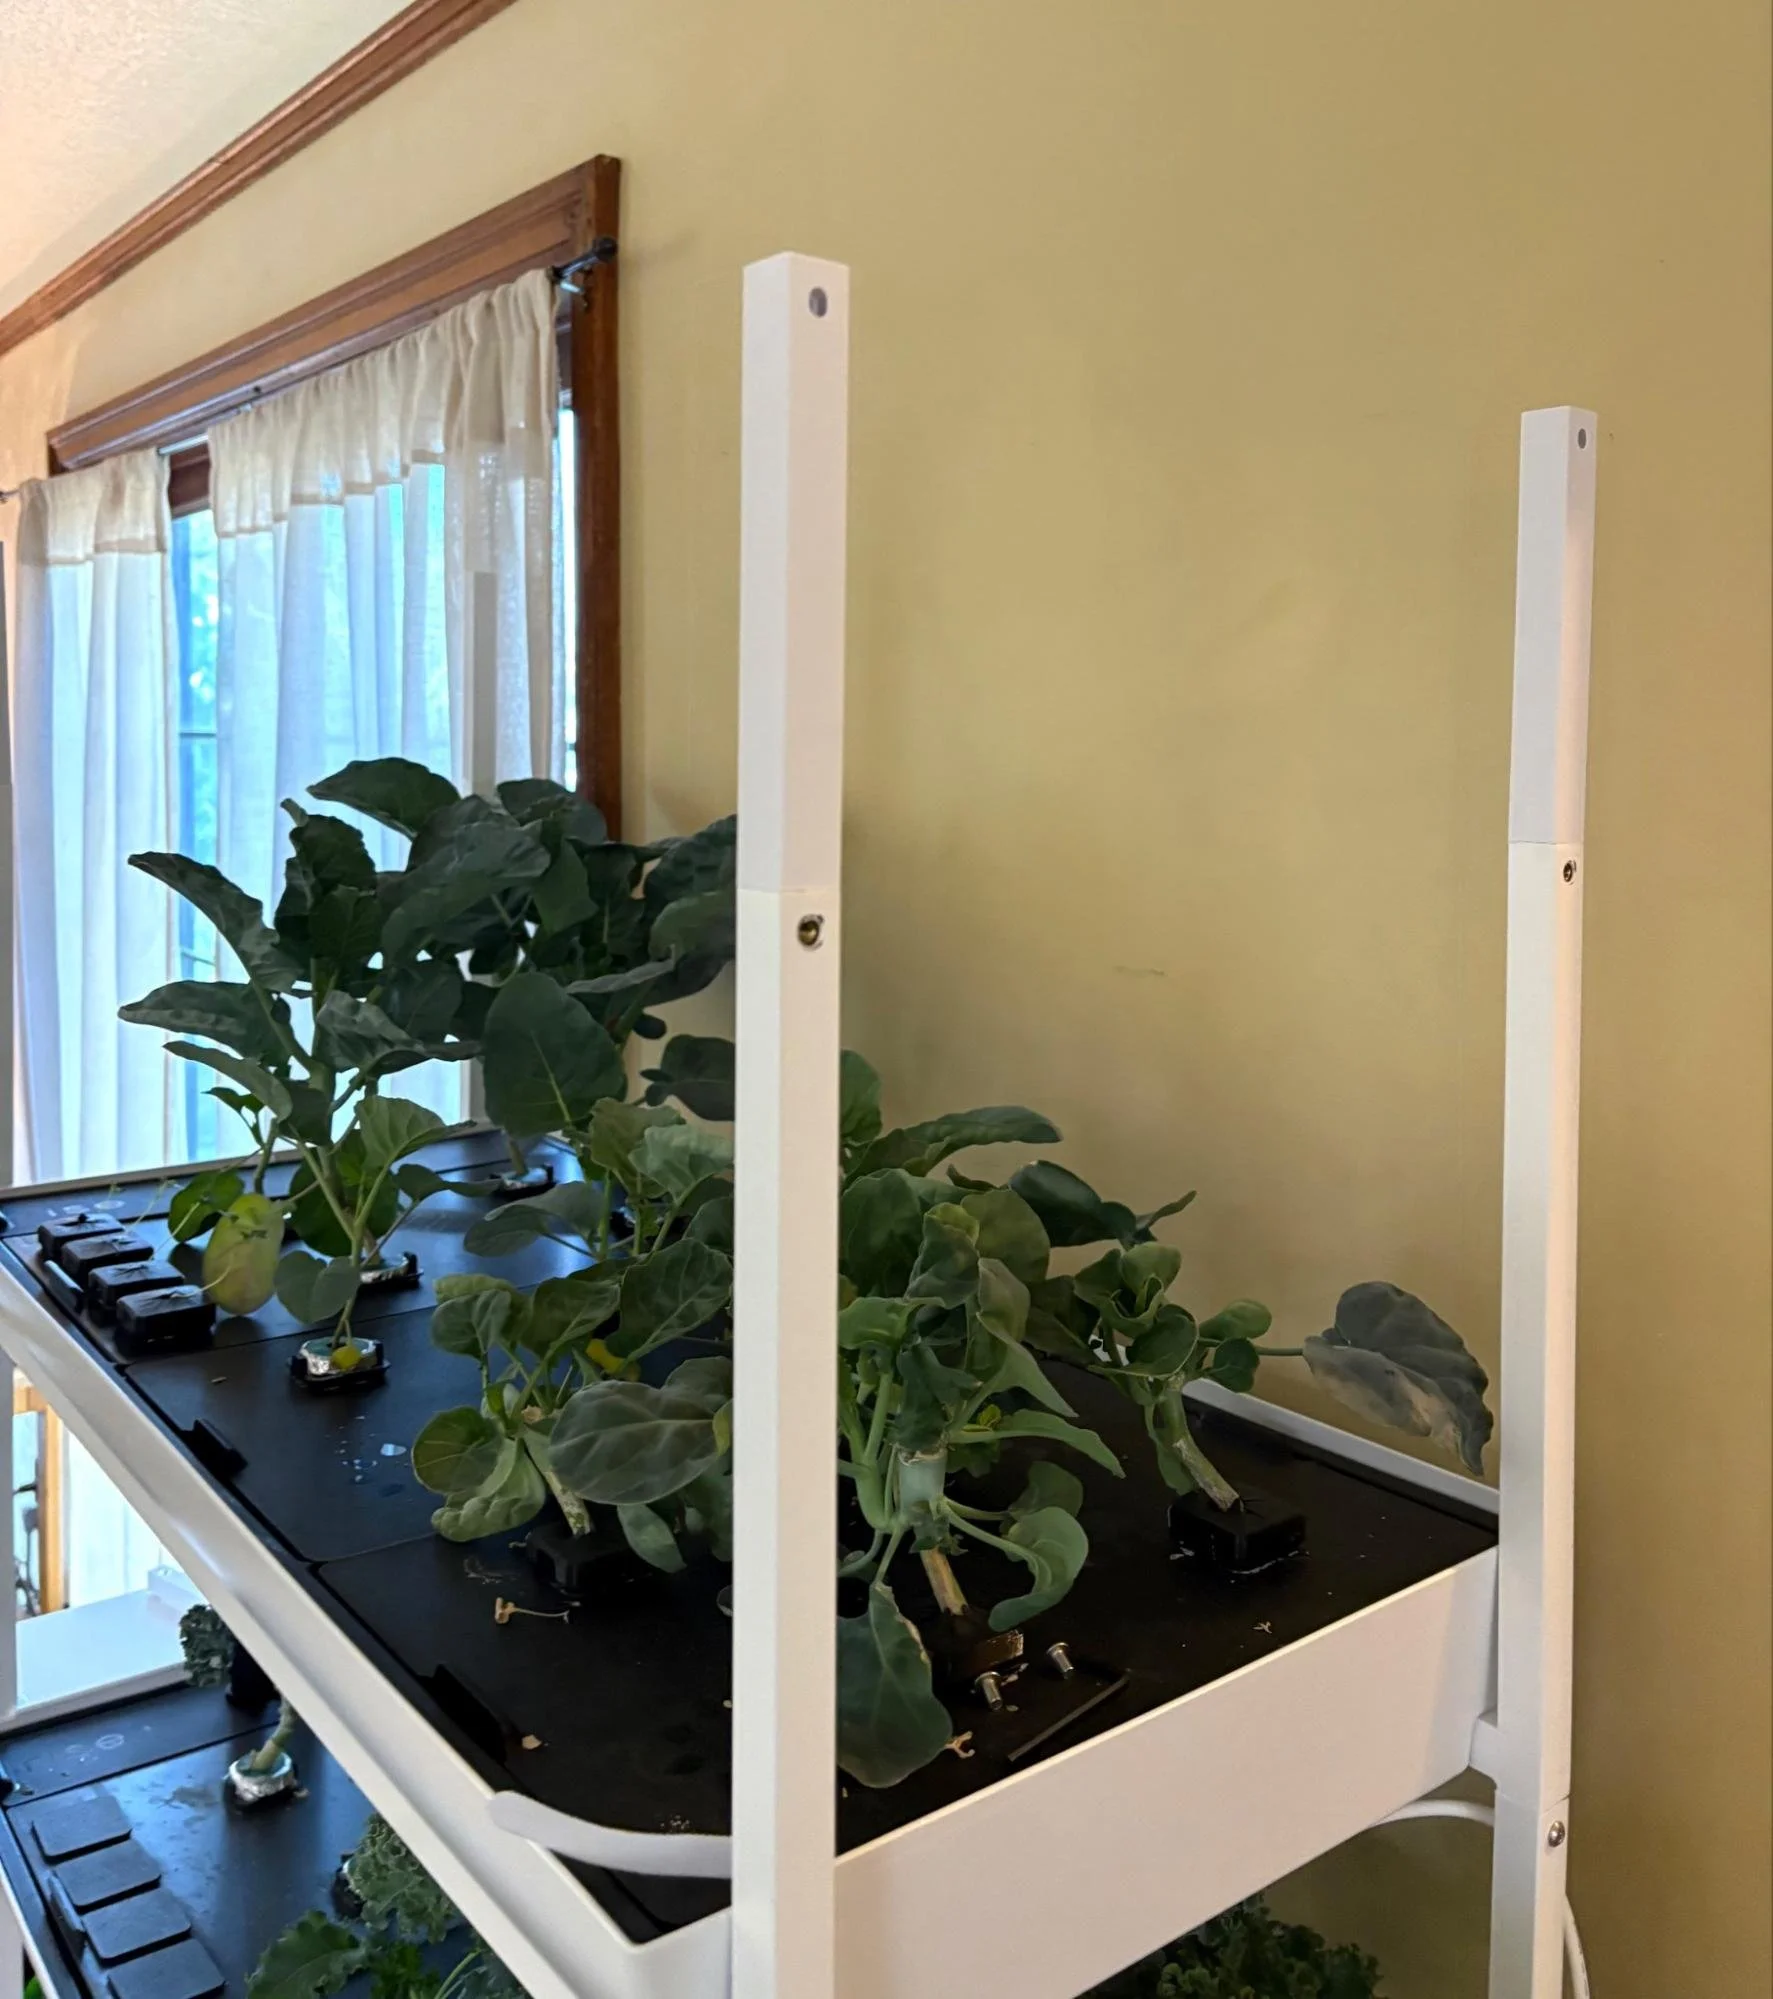
Insert four Shelf Risers on the four legs and secure them using the four screws removed in Step 8.


Step 10
Install the long drain tubes you ordered from Rise and insert the Sound Reduction Kit drain tube bottom screen if you have it.
Place the top shelf on top of the shelf risers. This is best done with two people and remember to be careful of the wires. Now attach the top shelf to the shelf risers with the four supplied screws (there is one spare).


Step 11
Replace the top shelf water tray and plant trays. Then insert the water hose back down the rear tube and into the water tank at the bottom of the garden. Lastly, reattach the water hose to the water pump.


Step 12
Reattach the wires for the lights with the velcro ties or our wire covers (sold separately) if you have them. Tuck any excess wire back through the hole into the cabinet. Now you are all done and ready to grow some taller plants on the top and or middle shelves of your garden!
