Installation Instructions
Sound Reduction Kit for Rise Gardens Gen 2 & 3
Step 1
Before starting, turn off your garden and let all the water drain from the trays into the bottom tank.
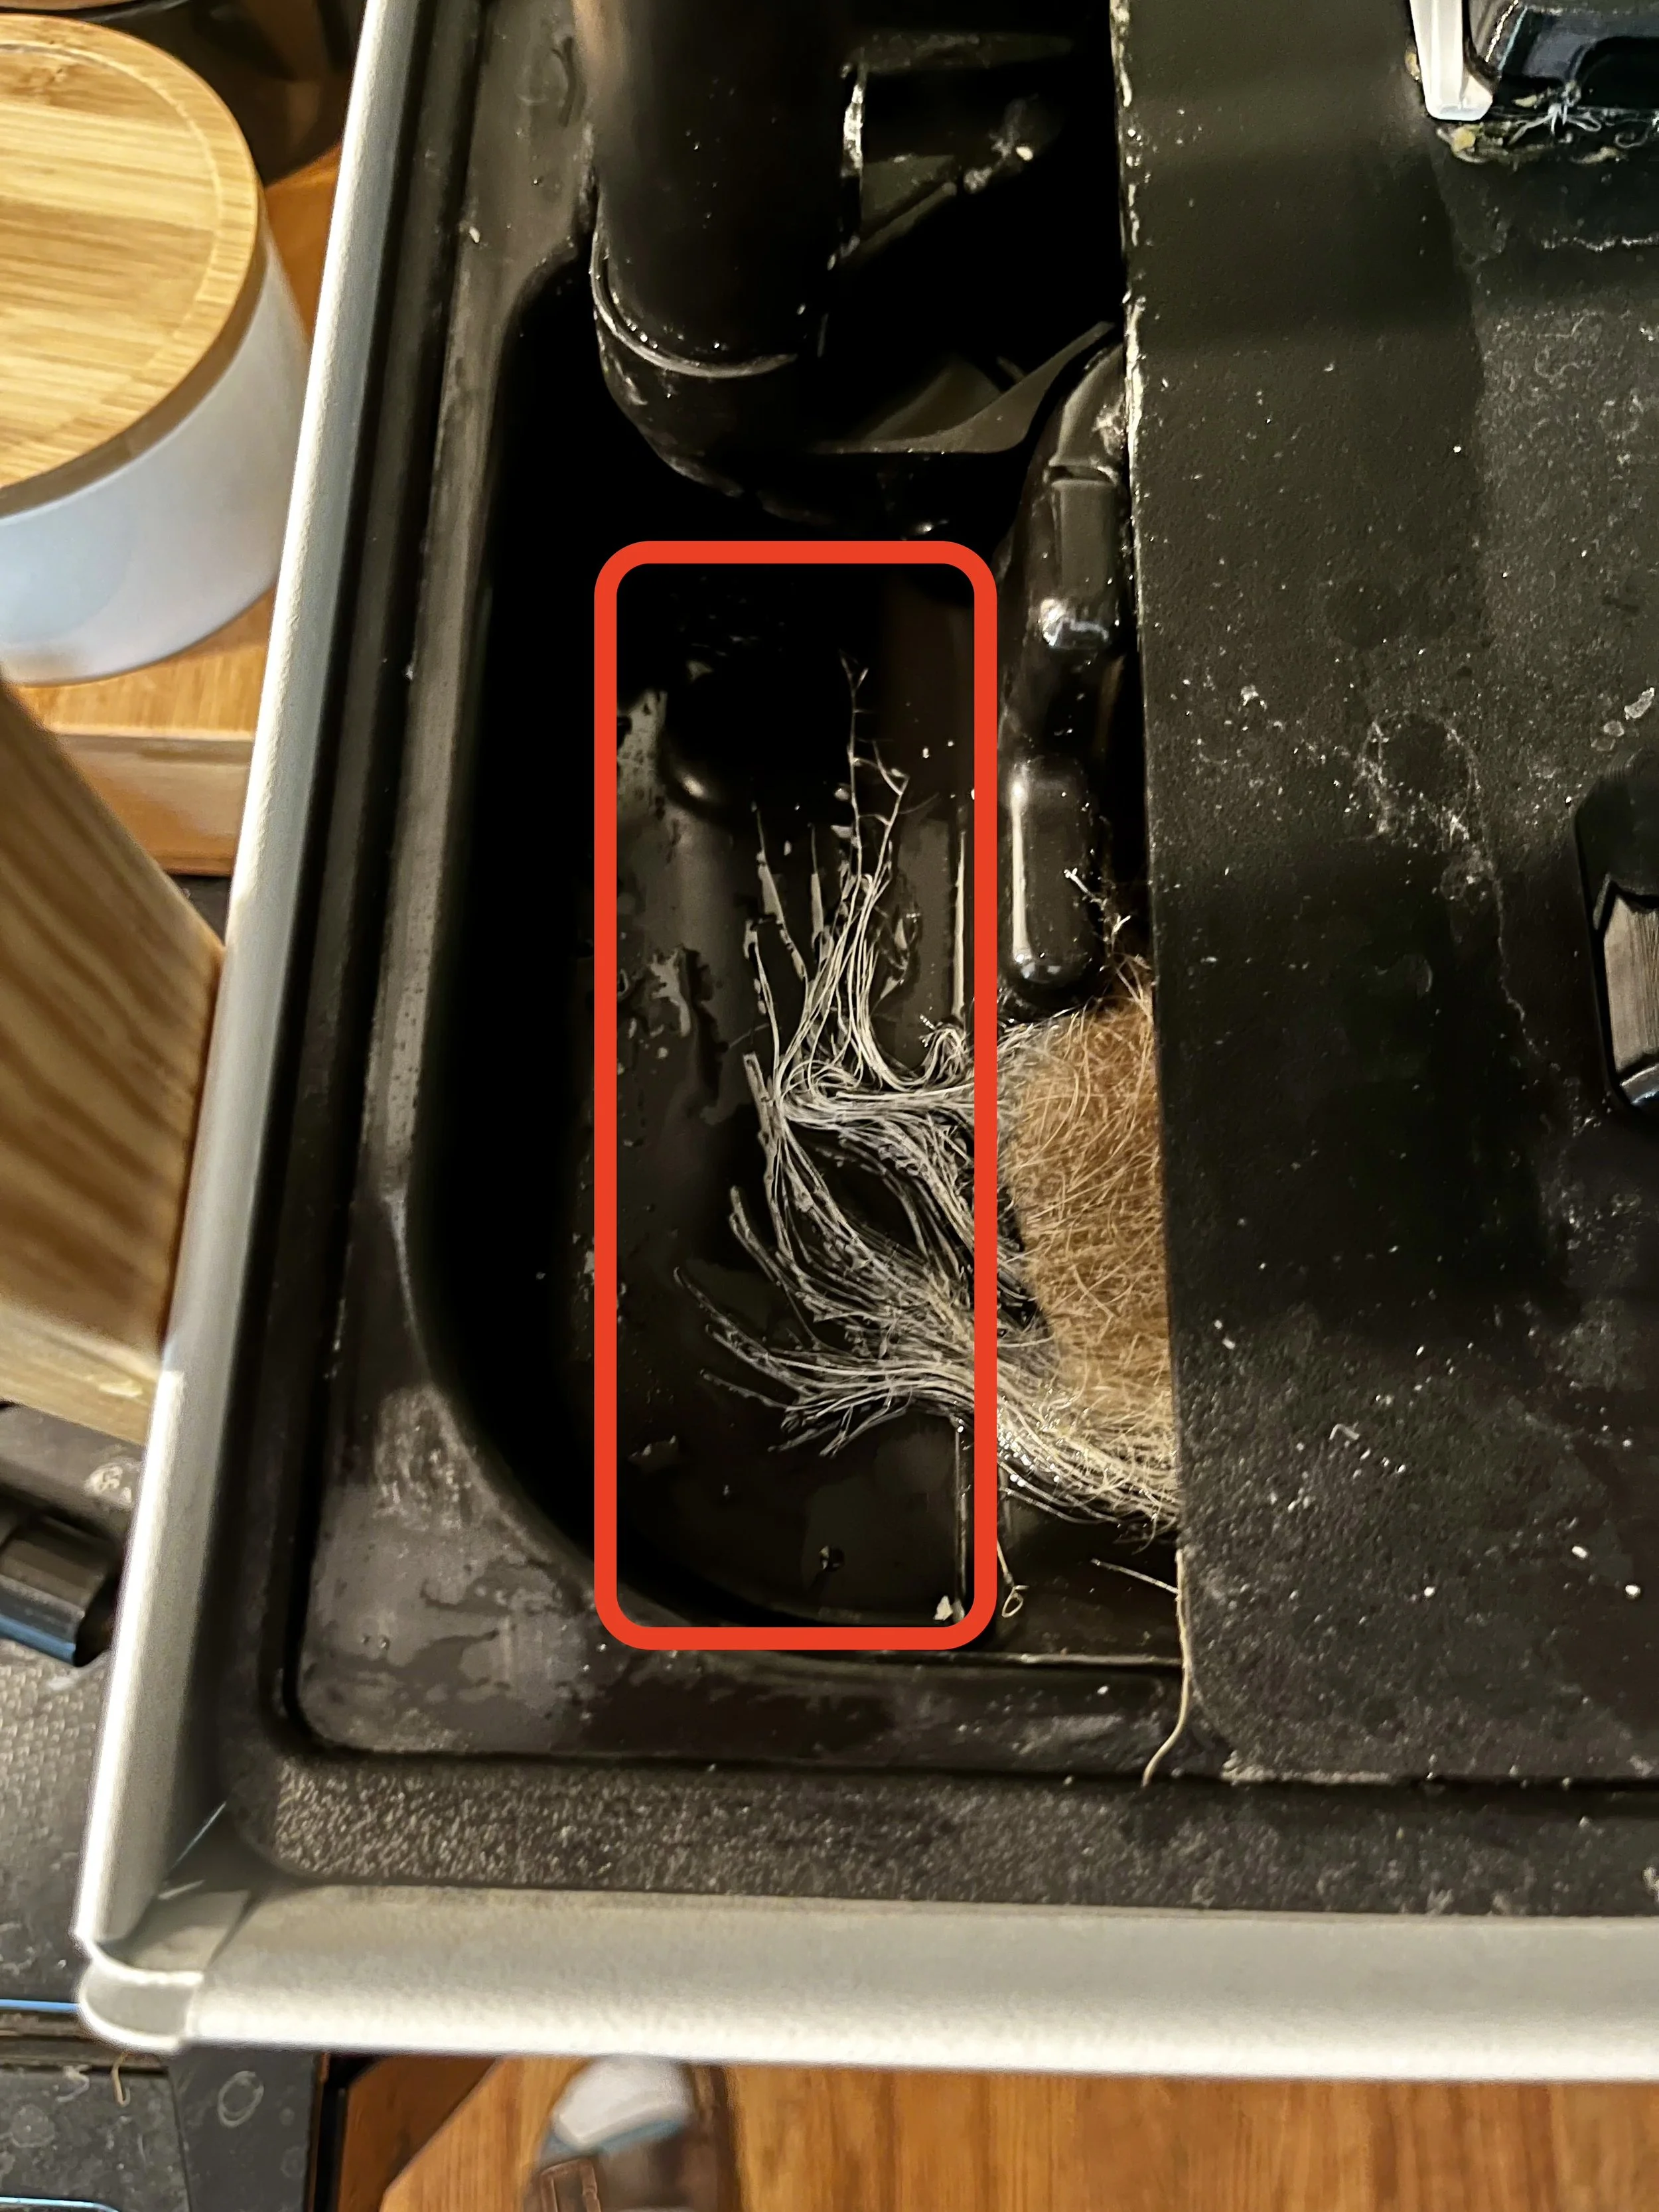
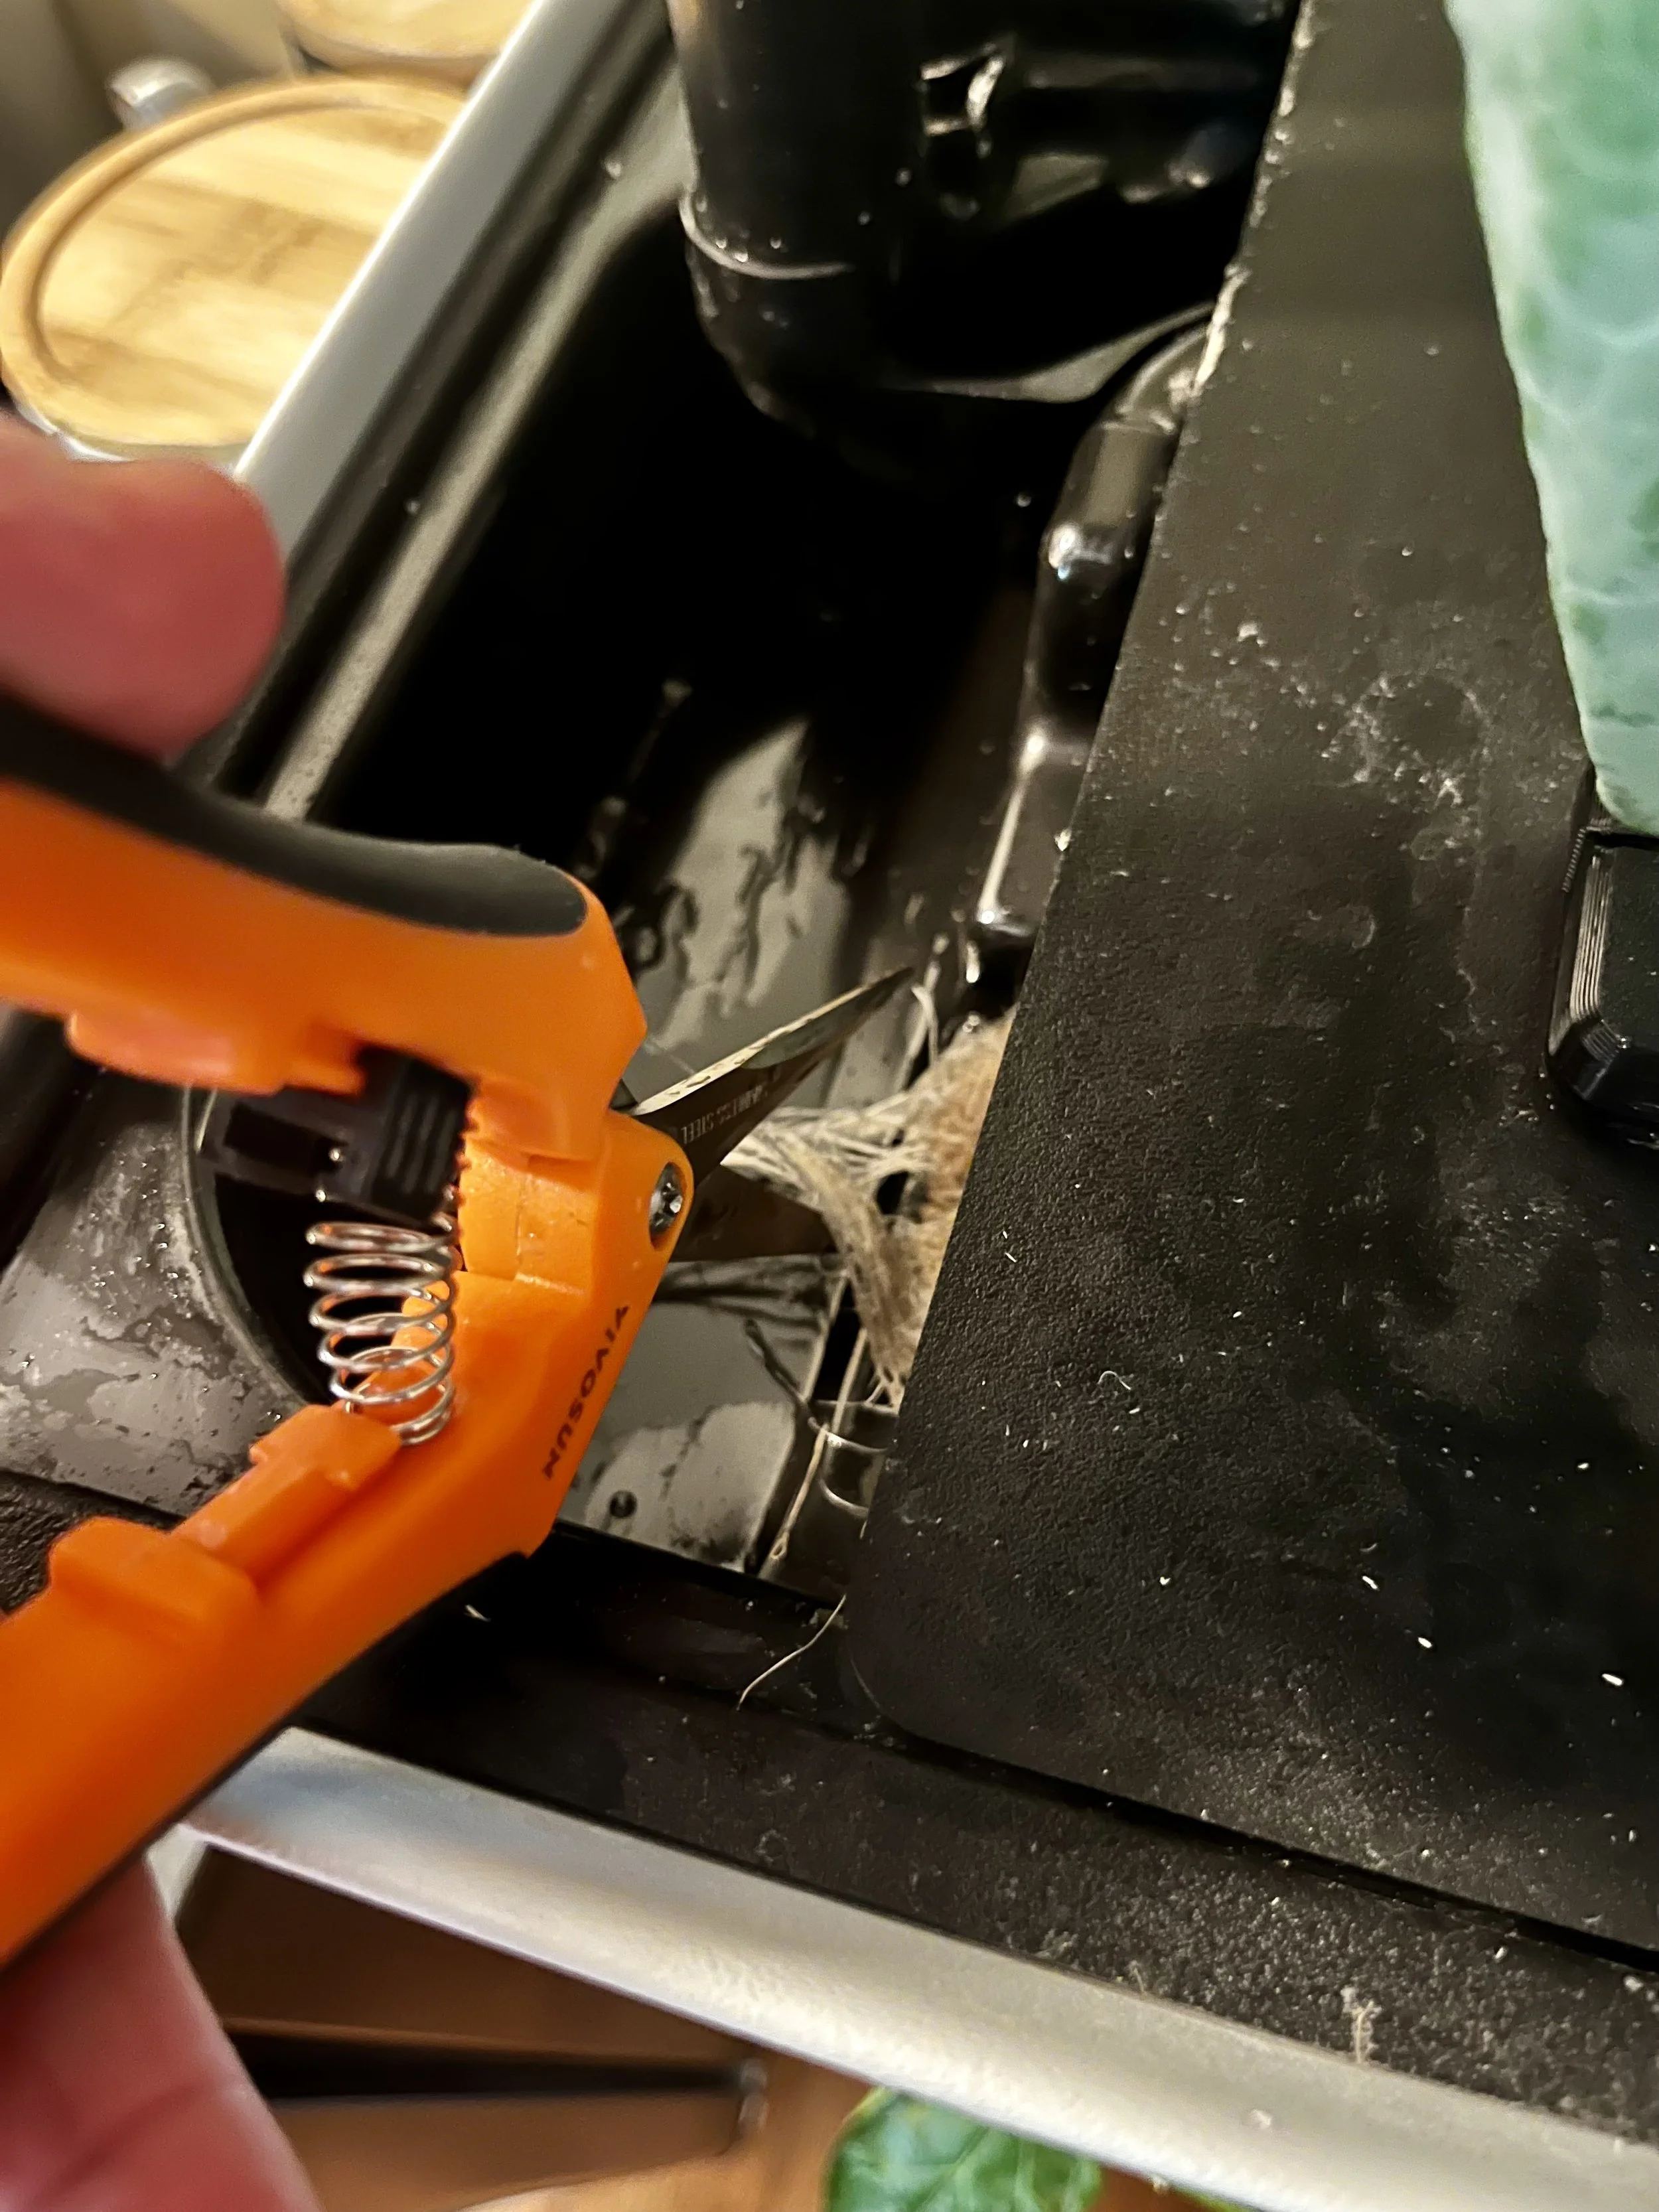
Remove the service doors on all levels of your garden and check that there are no roots in the area circled in Red. If there are, use some scissors or clippers to cut the roots back. I’ve seen no negative effects on plant growth from trimming the roots like this. Repeat this for all levels of your garden.
It is important to keep the service area clear from roots so that they do not grow into the drain screens that we will be adding and clog them.
Step 2
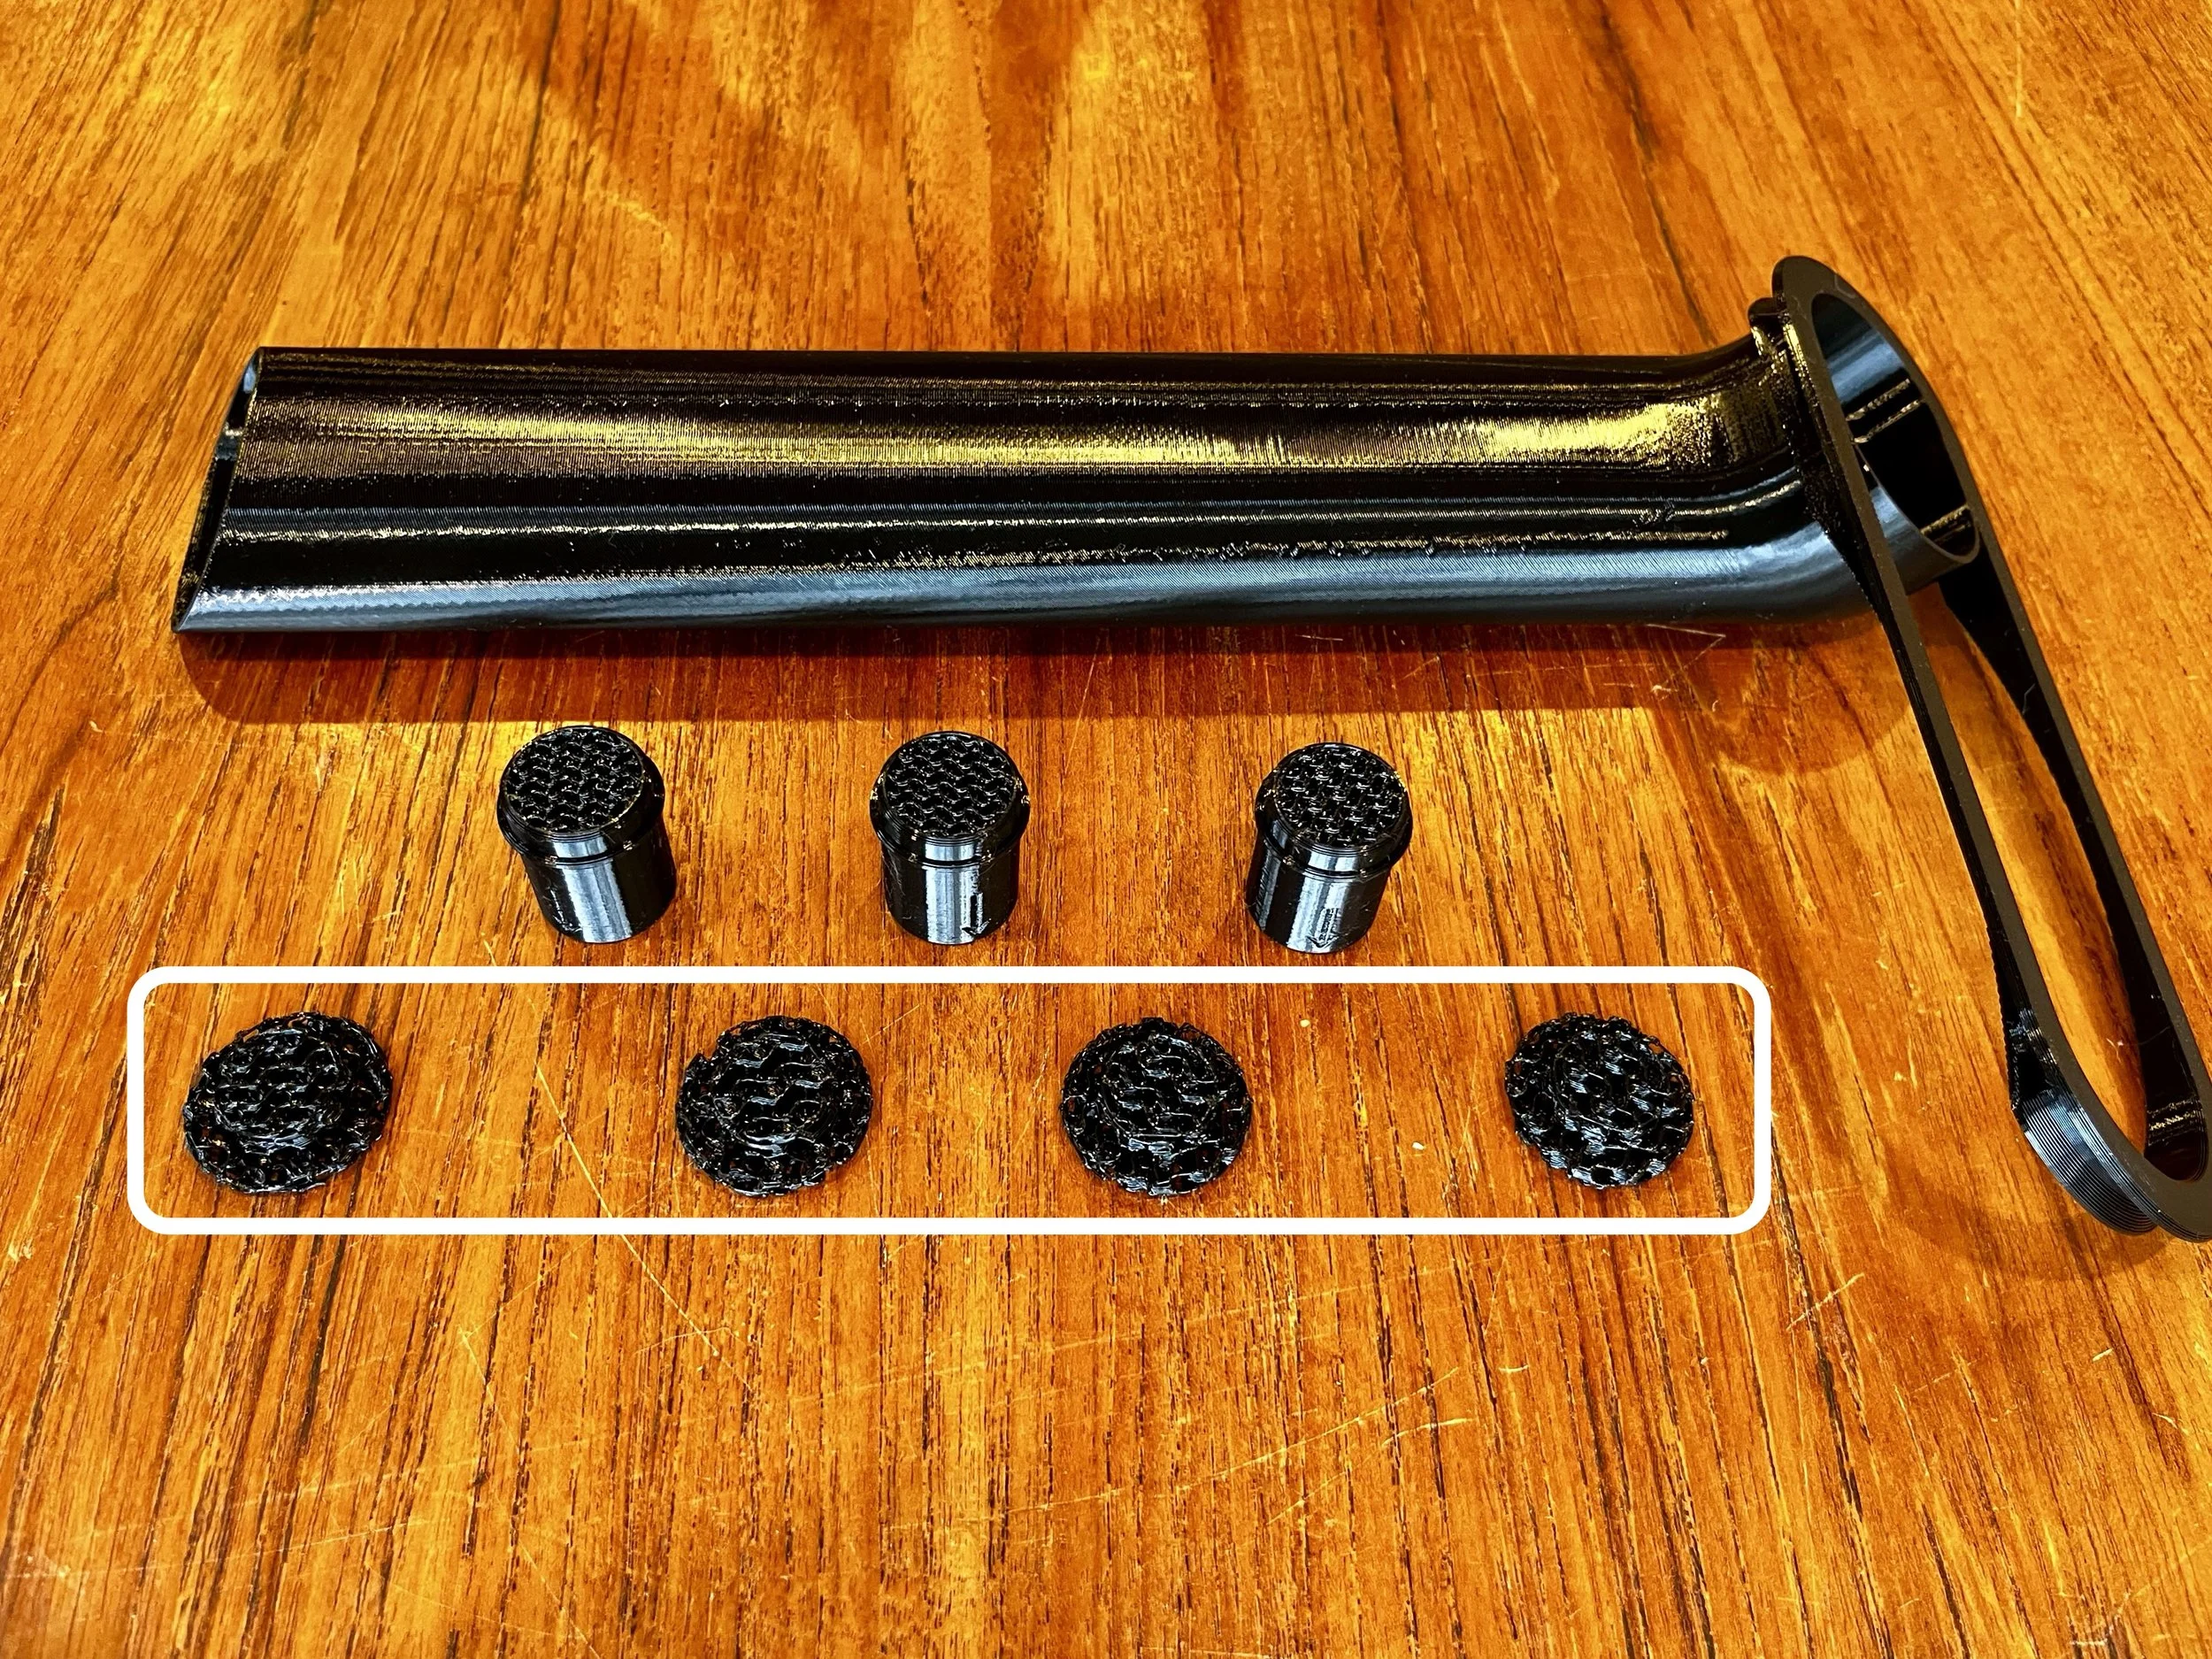
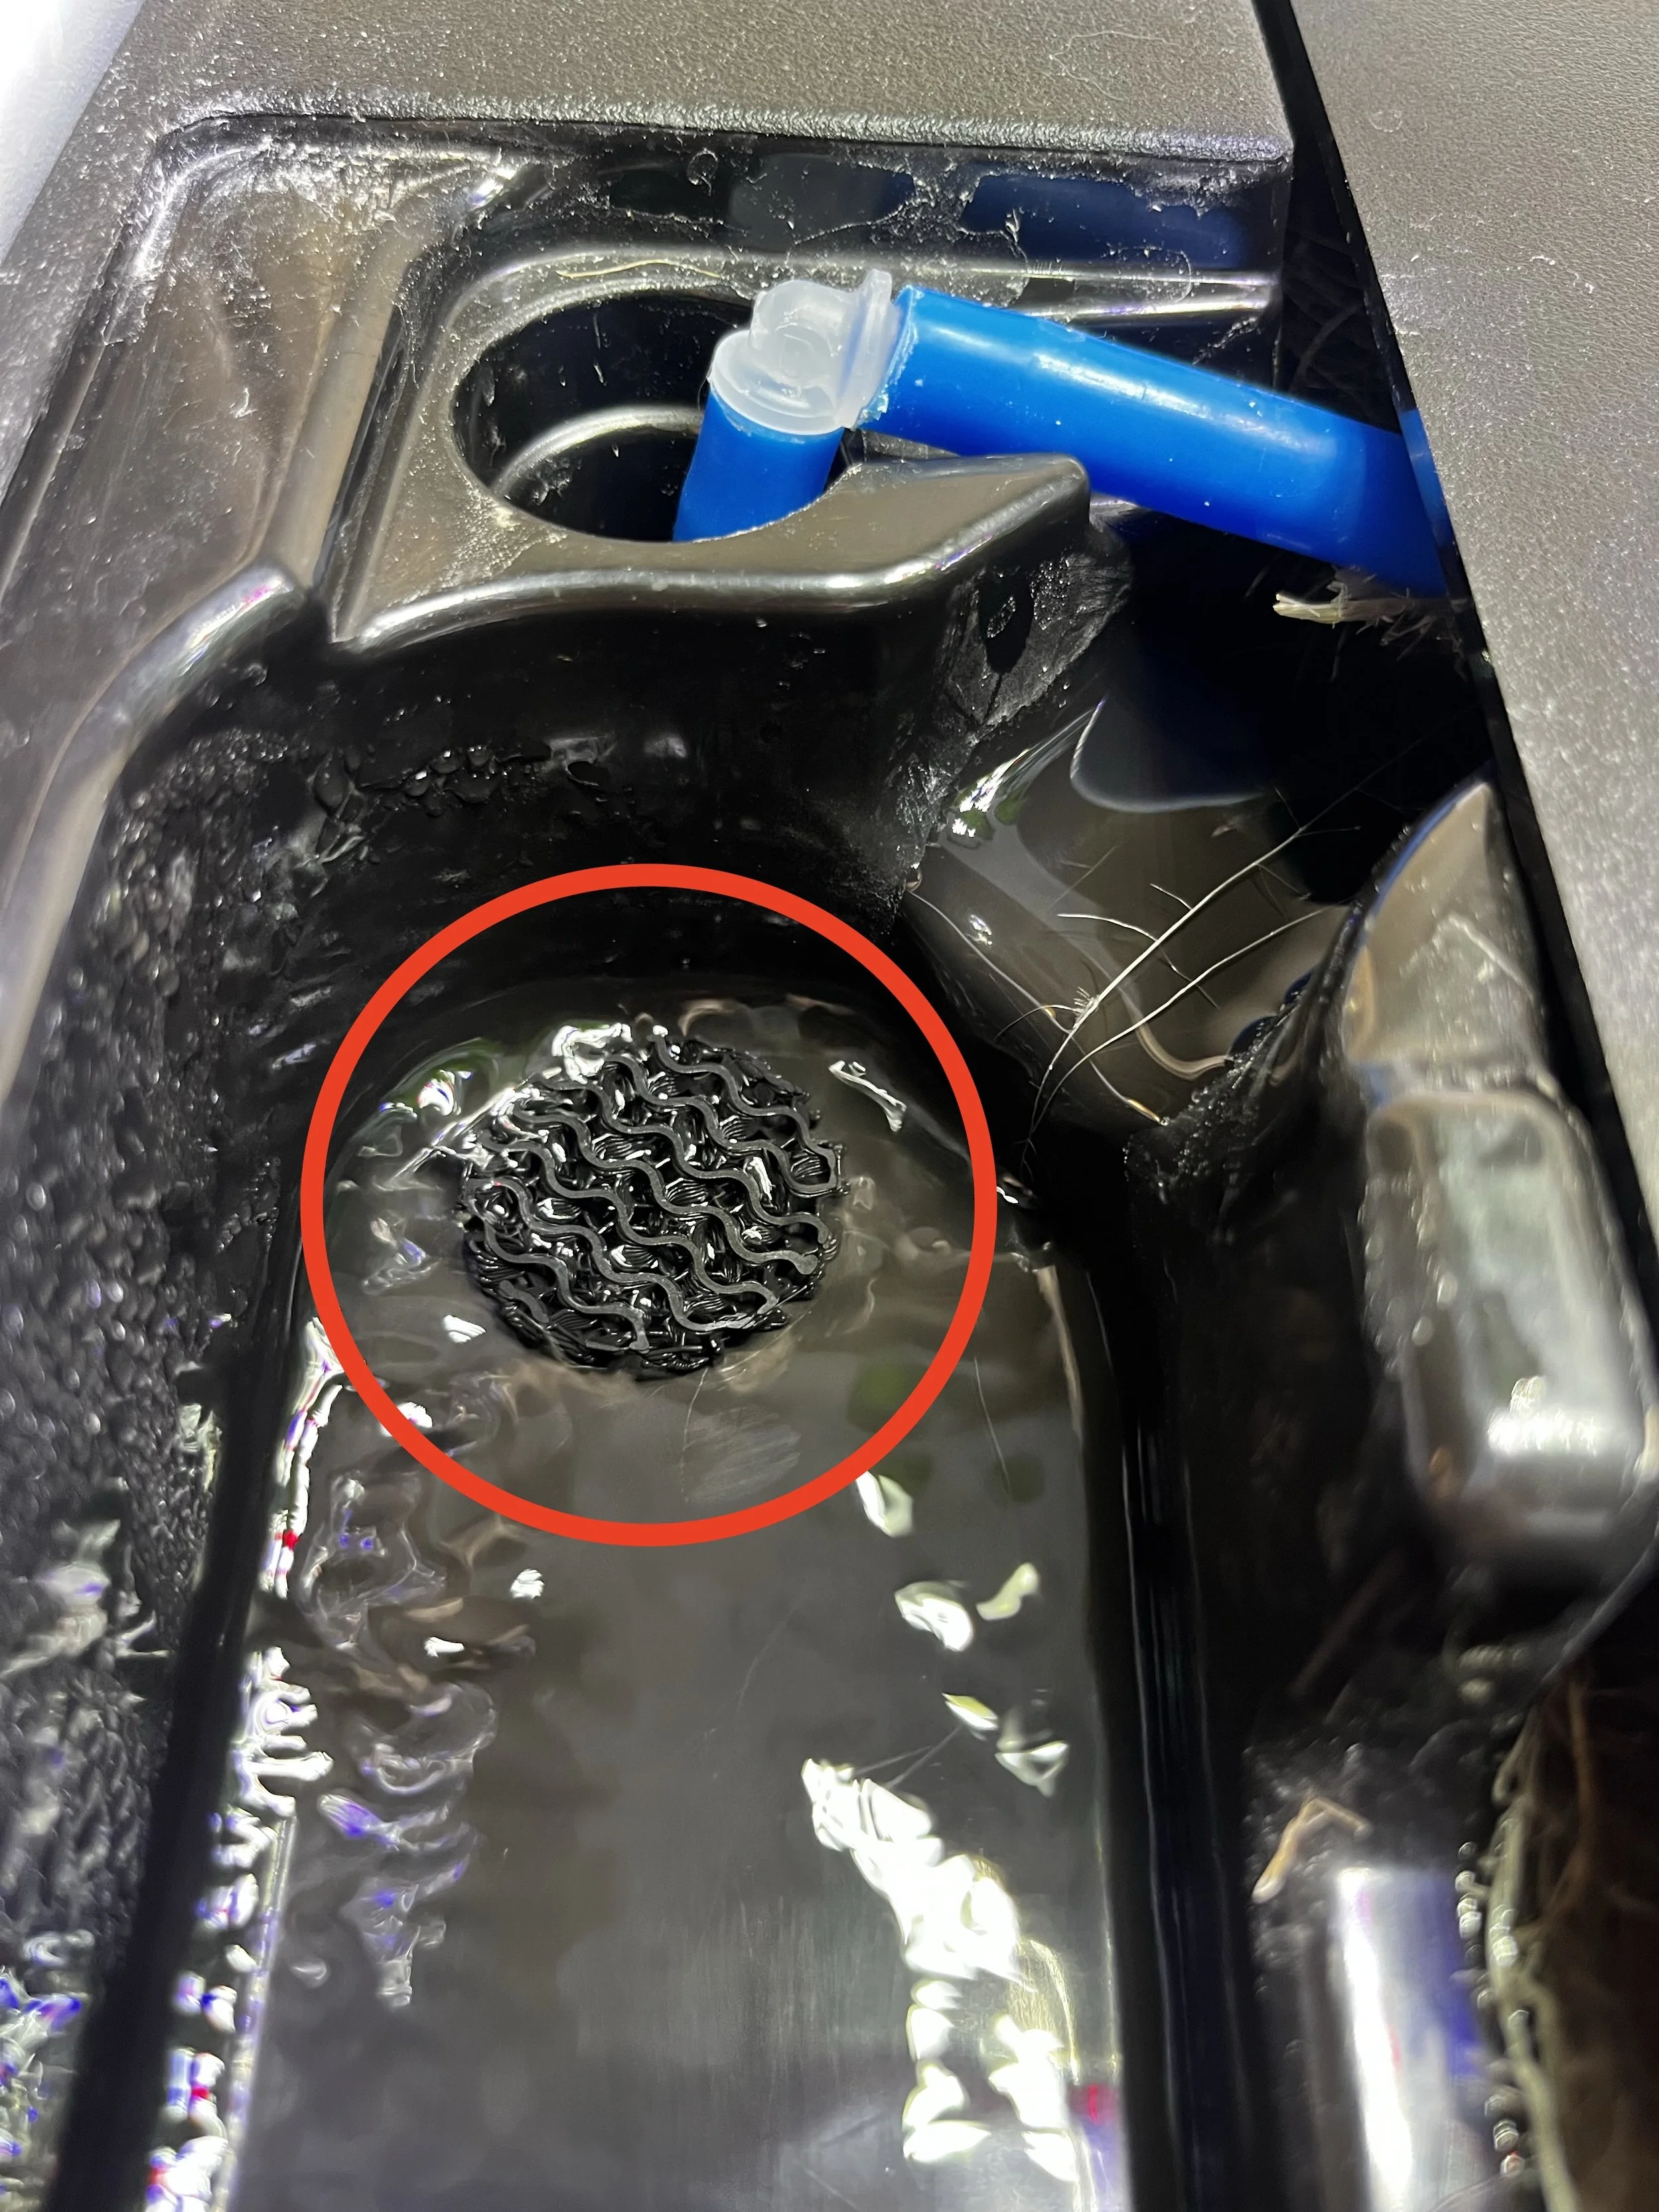
Add the drain top screens, which are the small flat circular screens circled in white. Place a drain top screen in the drain hole on each level of your garden. Make sure that the wider part is facing up and the narrower part seats into the drain hole.
If you have a 3-tier garden you will have one extra and if you have fewer tiers you will have a corresponding amount more extras.
Step 3
If you have a 1-tier garden, skip to step 4. You will not be using the drain bottom screens.
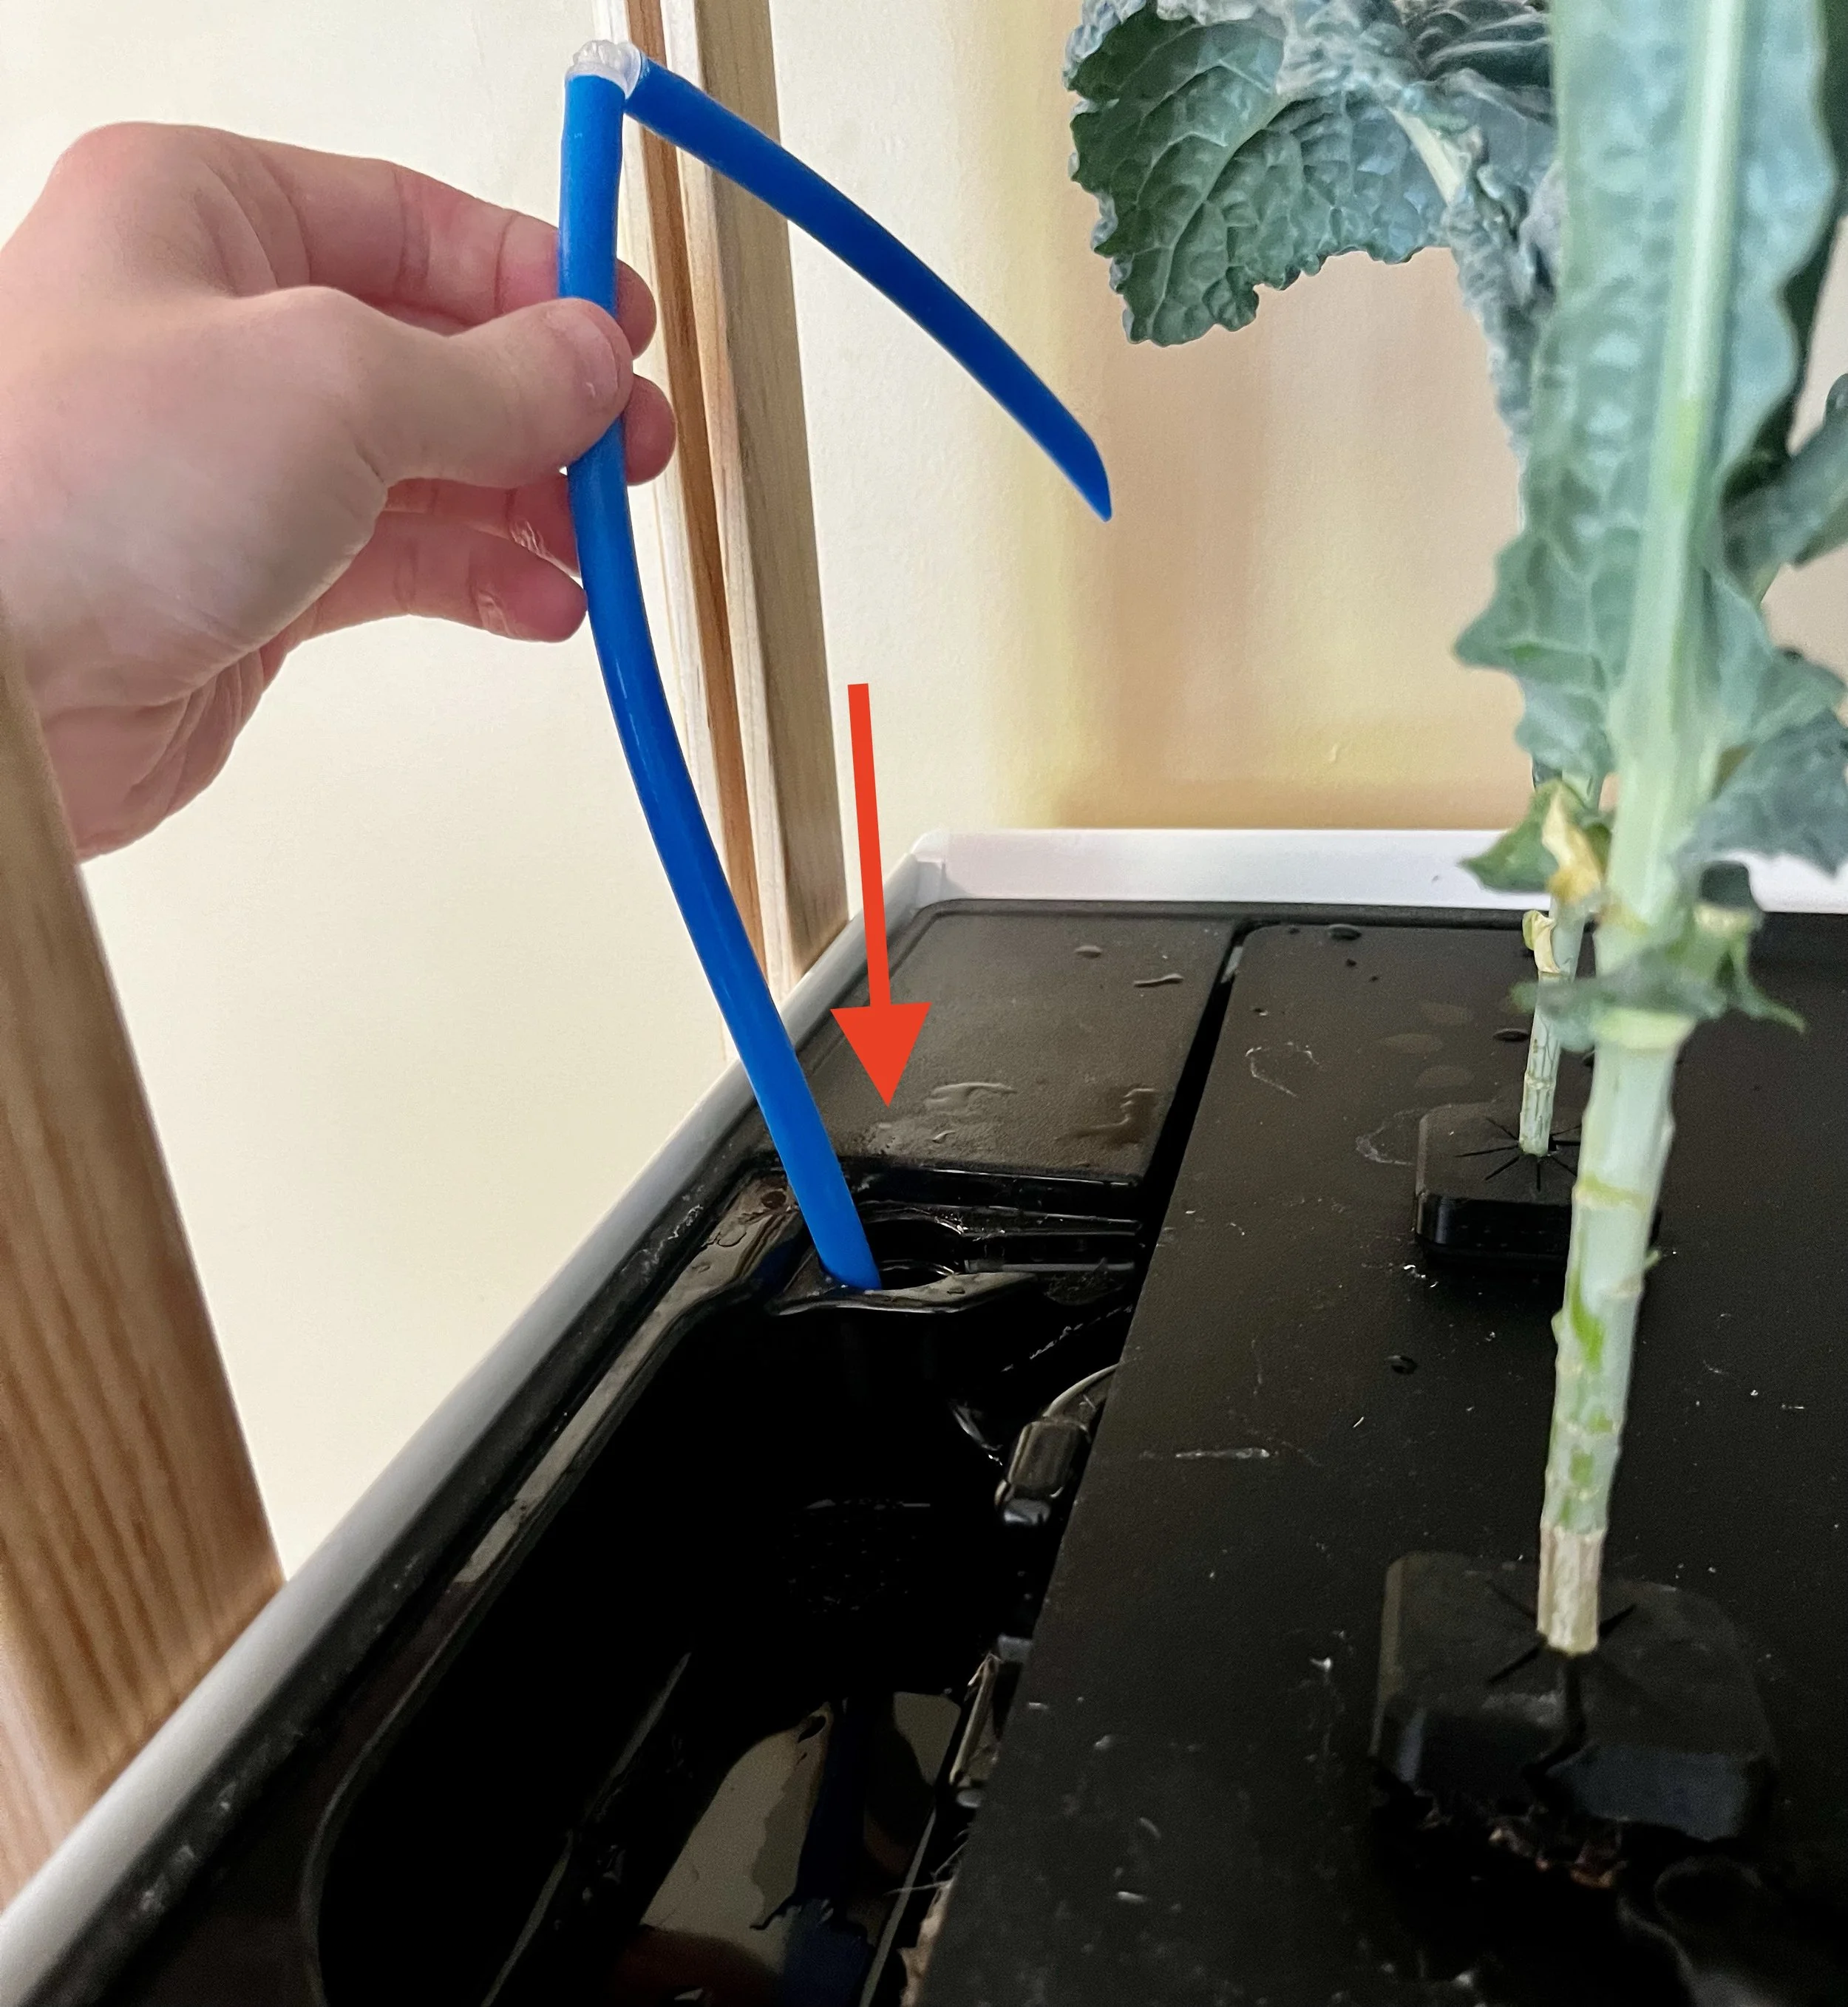
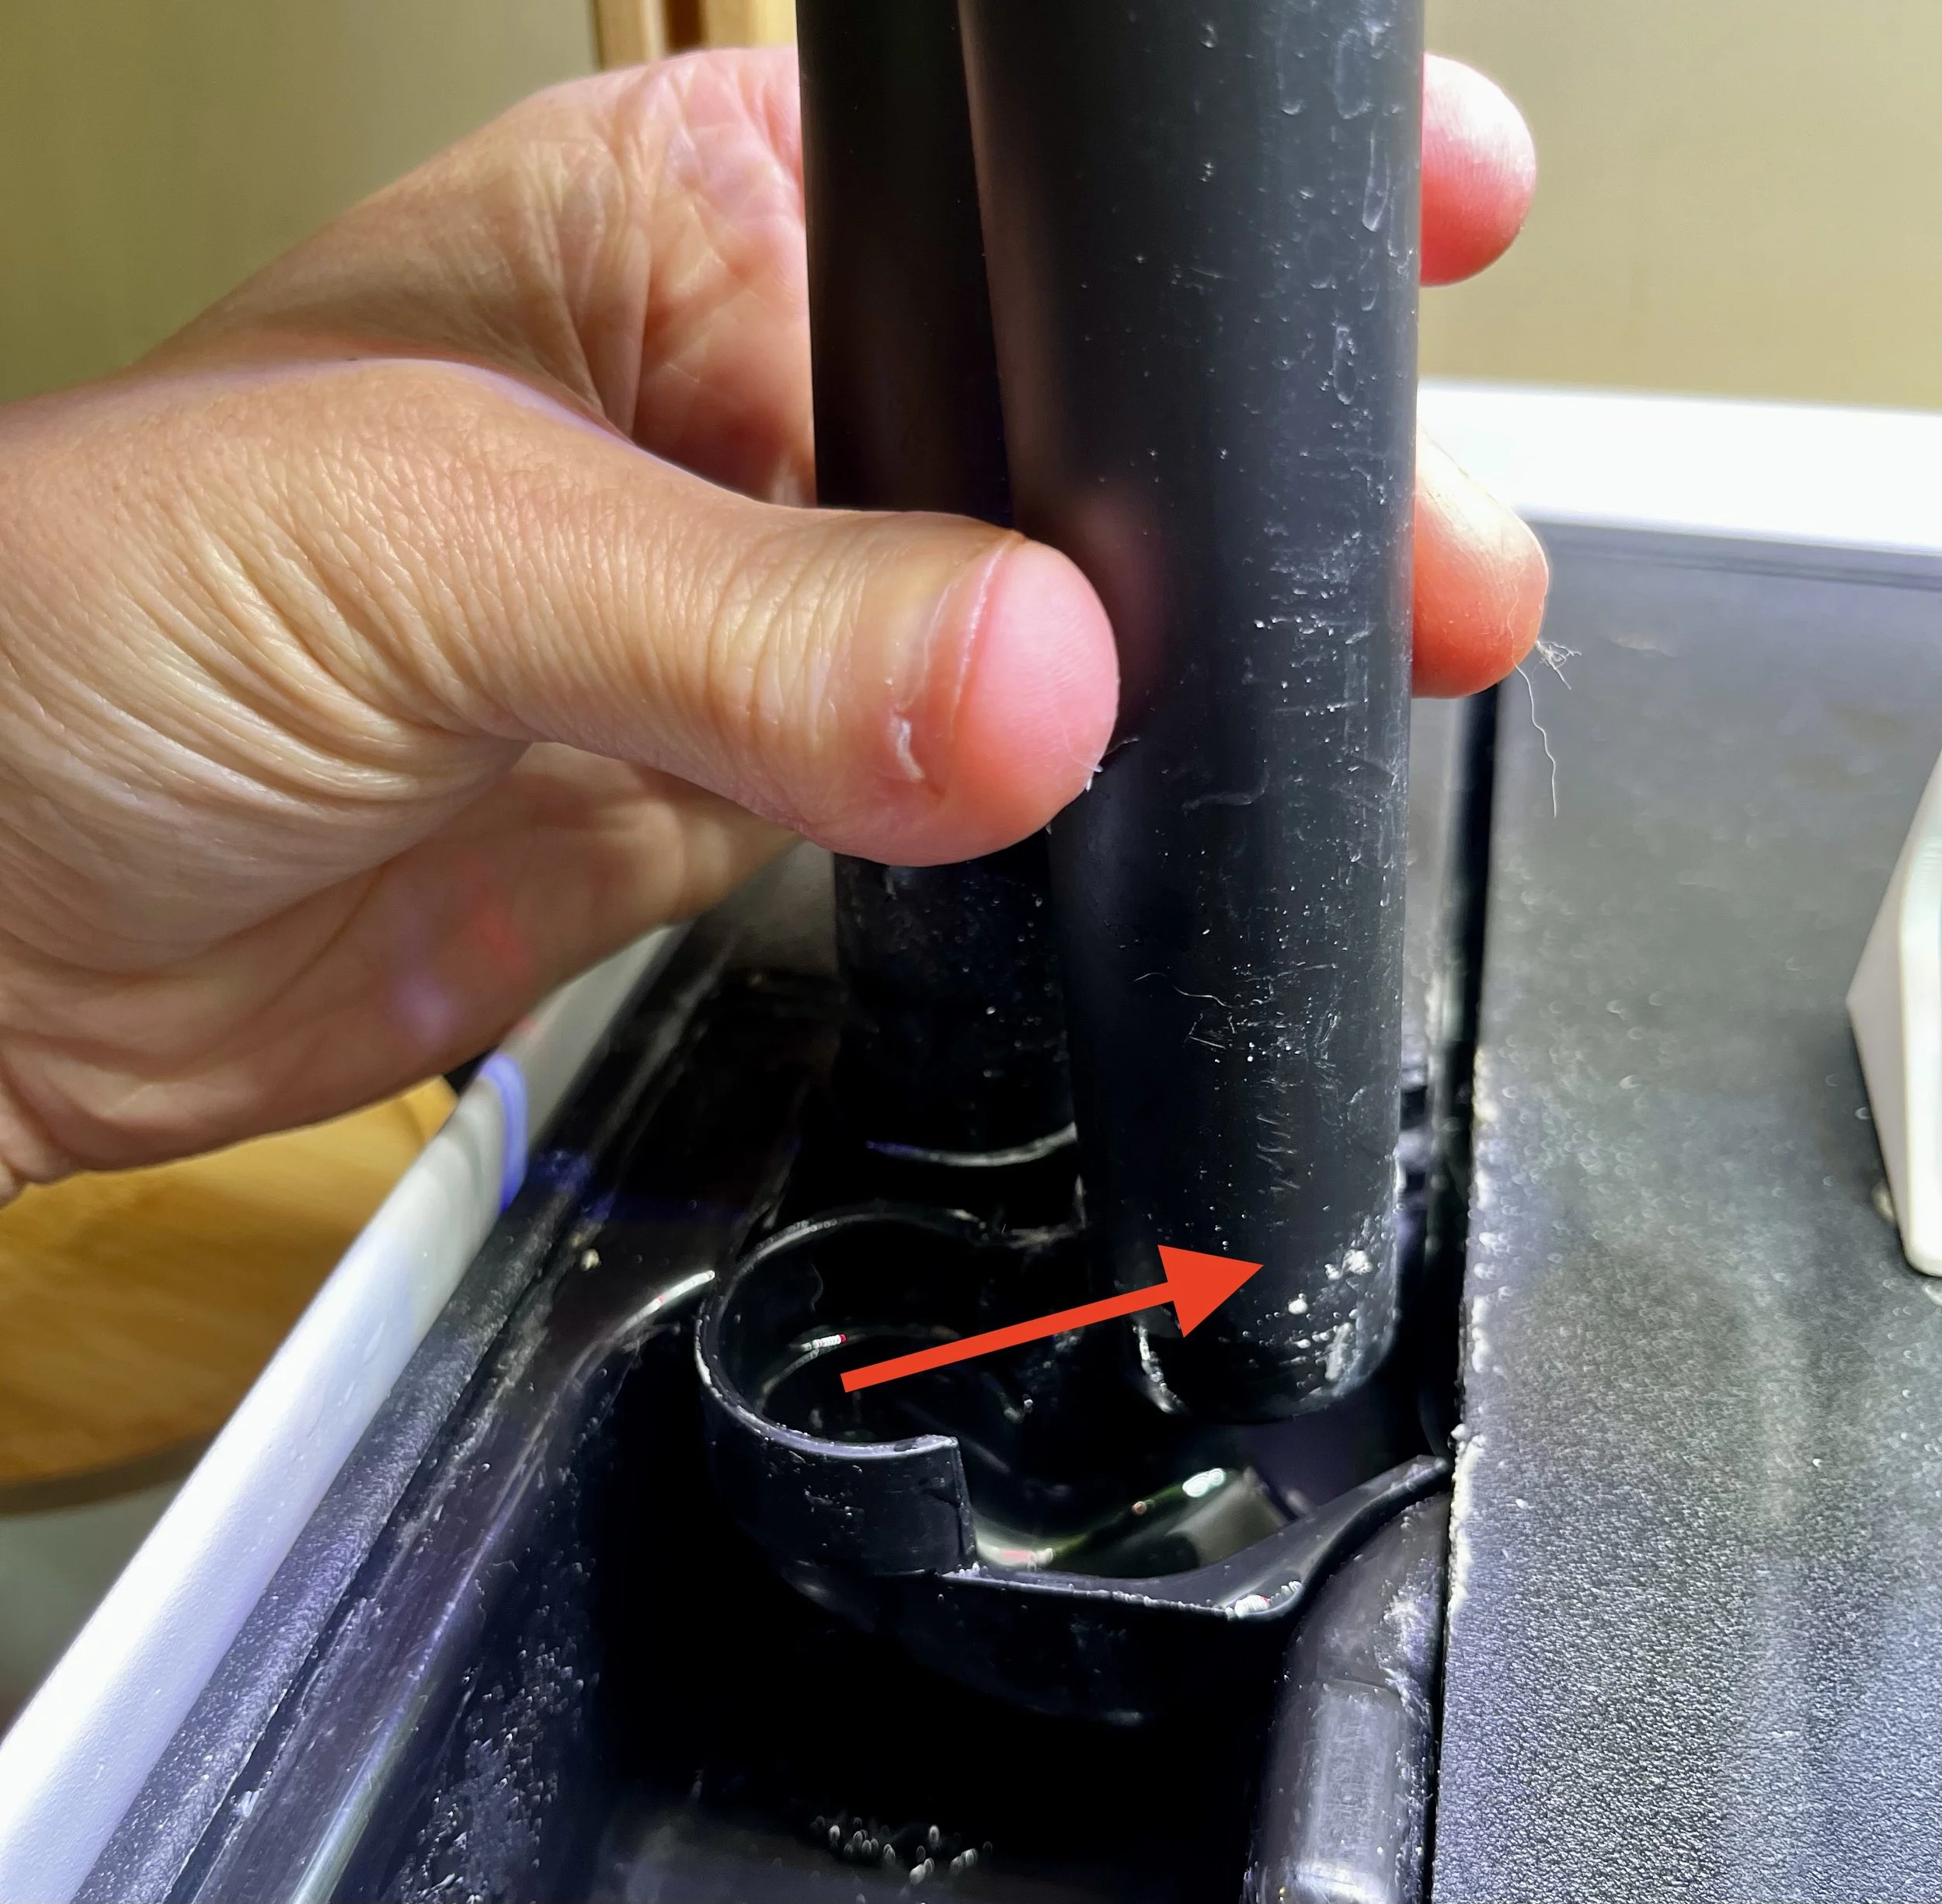
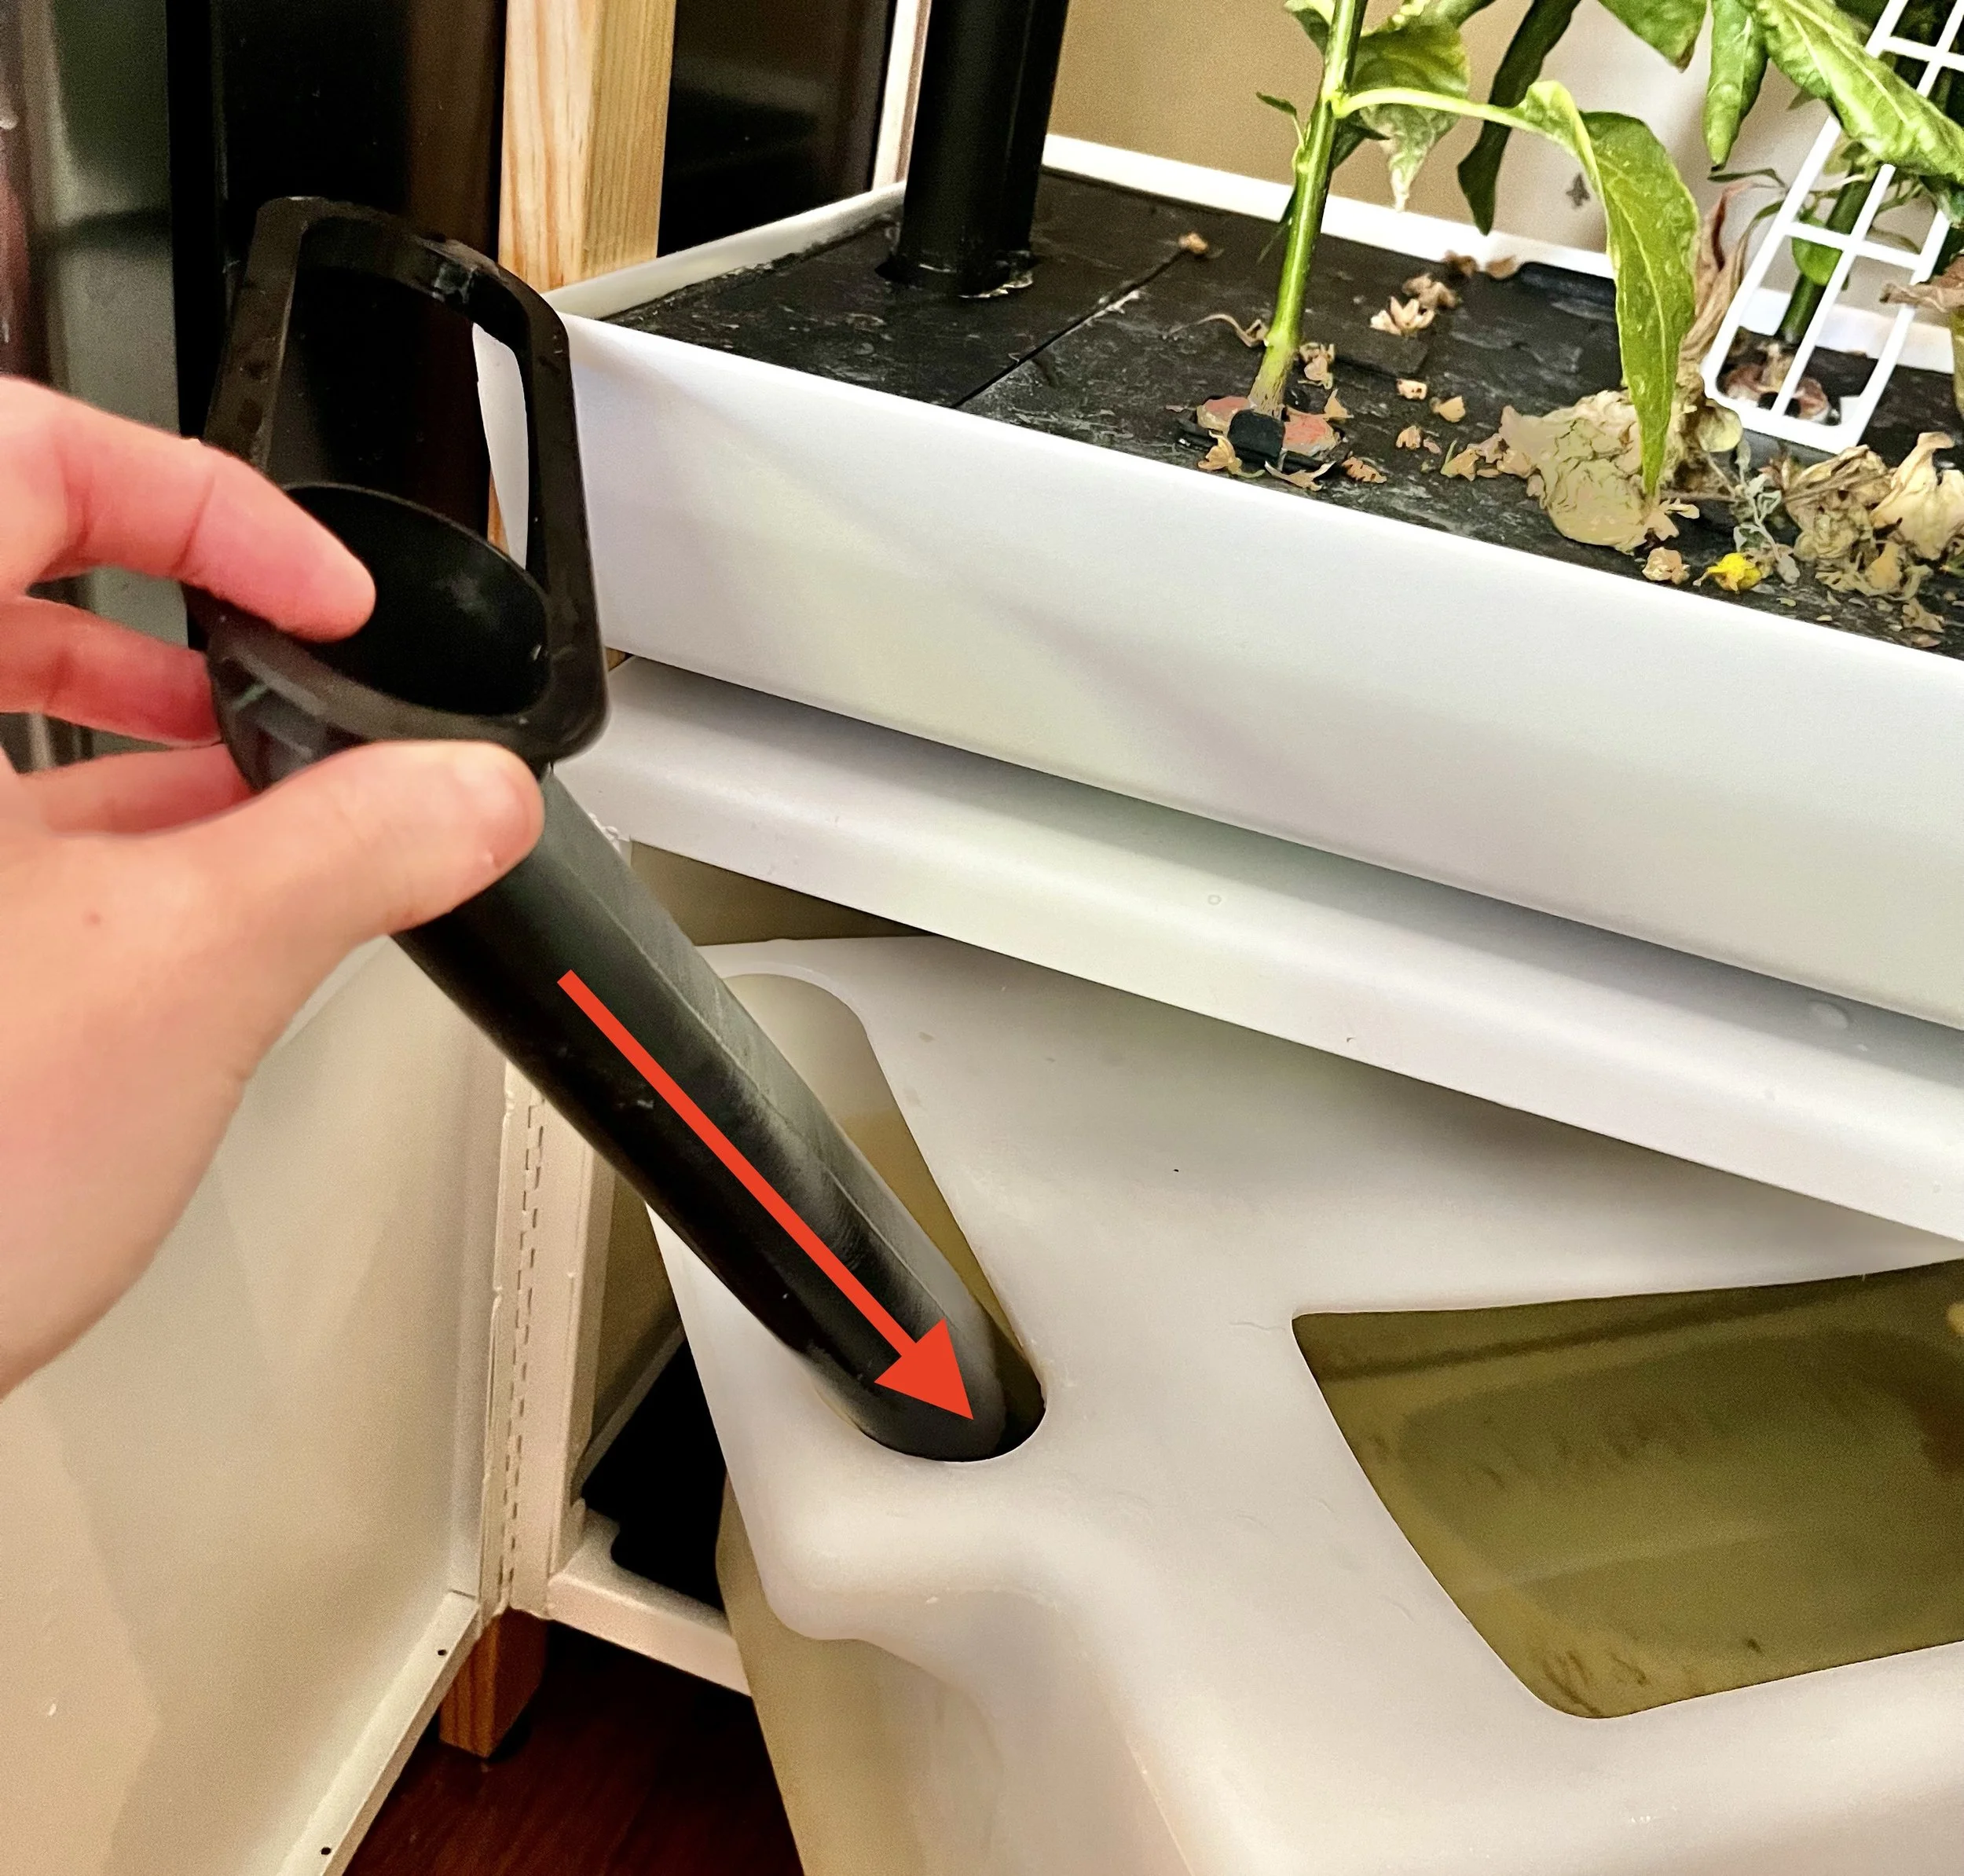
For 2 and 3-tier gardens start by pushing the drain pipe out from its connection at the bottom. Then angle the drain pipe so that it is over the service area.
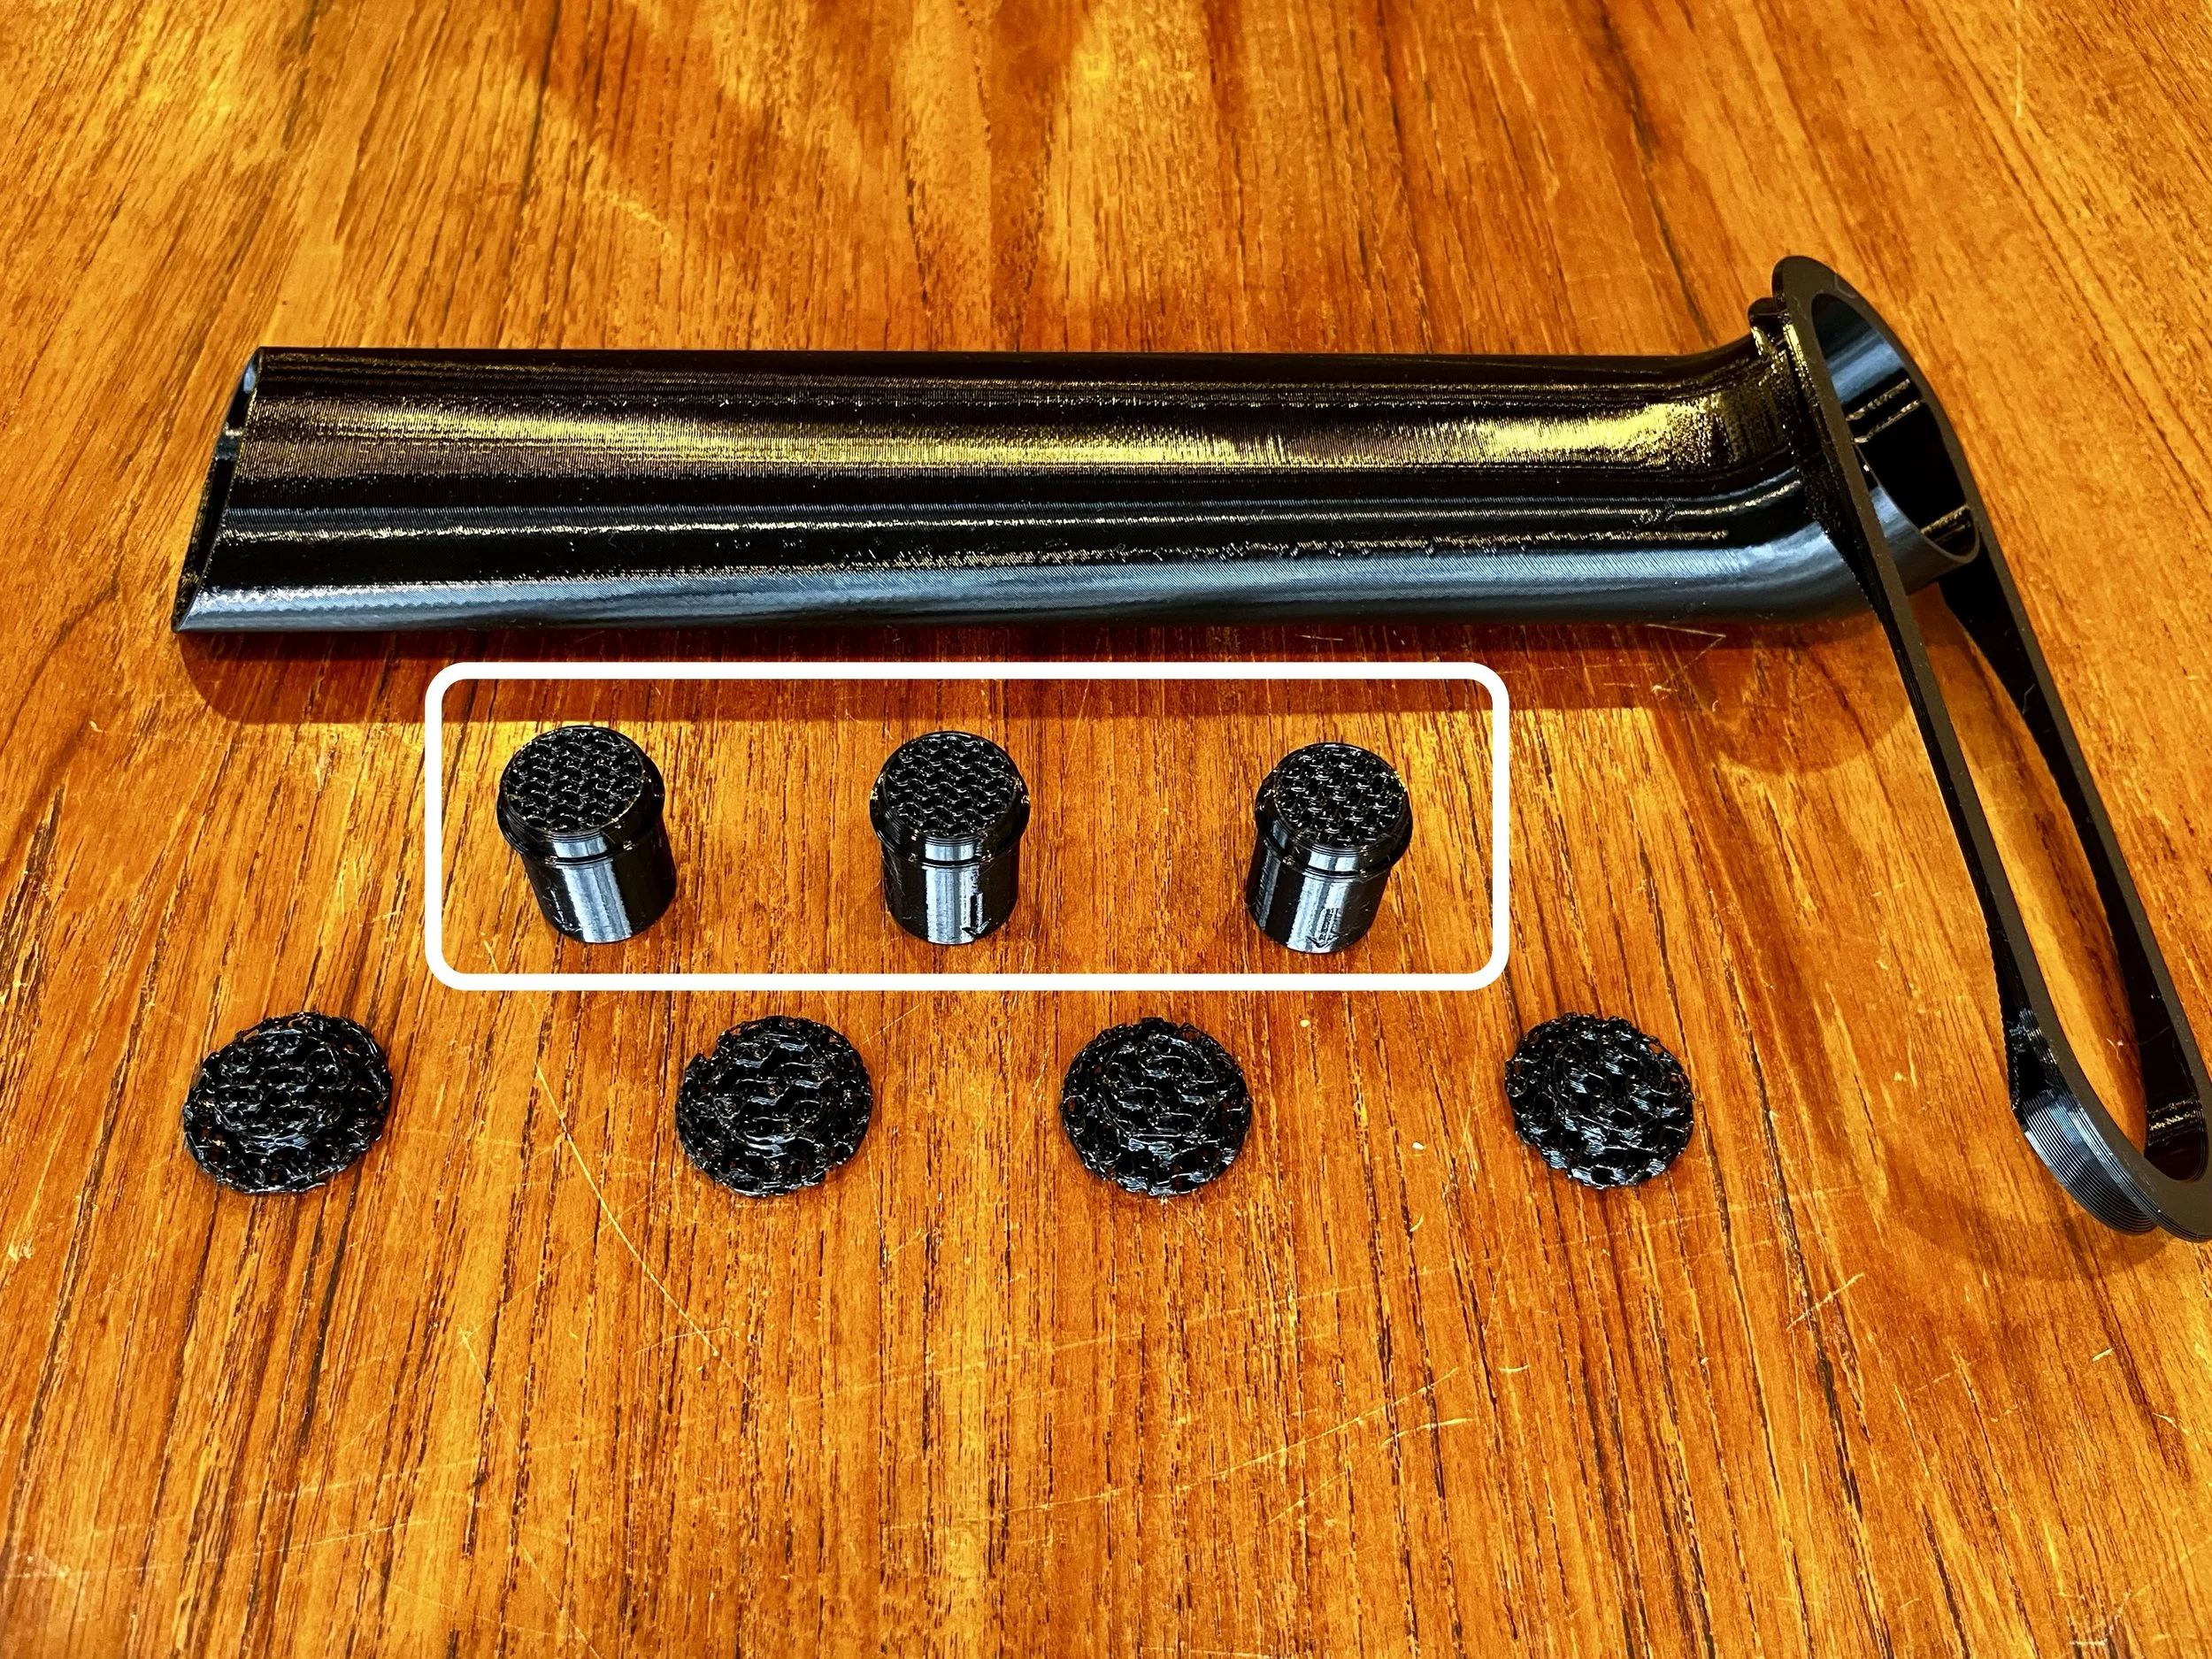
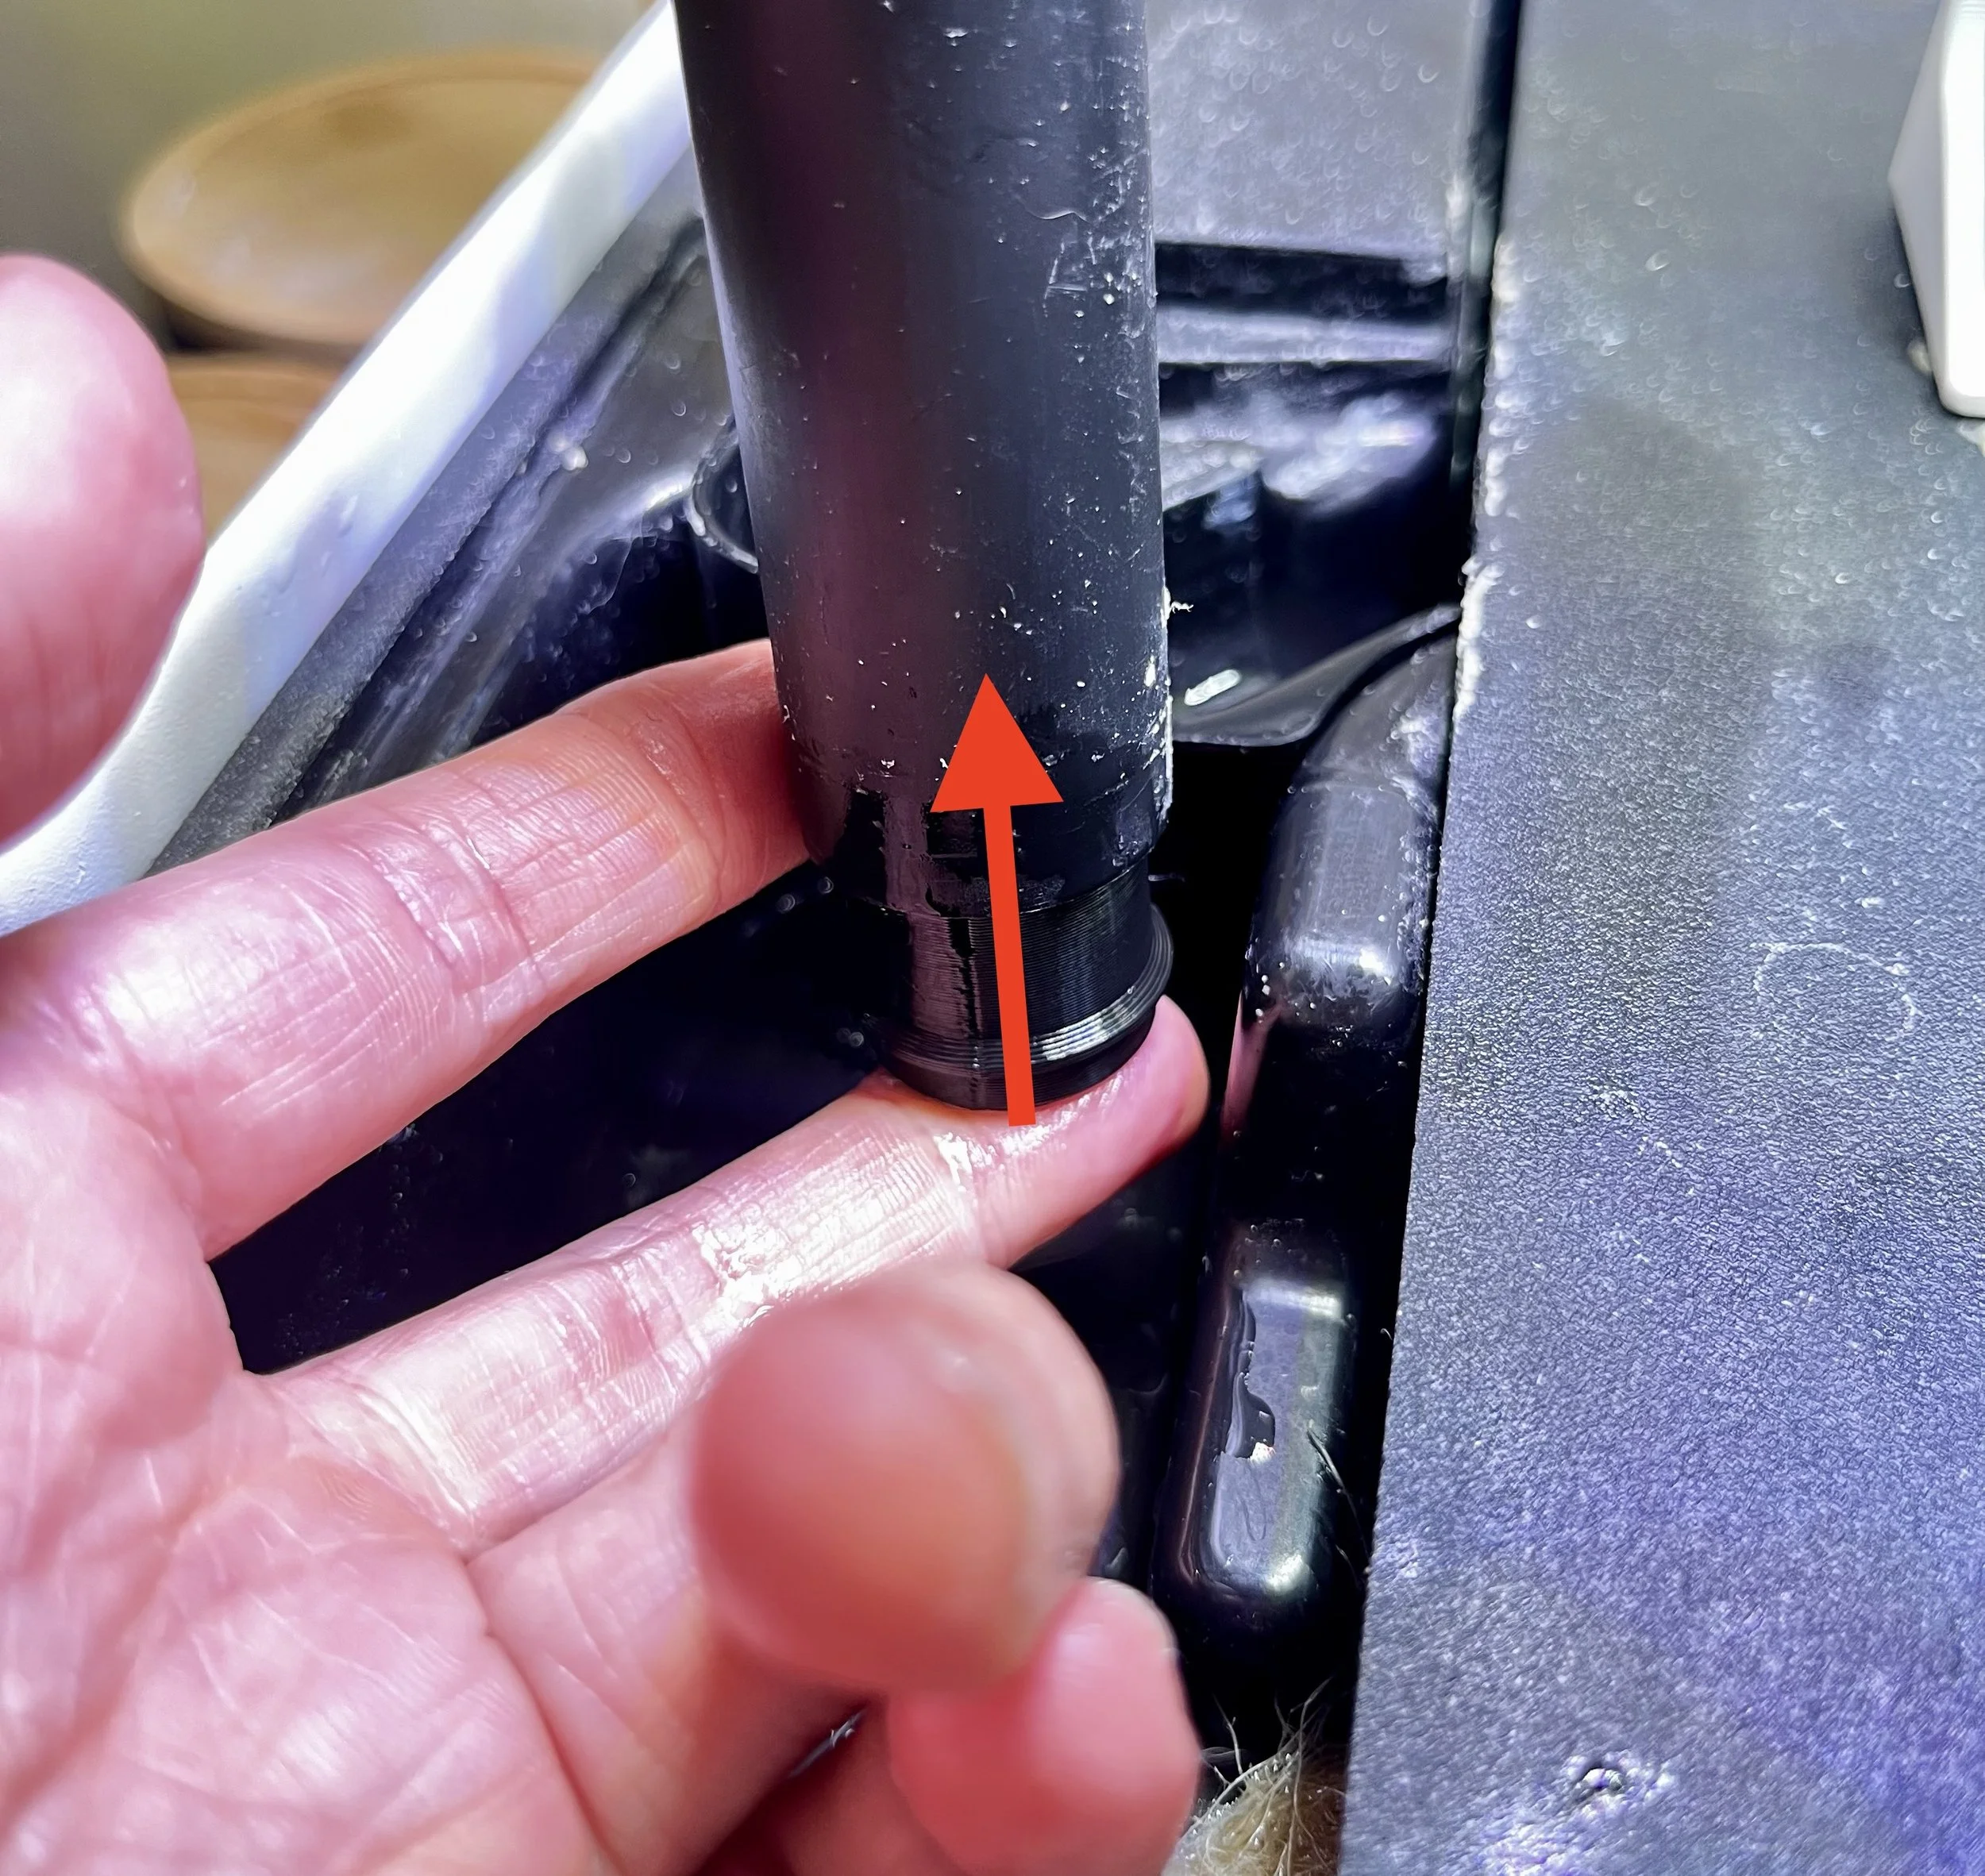
Now take one of the drain bottom screens circled in white and insert it into the bottom of the drain pipe. The arrow on the bottom screen needs to be pointing up. It will insert most of the way until it hits the stop ring on the durian bottom screen.
If you have a 3-tier garden you will have one extra and if you have fewer tiers you will have a corresponding amount more extras.
Step 4
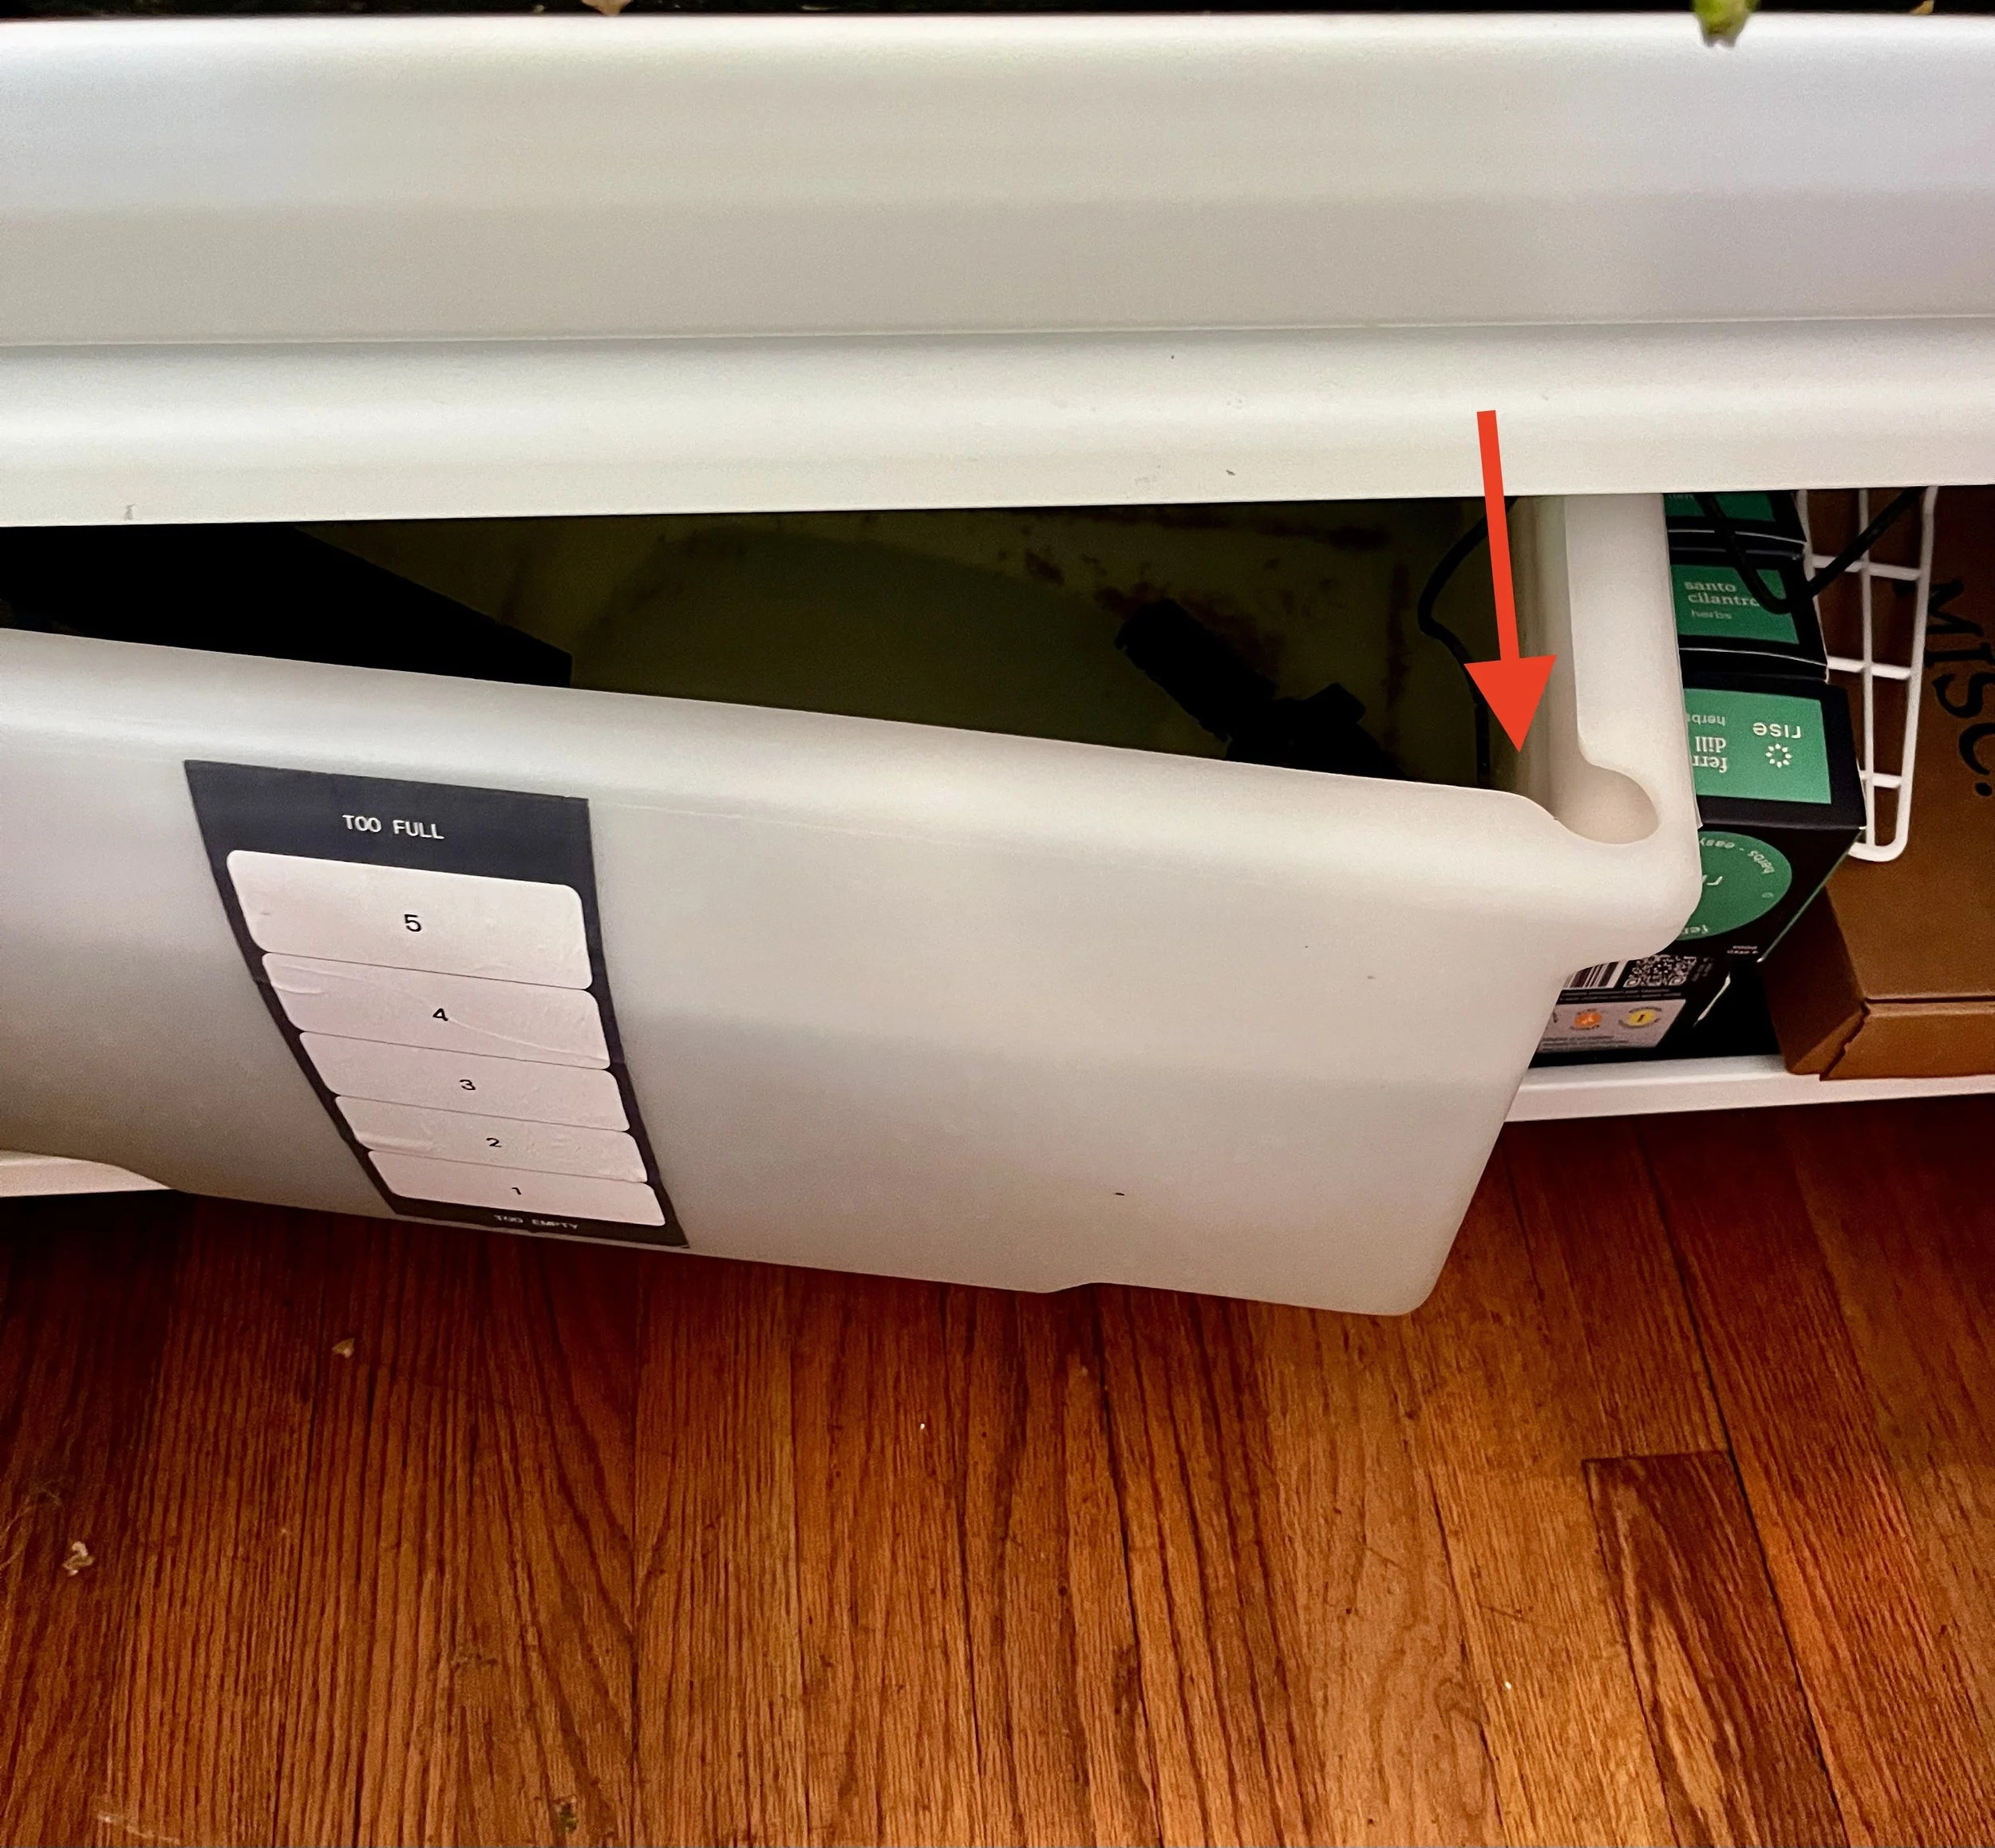
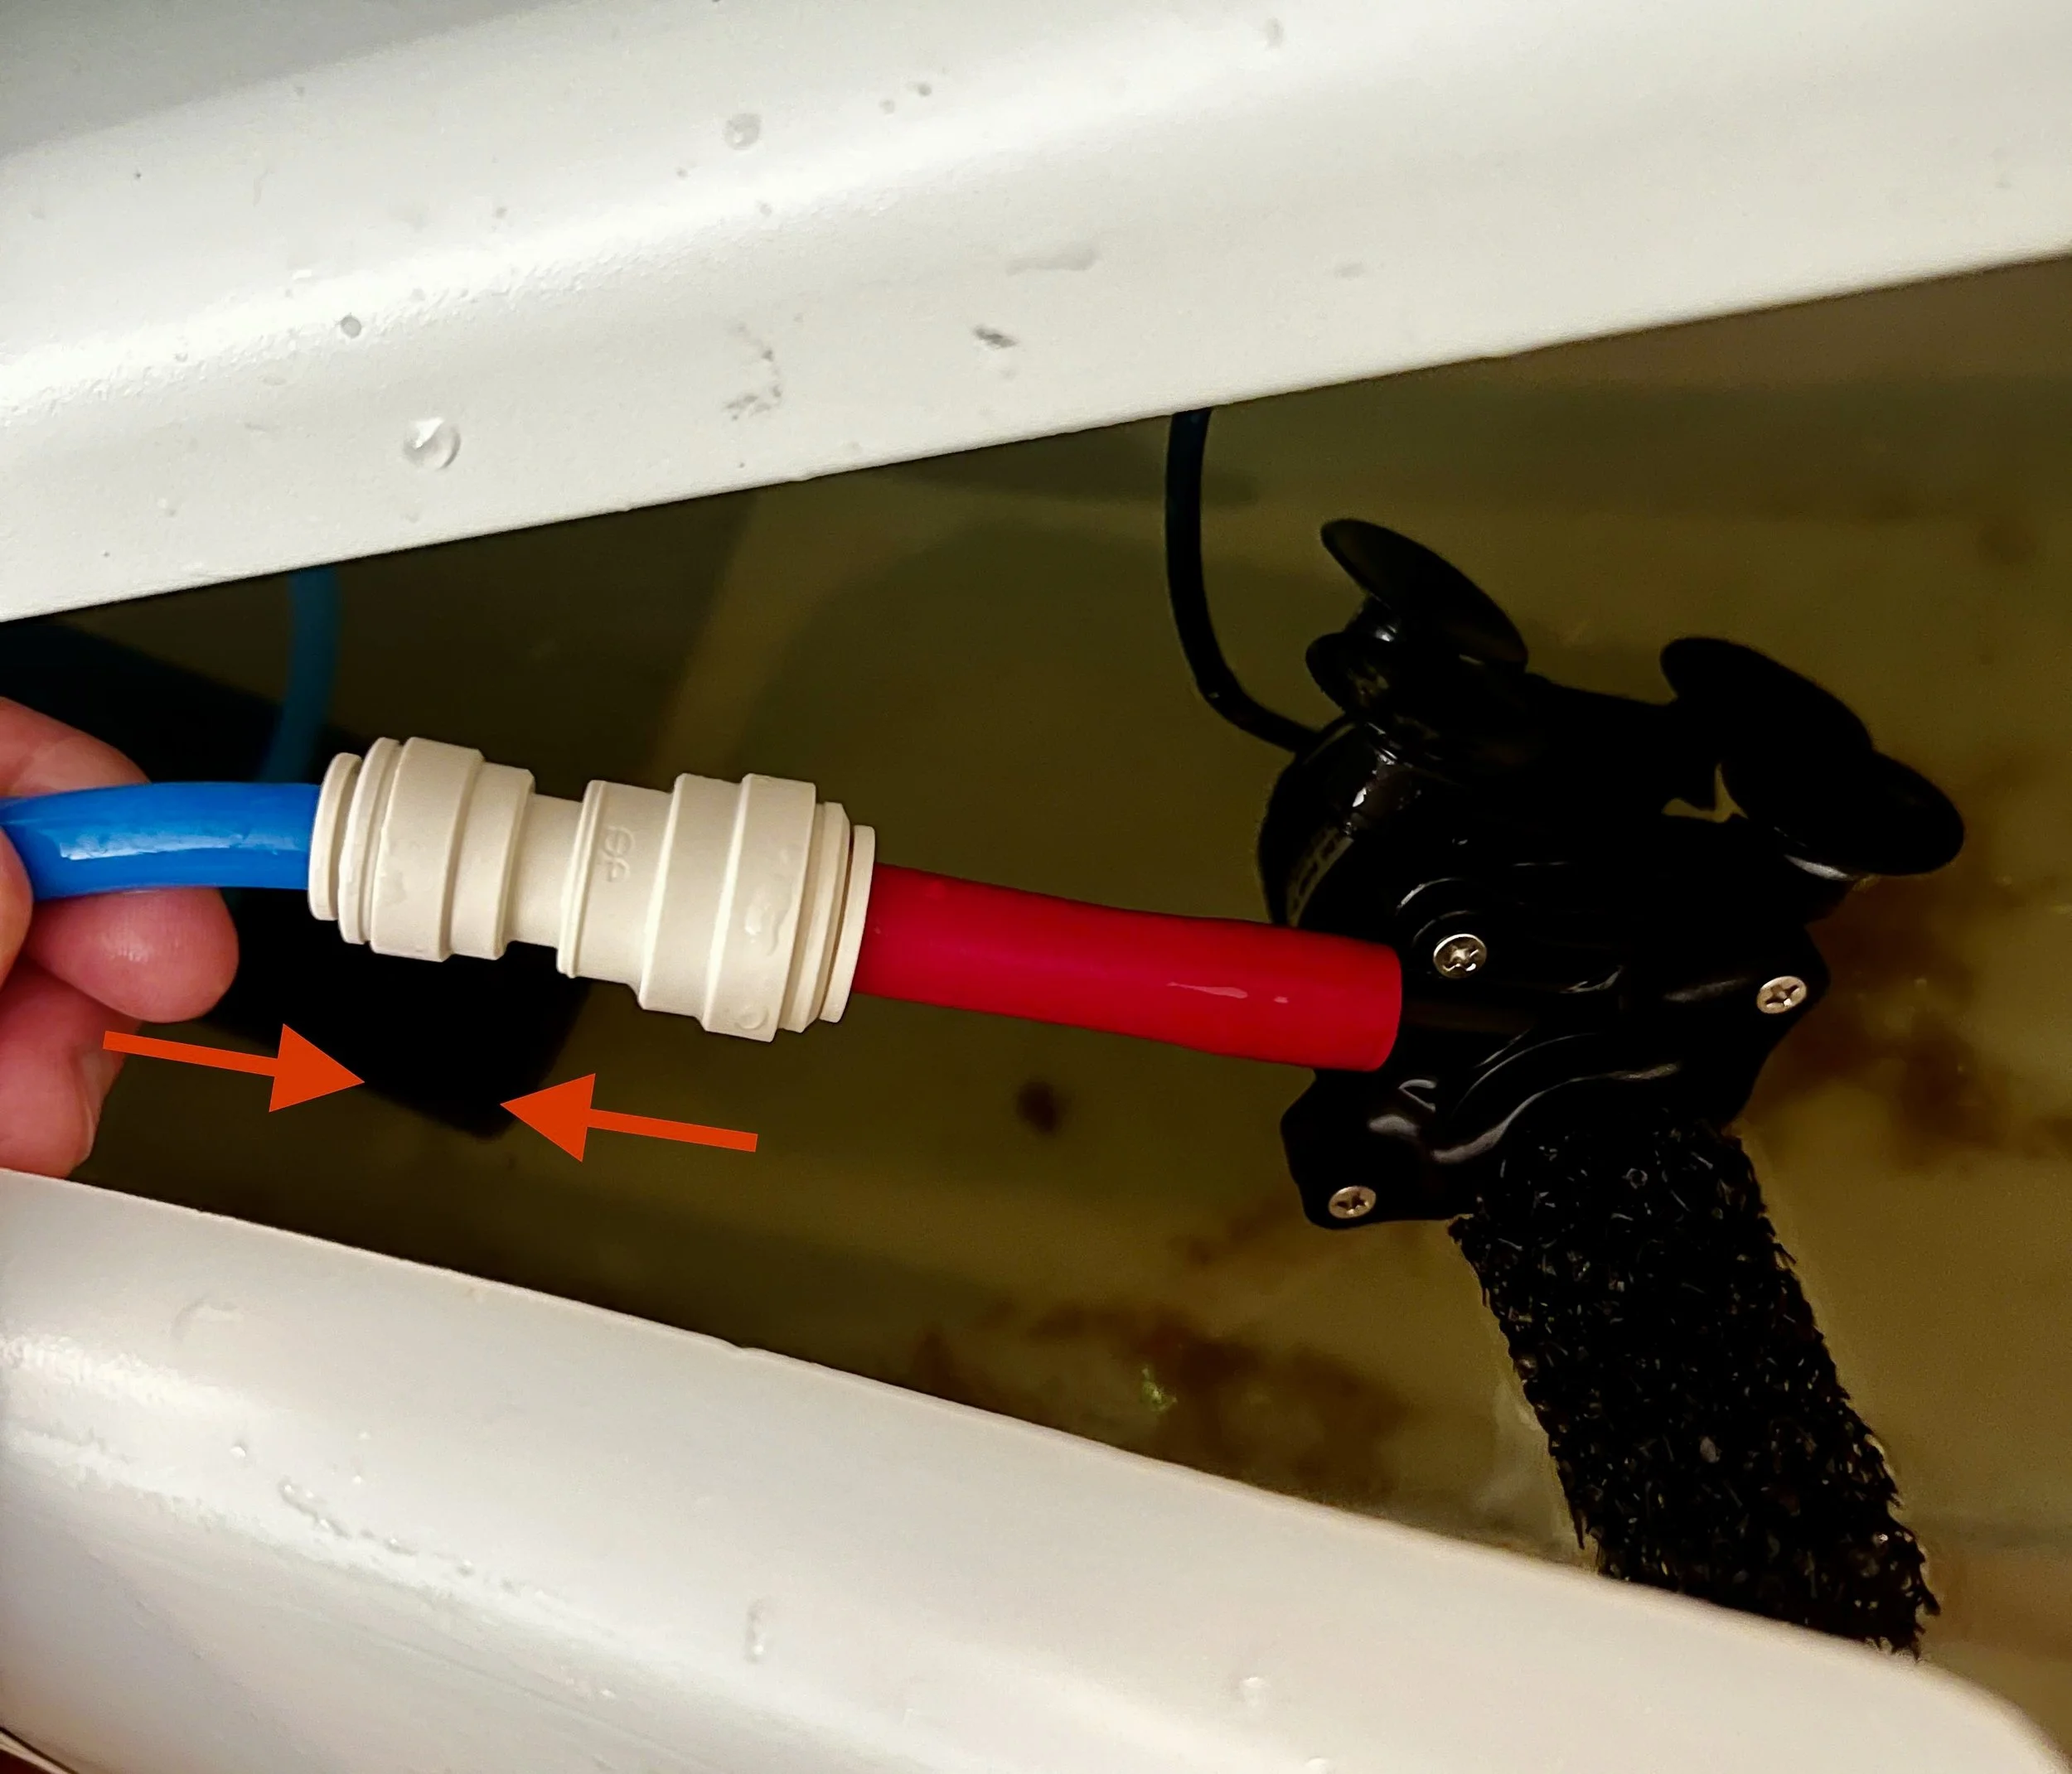
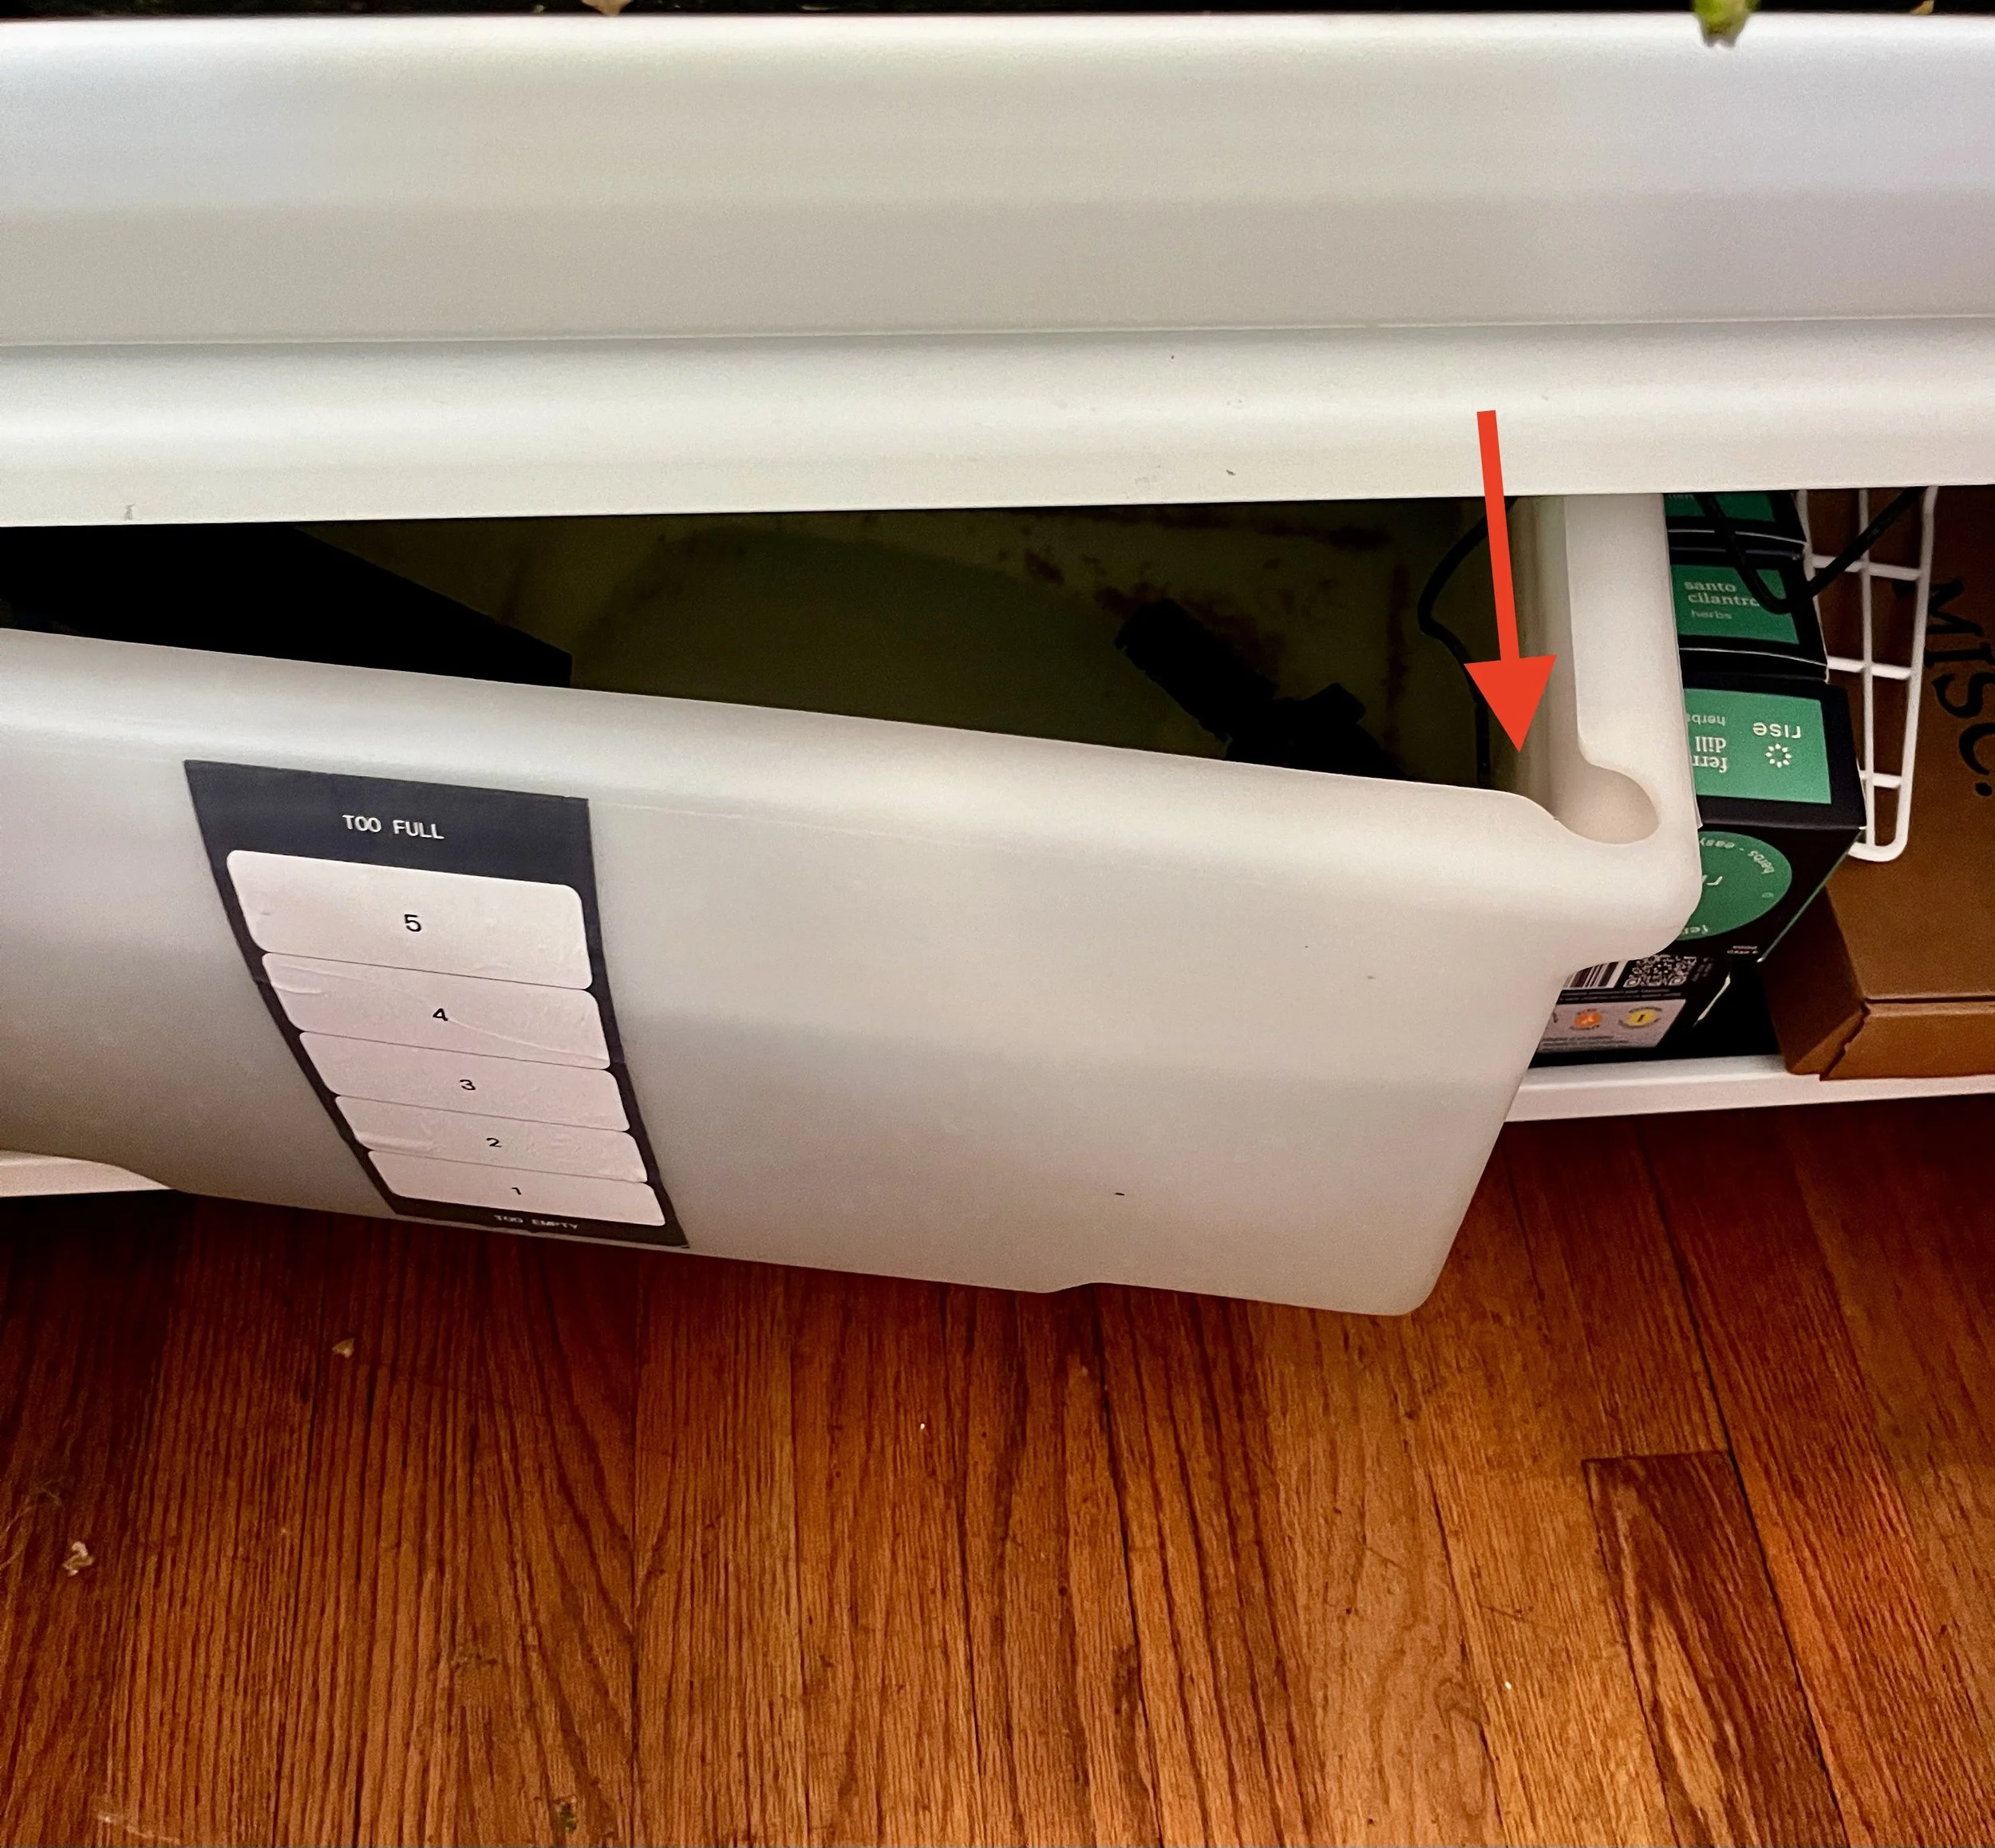
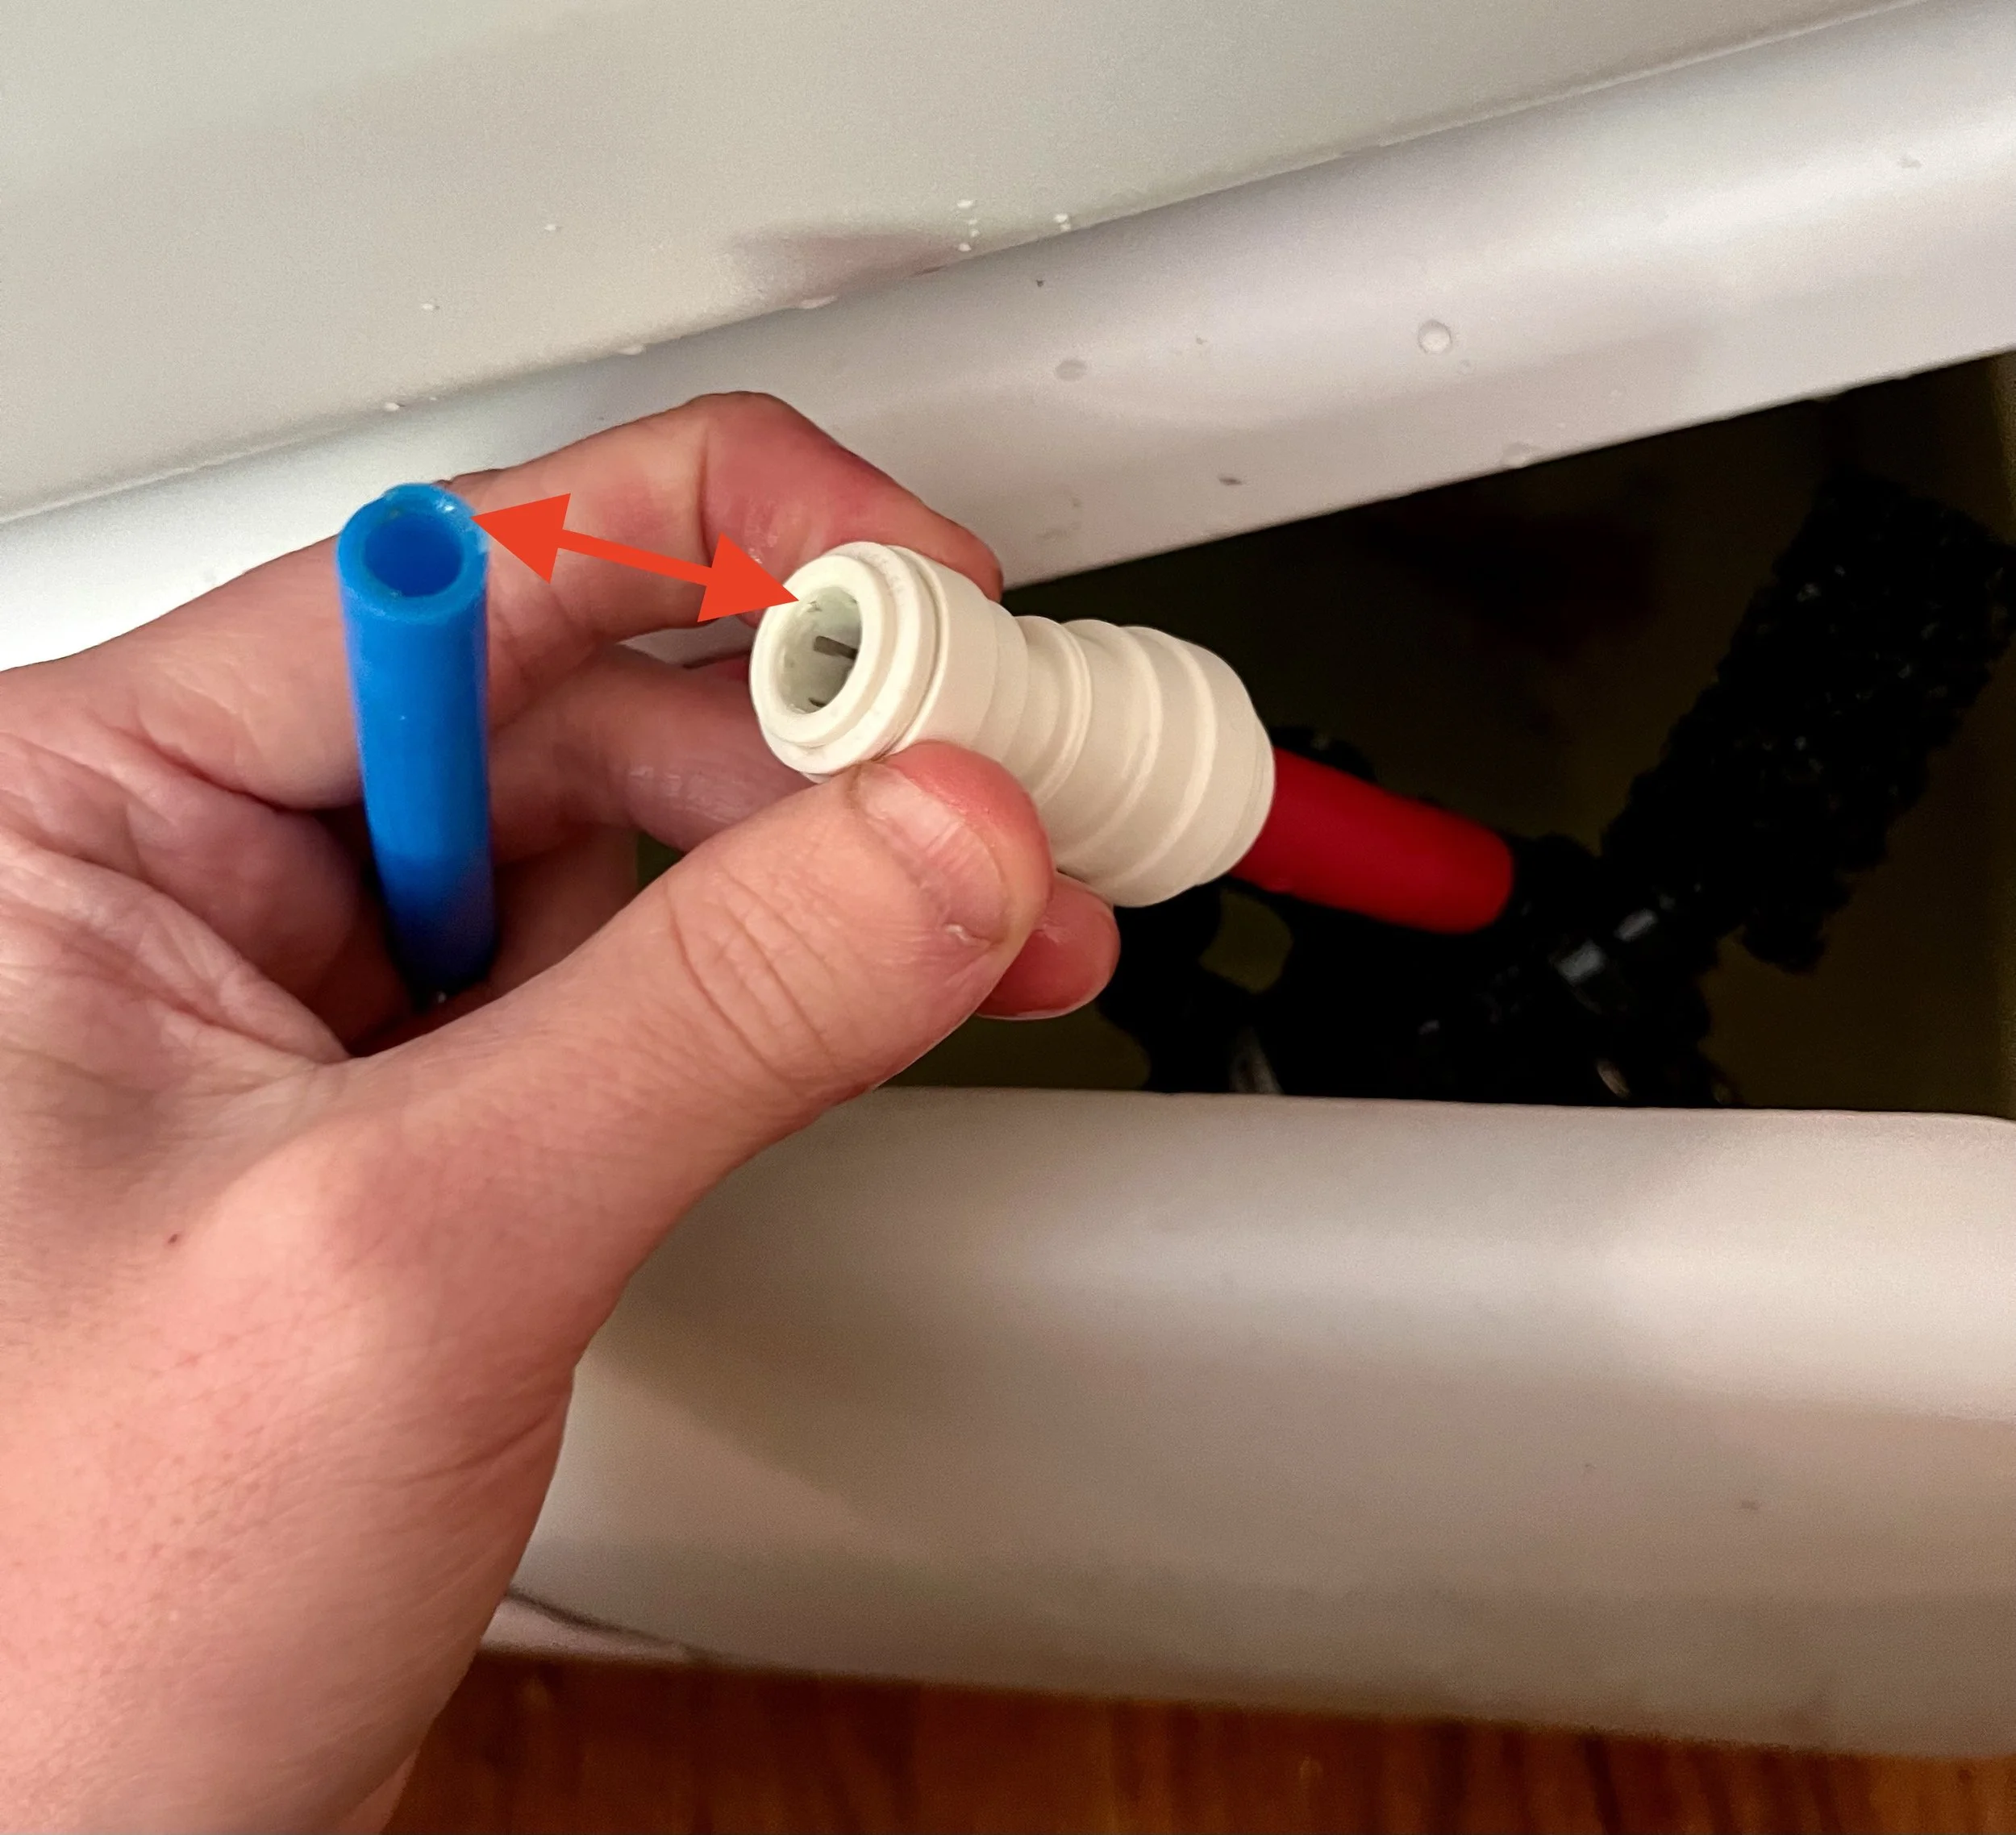
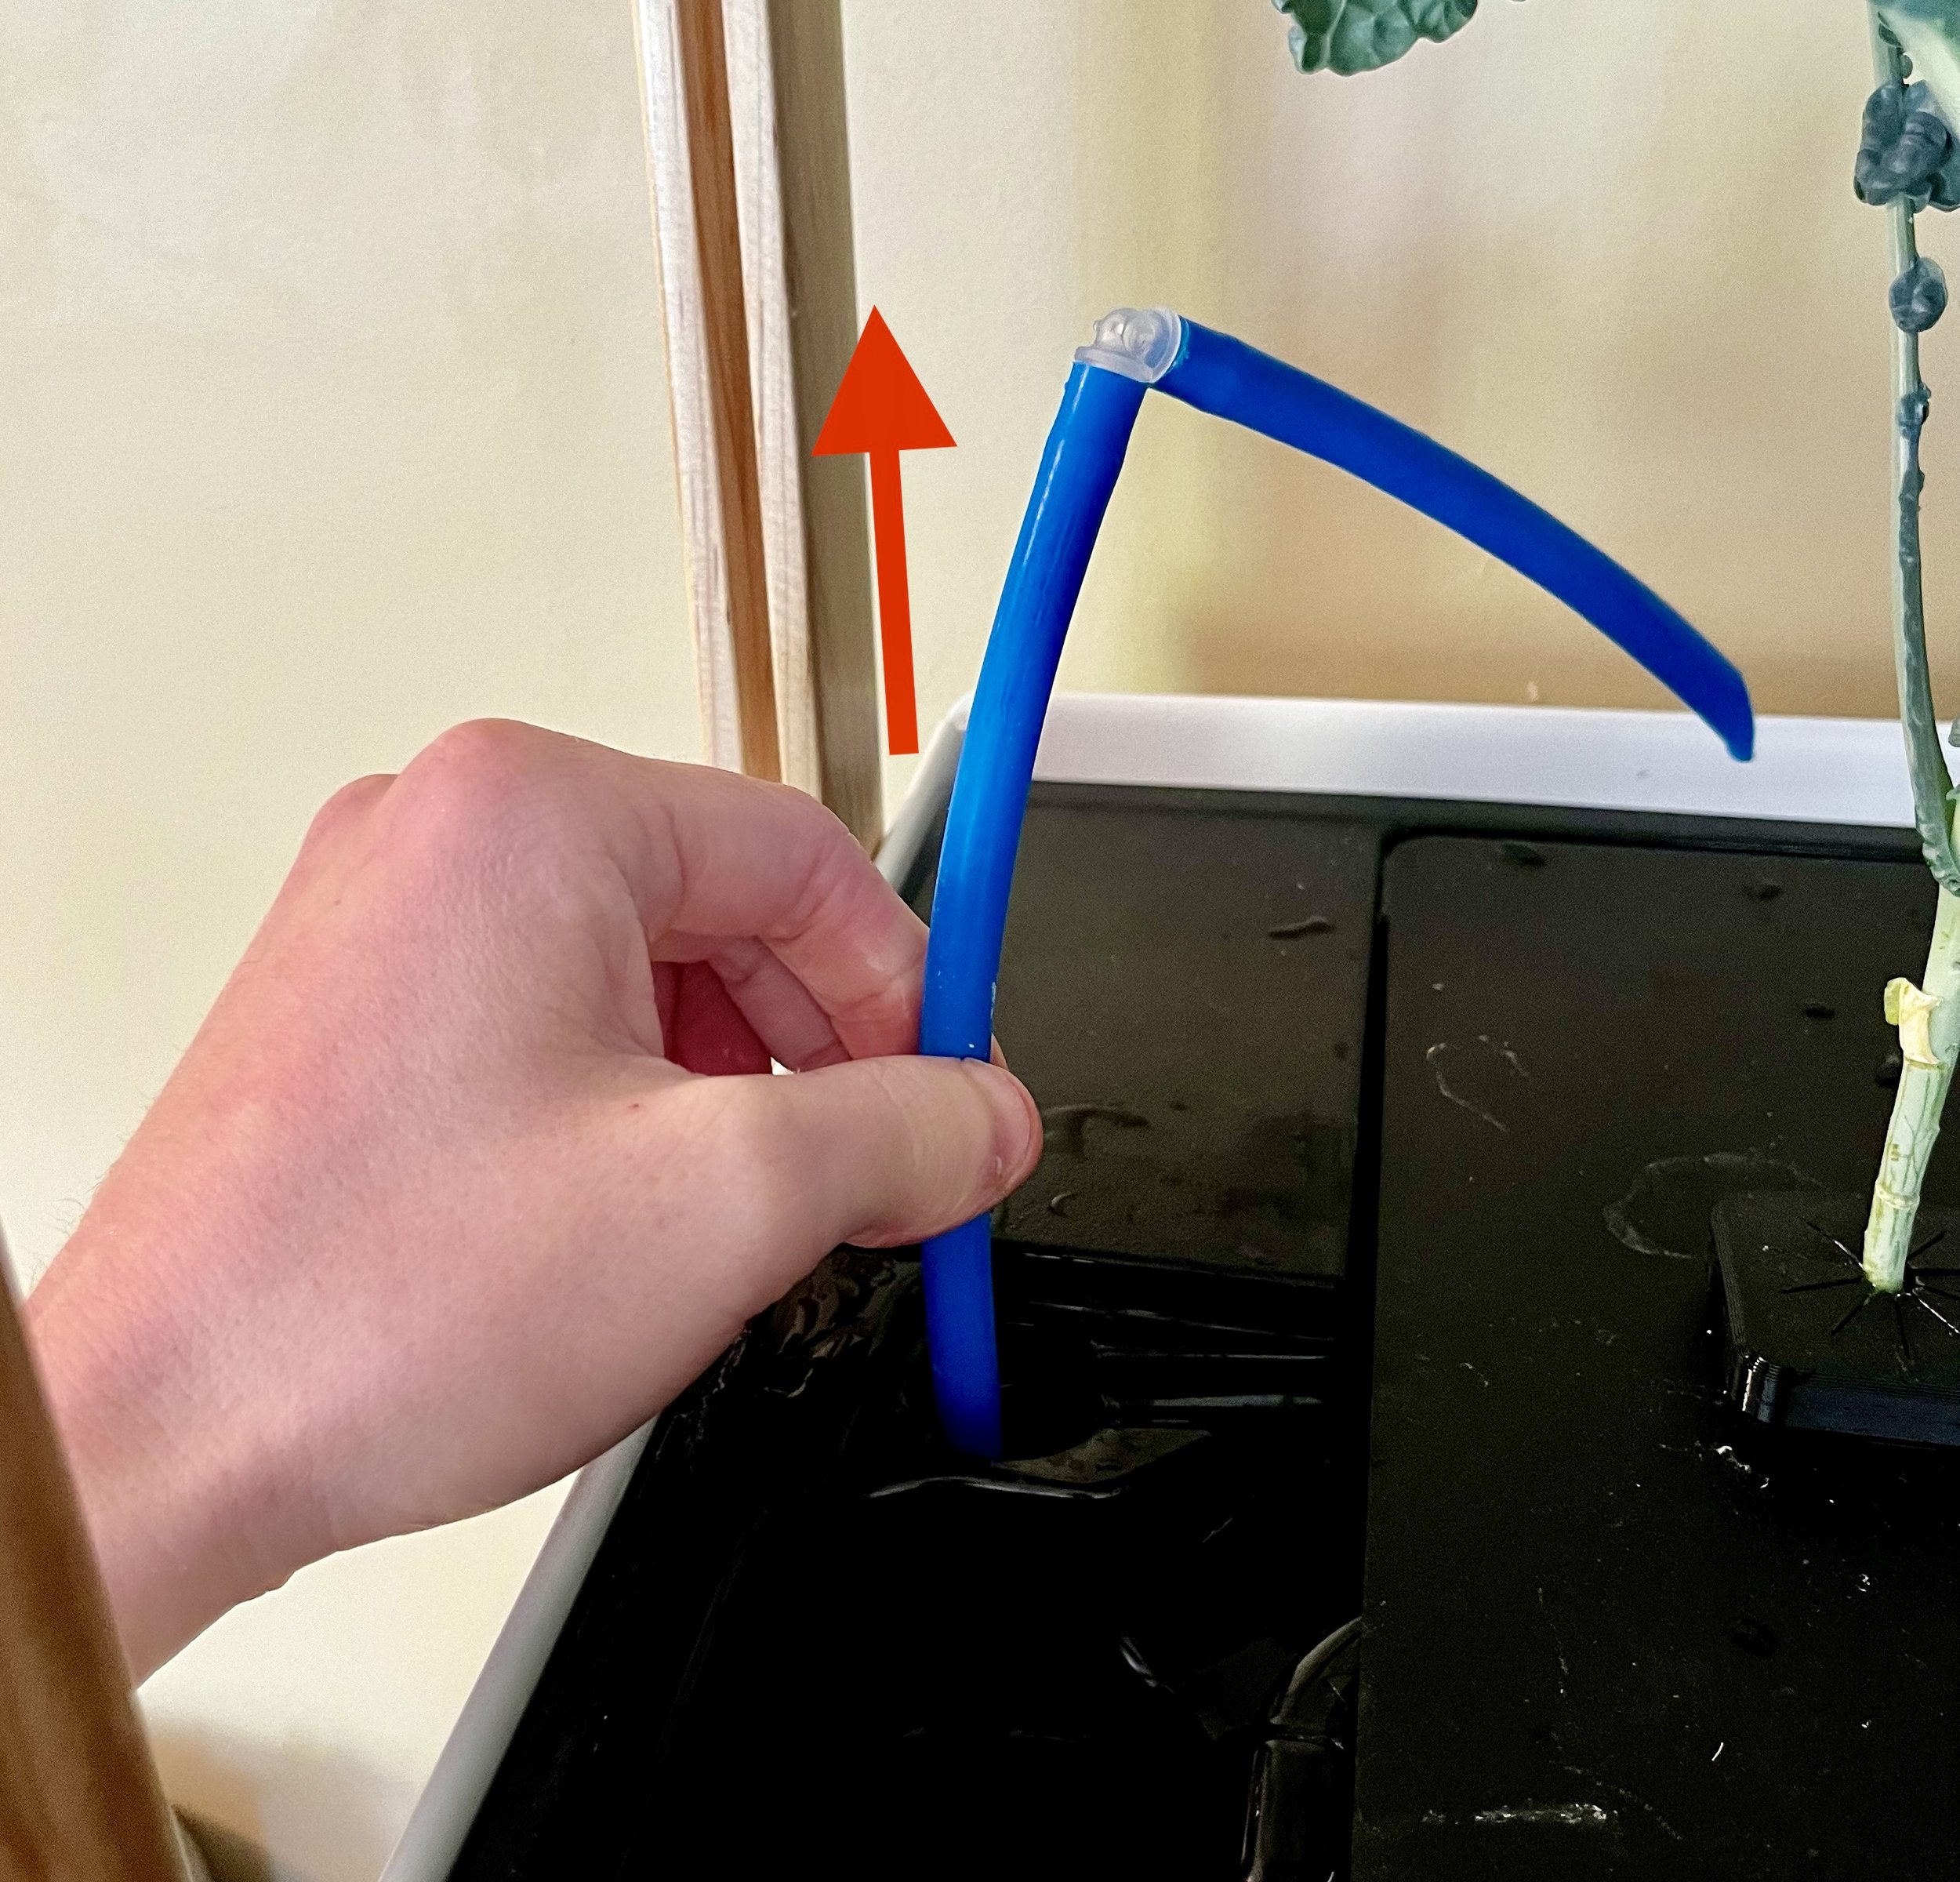
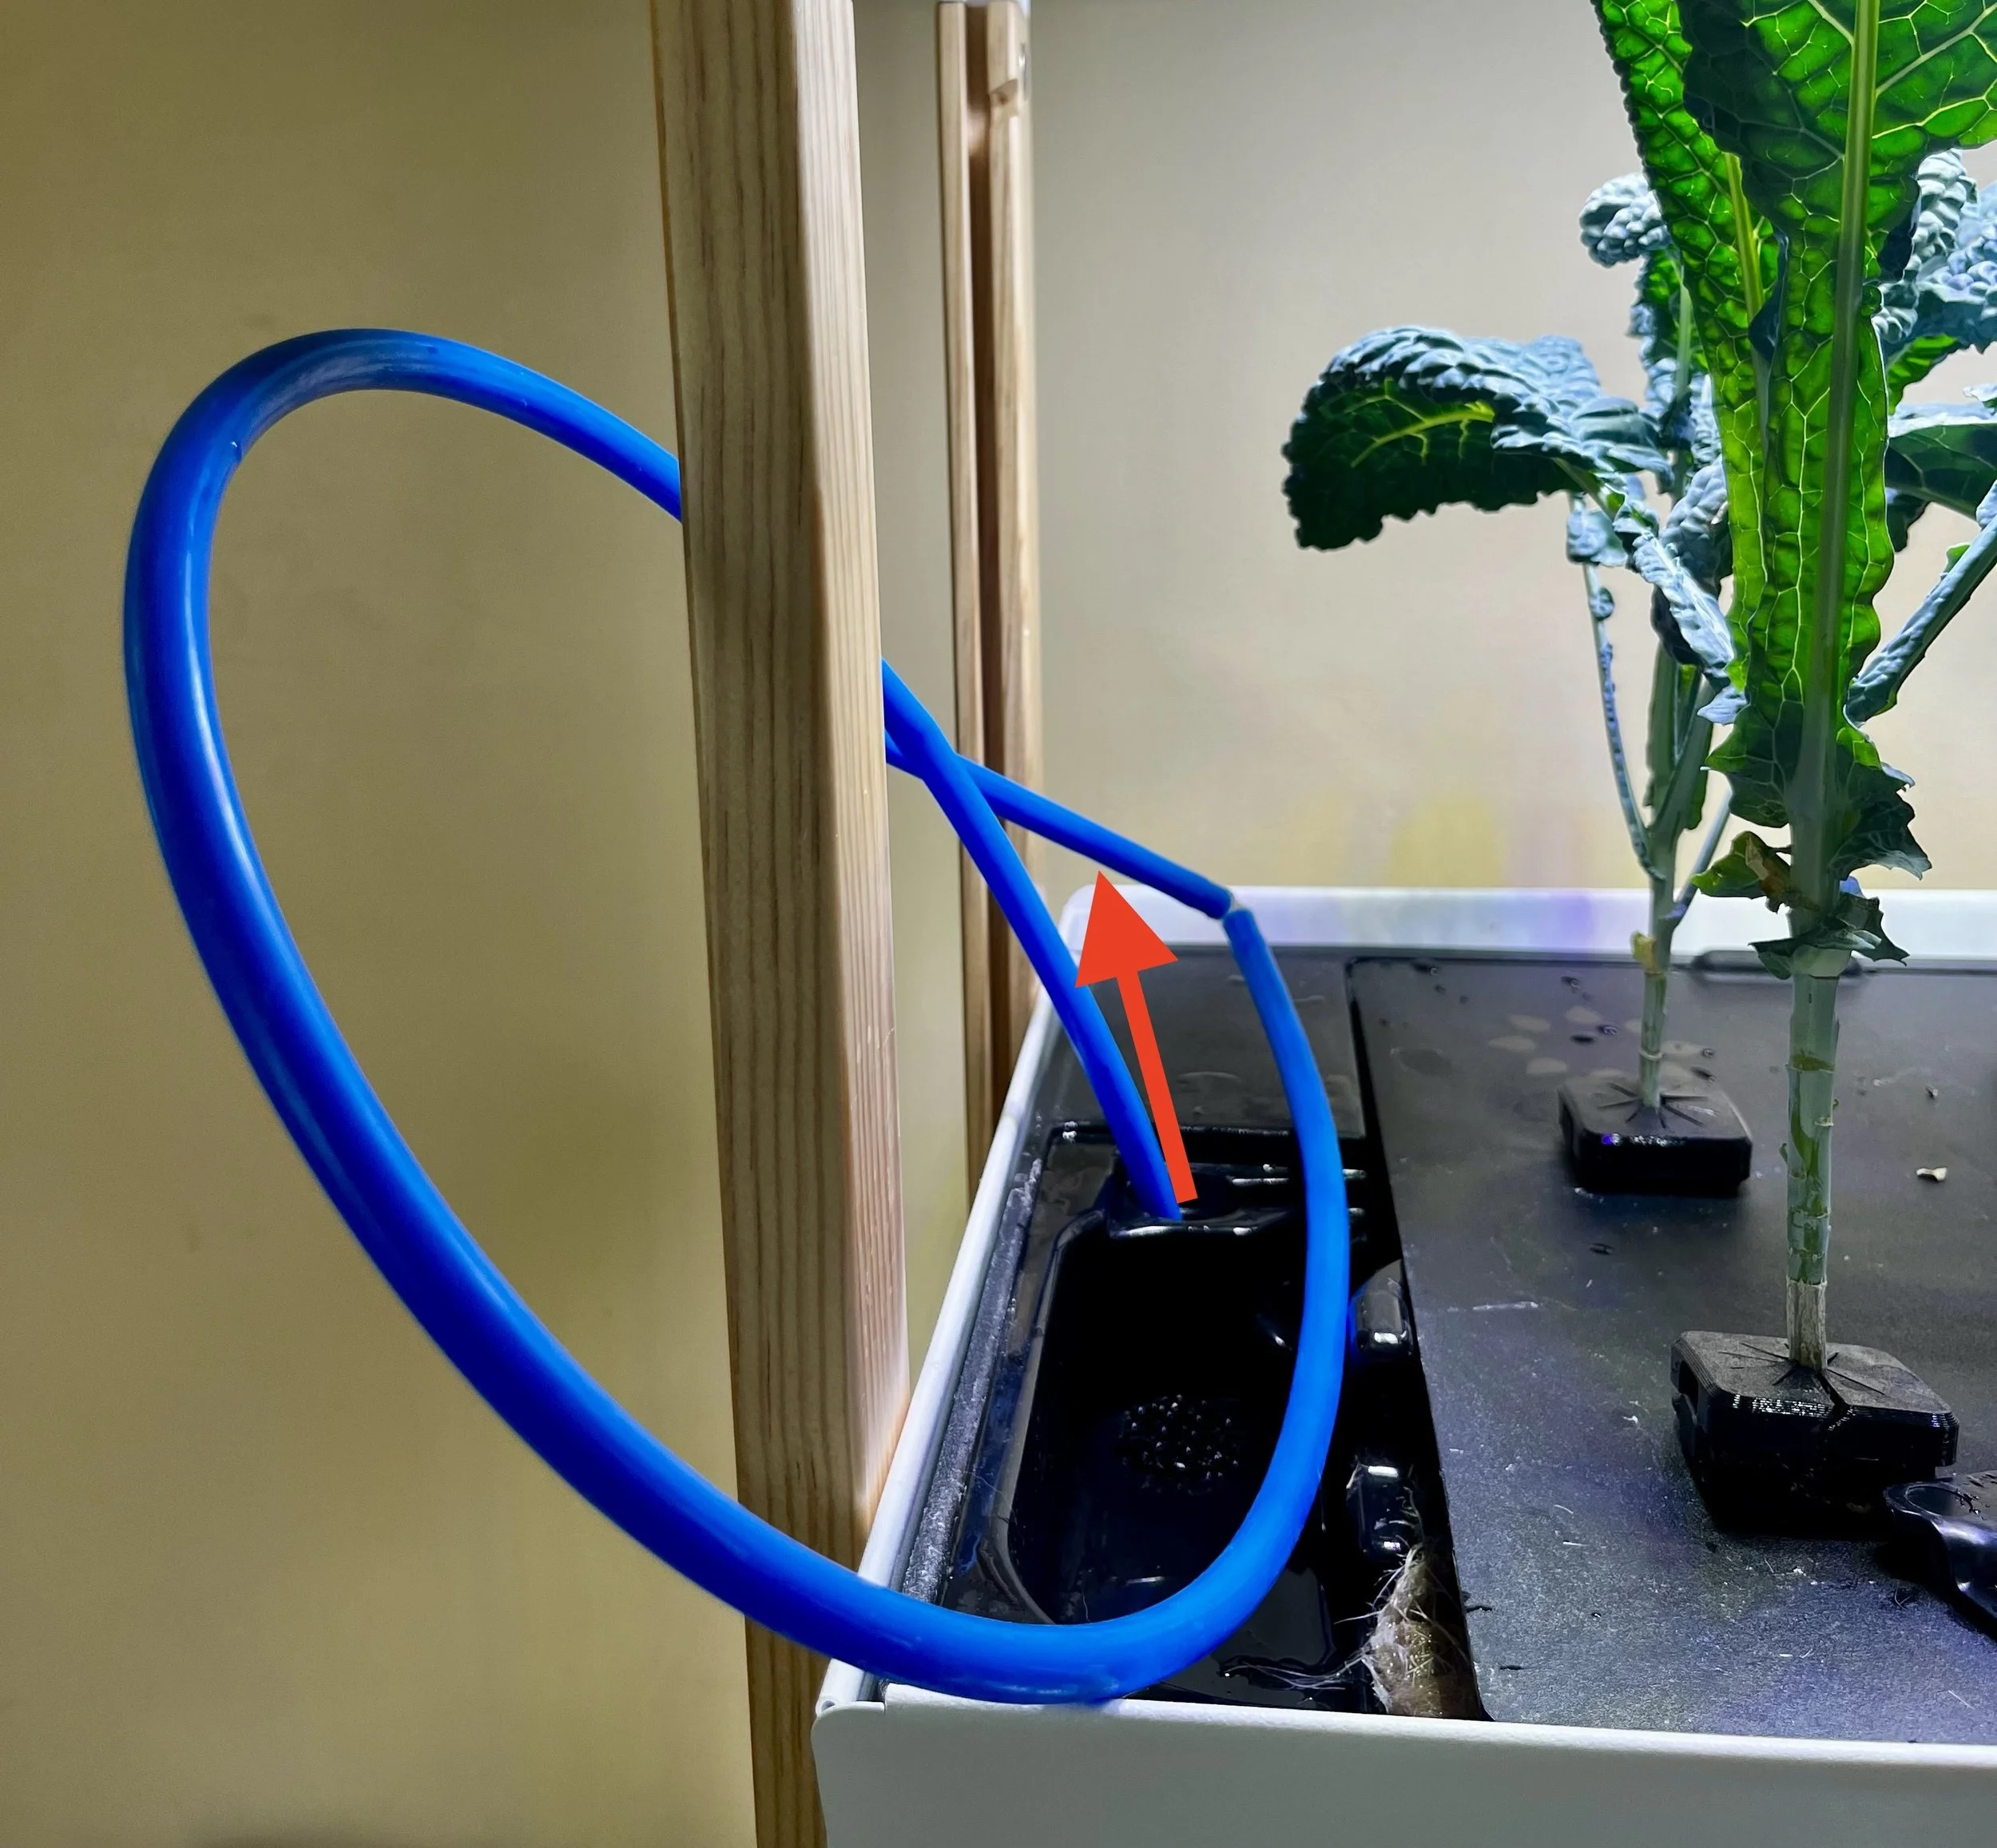
Pull the right side of the water tank out just enough that you can reach in and disconnect the pump hose from the water pump.
Then pull the pump hose out from the top tier of your garden until it is clear of the water tank.
Now push the water tank back fully onto the shelf.
Step 5
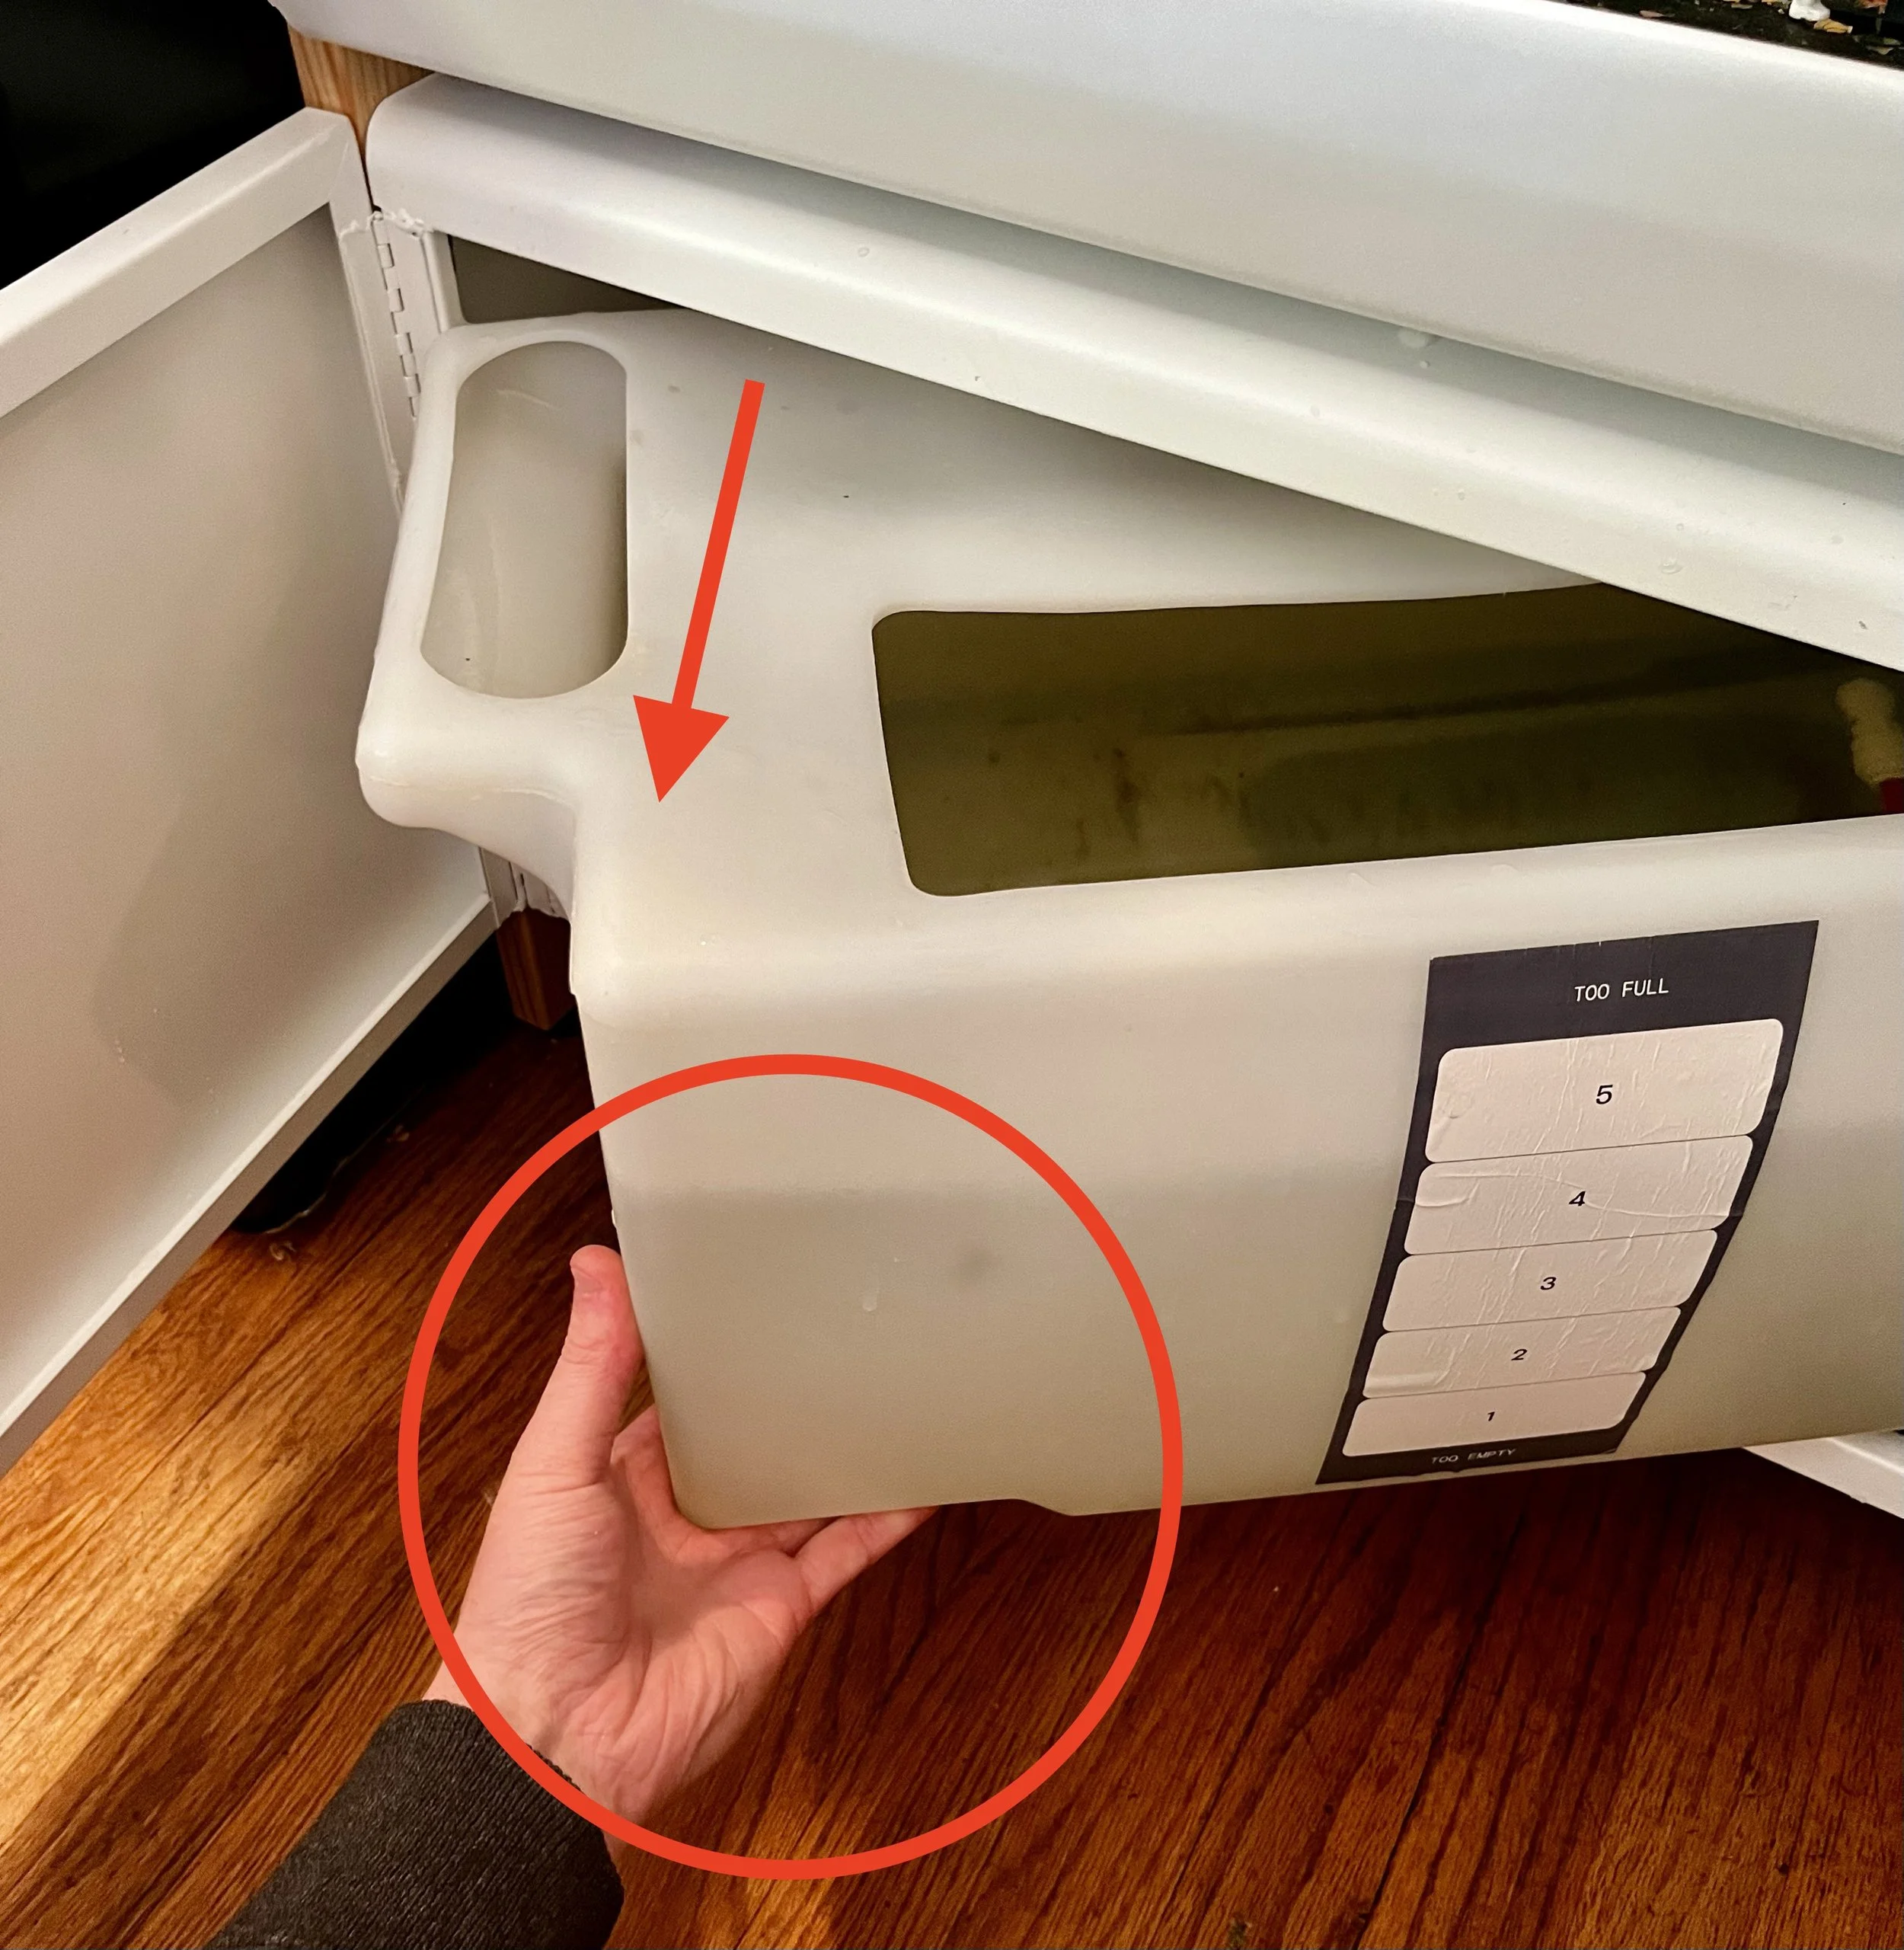
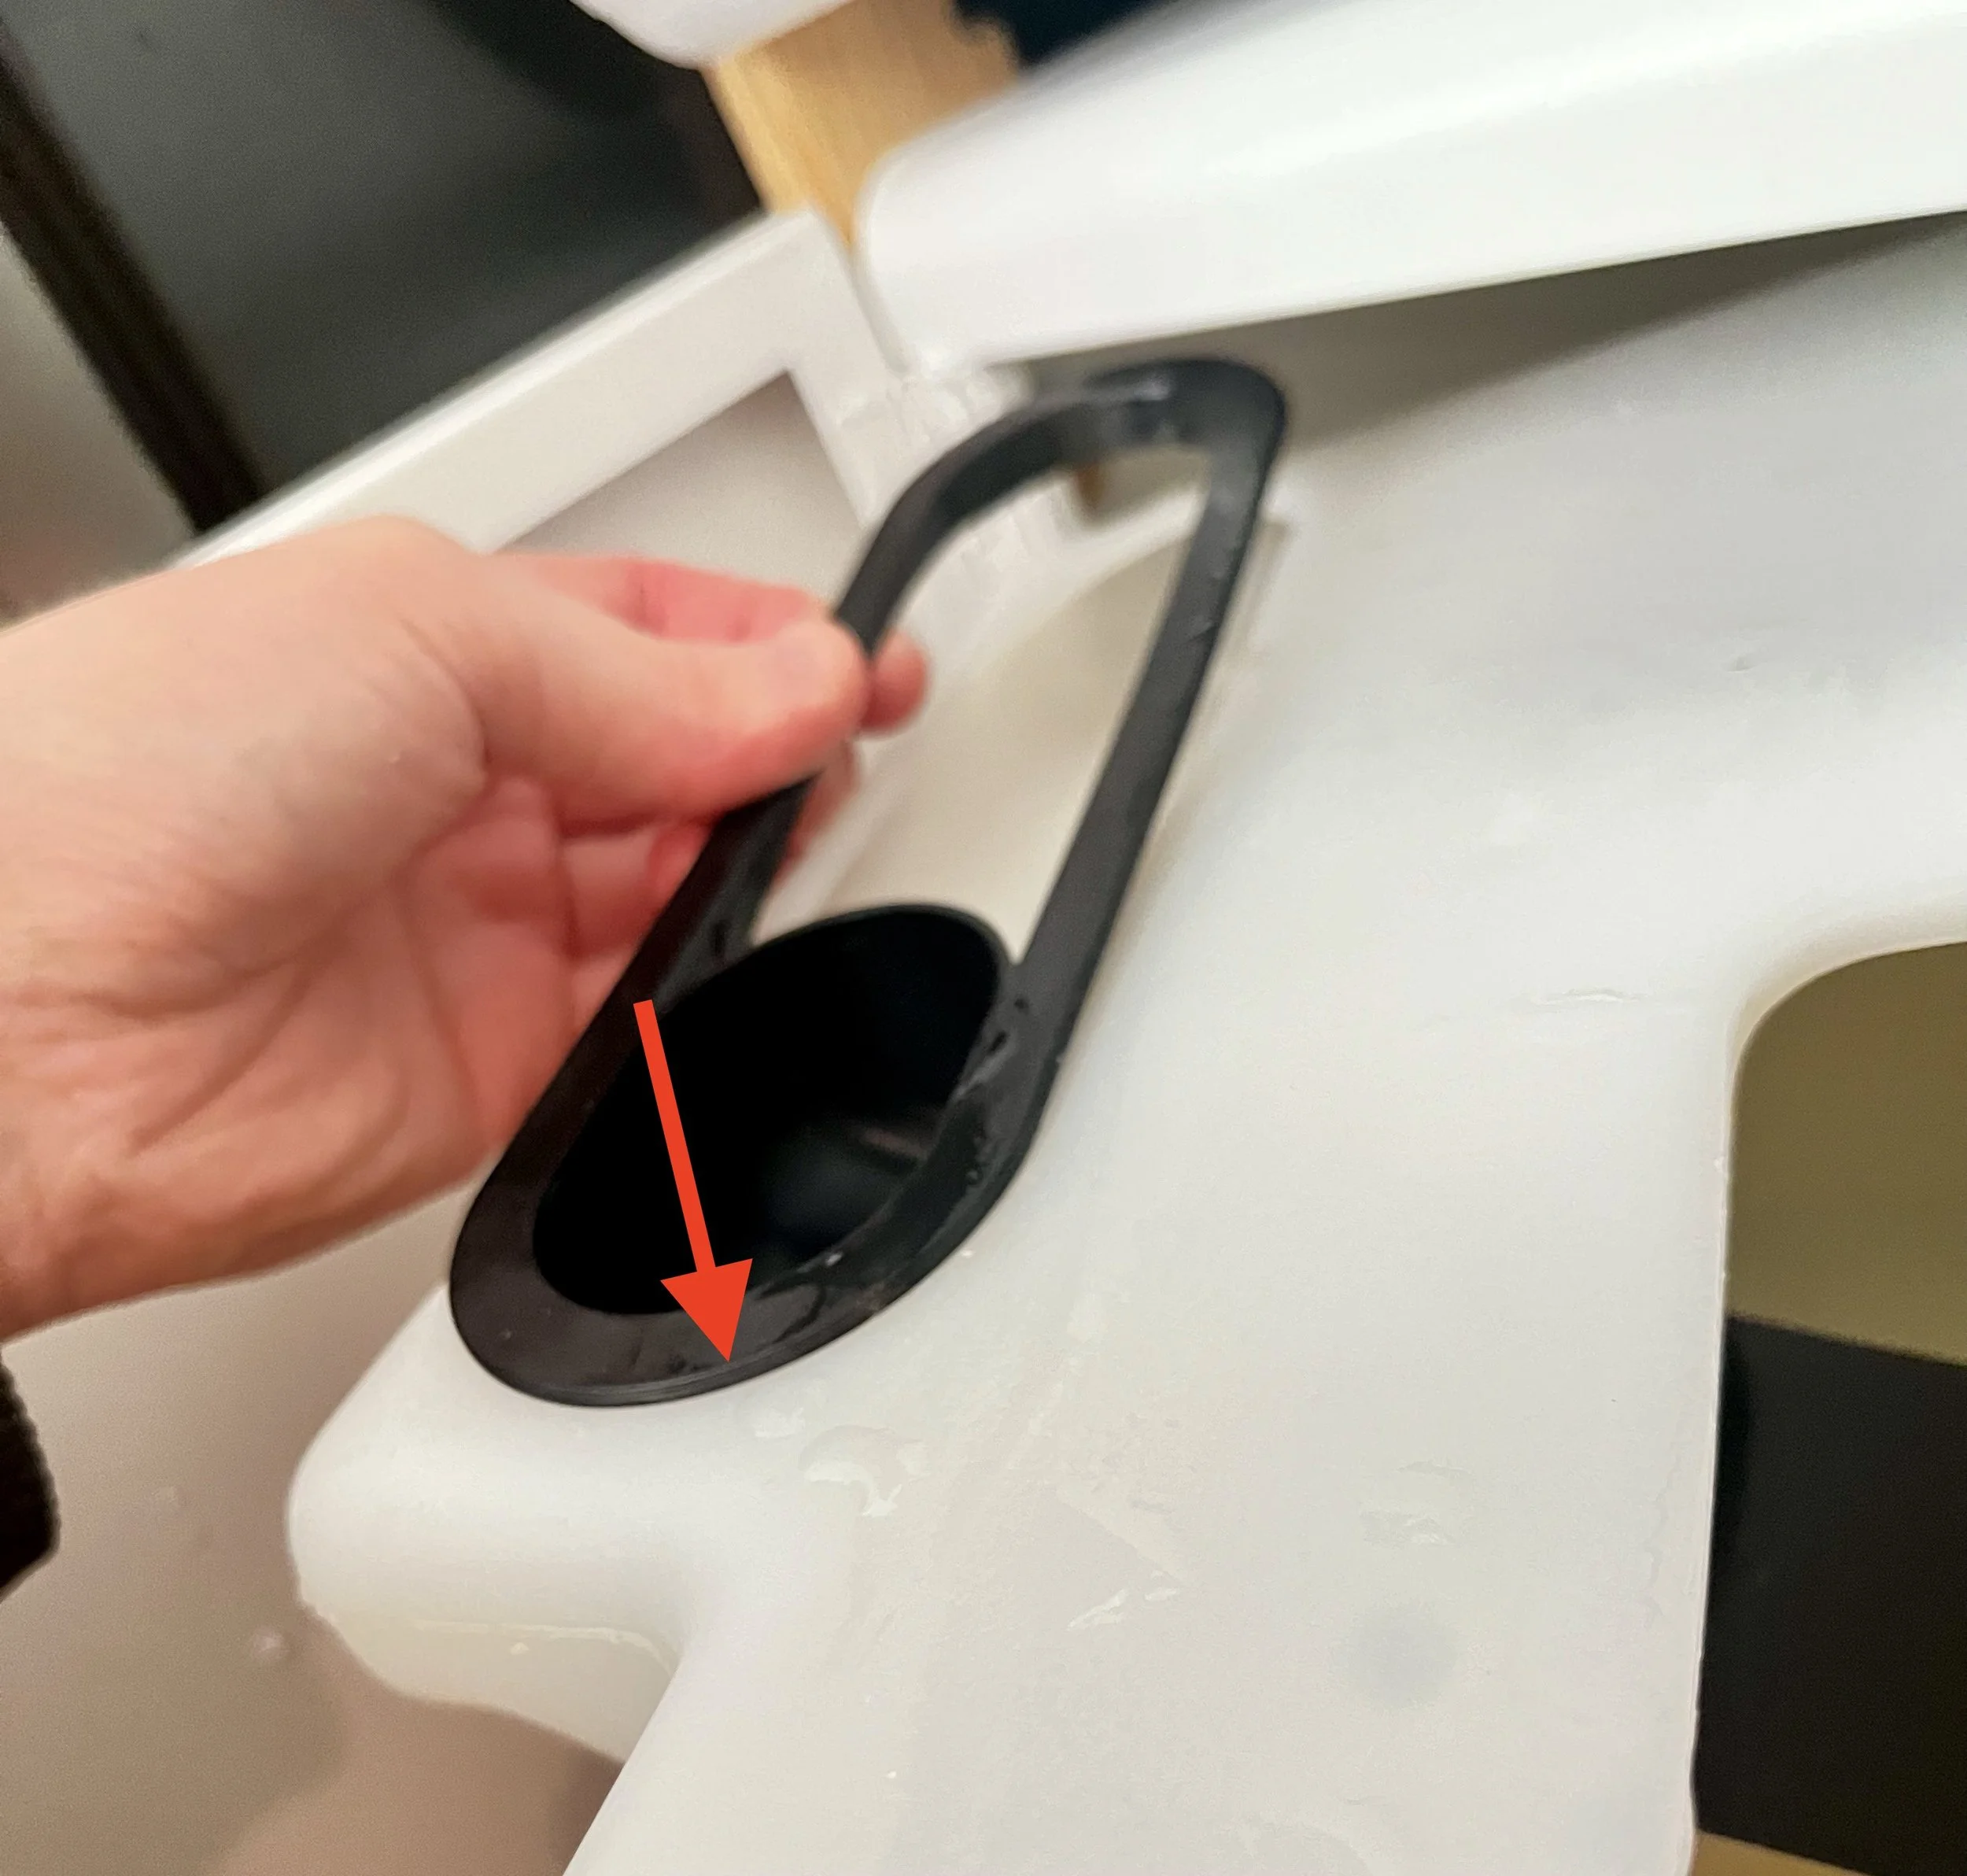
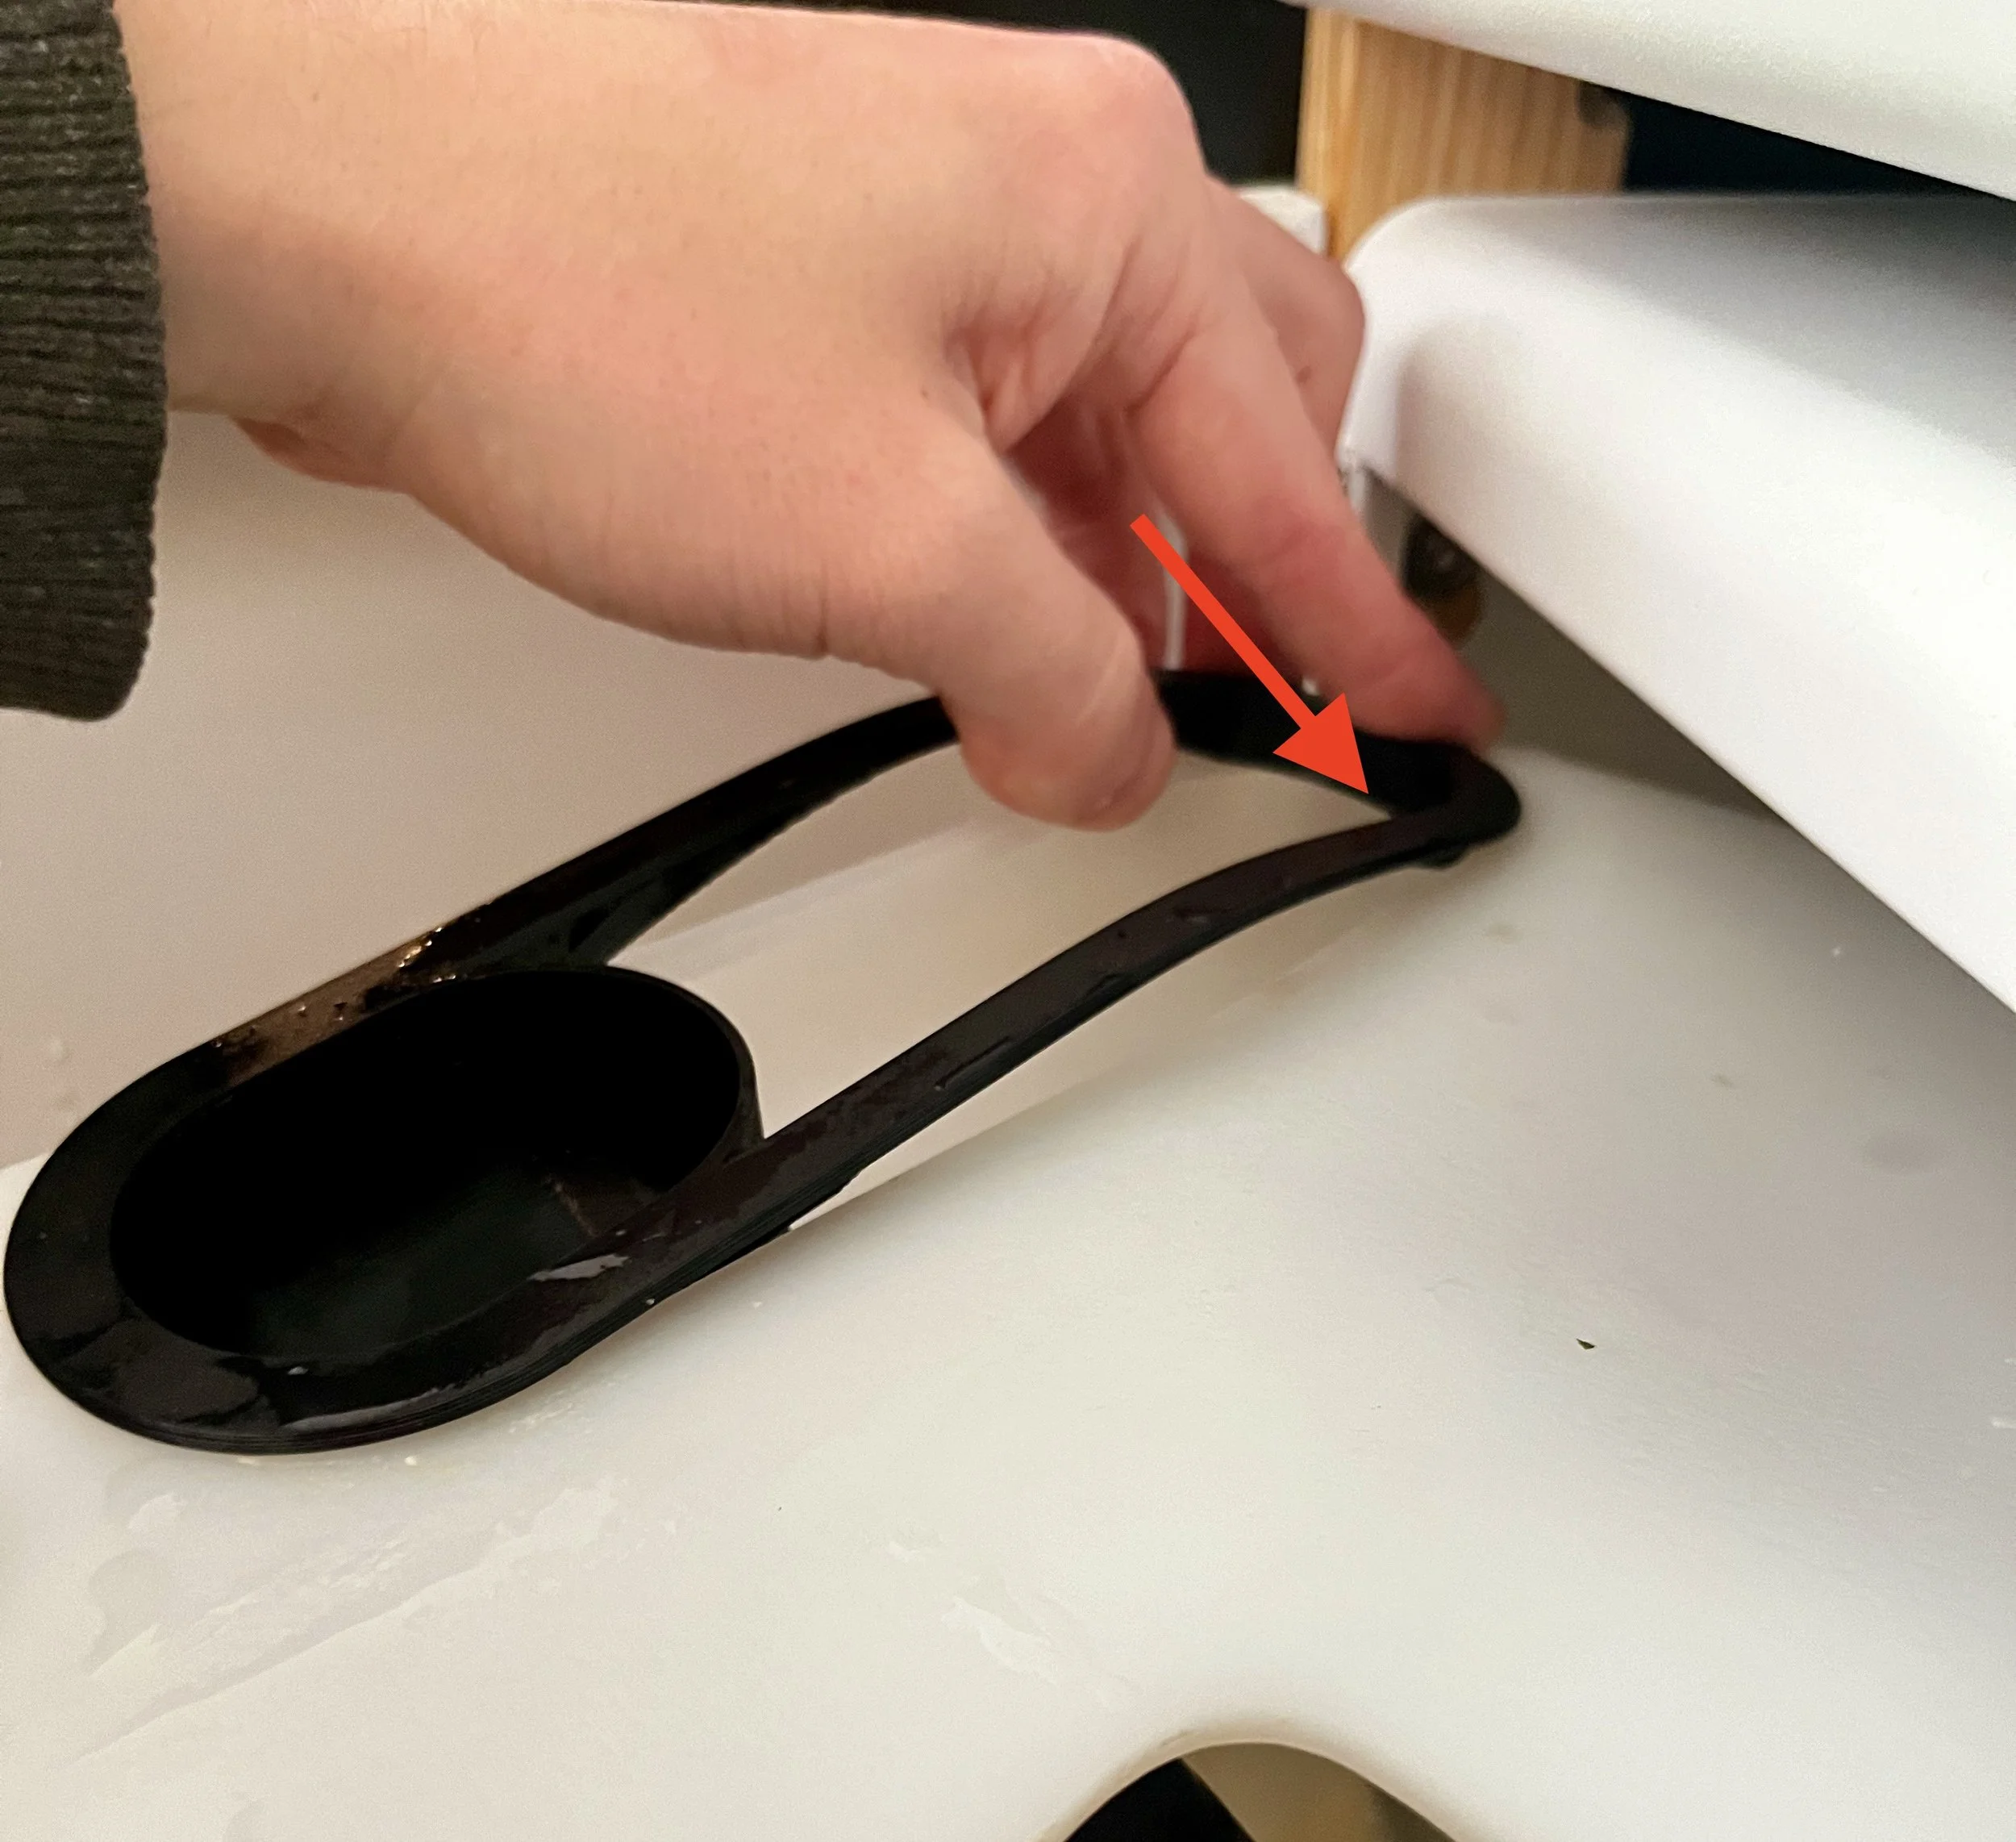
Pull the left side of the water tank out enough to have full access to the drain hole. Make sure to support the bottom of the tank with your hand and be careful not to let it fall out. It’s heavy and has a lot of water in it!
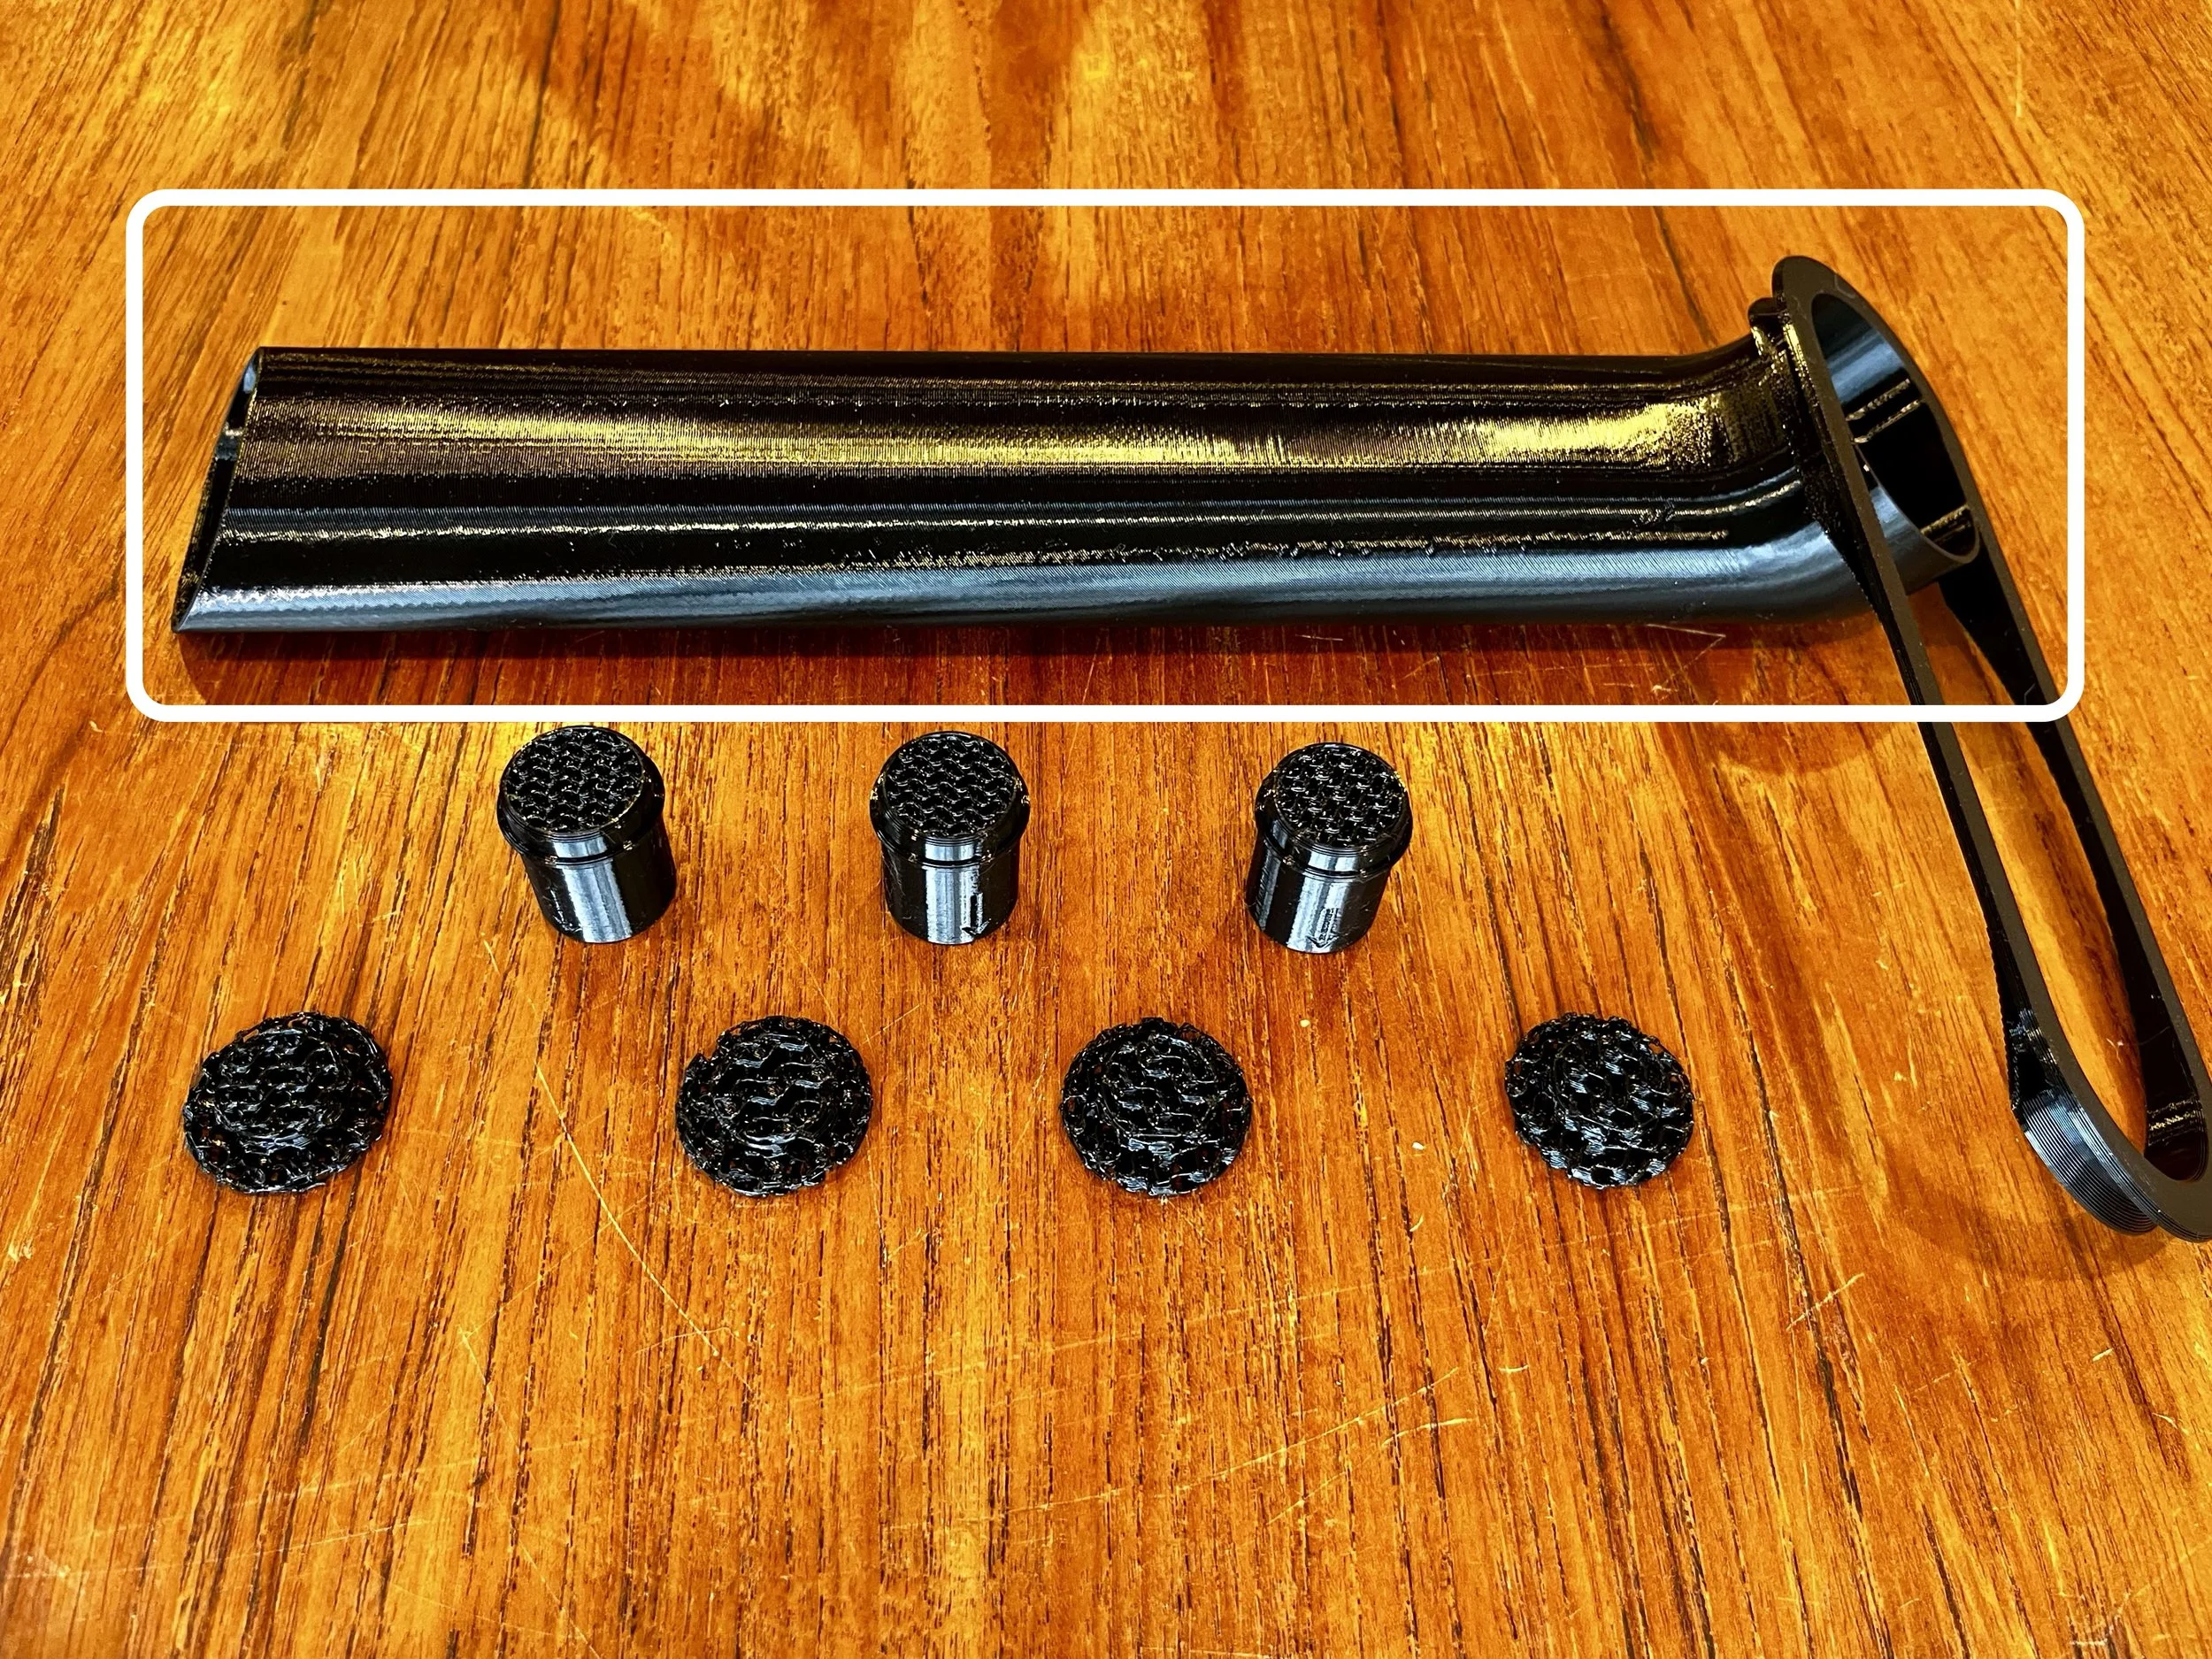
Insert the Tank Ramp circled in white into the drain hole on the water tank. Seat one side in first, then bend the top gasket a little to seat the other side in. It should sit relatively flush and be held in place.
Push the water tank back fully on the shelf.
Step 5
Push the pump hose all the way back down from the top tier of your garden.
Pull the right side of your water tank out and reconnect the pump hose to the water pump.
Push the water tank fully back onto the shelf and turn your garden on.
Allow a few minutes for the water to start flowing through all the tiers. Then carefully check all the areas you worked on to make sure everything was put back together correctly and water isn’t leaking where it should not be. If everything looks good replace the service doors on all tiers of your garden and you are done!
Remember to keep the service areas near the drain tops clear from roots at all times. I recommend checking each time you add nutrients to your garden. If the drain does get clogged, the water should overflow down the pipe that the pump hose uses, so you should not have to worry about overflow and leaking if you forget to keep the roots clear. I do suggest keeping a close eye on things for the first couple of weeks after you install this kit just to make sure everything is going smoothly.